Spreading the Joy of Nandina: How to Easily Propagate Your Heavenly Bamboo
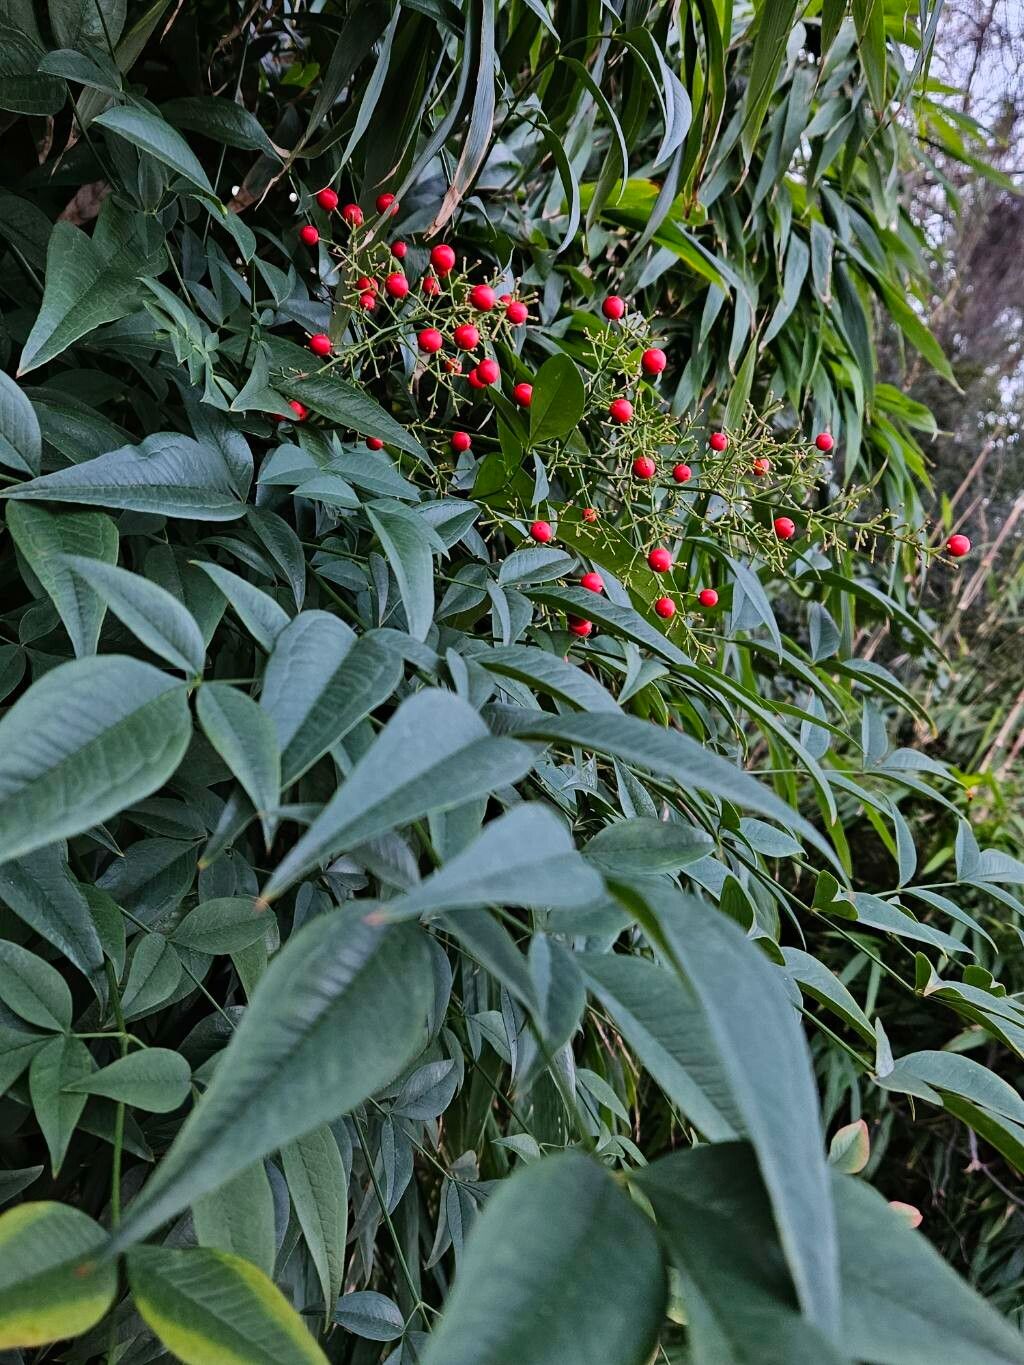
Nandina domestica, commonly known as Heavenly Bamboo, is a popular choice for landscape design. Its graceful, bamboo-like foliage and vibrant red berries add a touch of elegance to any garden. But did you know that it’s incredibly easy to propagate your own Nandina plants from cuttings or seeds?
This simple process allows you to effortlessly expand your own Heavenly Bamboo collection, share the beauty with friends, or even create a beautiful Nandina hedge. Let’s explore the two main methods of Nandina propagation:
1. Cuttings:
- Timing is key: The ideal time to take Nandina cuttings is during the spring or early summer when the plant is actively growing.
- Select healthy stems: Choose non-flowering stems that are about 6-8 inches long and have several sets of leaves.
- Cut below a node: Make a clean cut just below a node, at a 45-degree angle. Remove the lower leaves from the cutting, leaving 2-3 sets of leaves at the top.
- Dip in rooting hormone (optional): To aid in root development, you can dip the cut ends in rooting hormone powder.
- Prepare the soil: Fill a pot with a well-draining potting mix. Make a small hole and insert the cutting, ensuring that the lower leaves are above the soil line.
- Water and humidity: Water the cutting thoroughly and place a plastic bag or humidity dome over the pot to create a humid environment.
- Patience is a virtue: Keep the cuttings consistently moist and in a warm environment. Roots should develop within 4-6 weeks.
2. Seeds:
- Harvest the berries: After the bright-red Nandina berries ripen in the autumn, collect them from the plant.
- Remove the pulp: To extract the seeds, gently crush the berries in a bowl of water. The seeds will sink to the bottom.
- Stratification: Nandina seeds require a period of cold stratification before they can germinate. Place the seeds in a bag of moist peat moss or vermiculite and refrigerate for 2-3 months. This process mimics the natural winter conditions necessary for seed germination.
- Sow the seeds: After stratification, sow the seeds in seed trays filled with a quality seed-starting mix. Keep the soil consistently moist and in a warm, sunny location.
- Thin and transplant: As seedlings develop, thin them out, leaving the strongest plants to grow. Once they are large enough to handle, transplant them to individual pots or outdoors in the garden.
Tips for Successful Propagation:
- Choose a healthy, vigorous mother plant to increase the chances of successful propagation.
- Use sterilized pots and tools to reduce the risk of diseases.
- Place your cutting in a location that receives bright, indirect light, avoiding direct sunlight.
- Regularly check the moisture level of the soil and keep it evenly moist.
- Be patient! It may take several weeks or even months for cuttings to root and seedlings to emerge.
Conclusion:
Propagating your own Nandina is a rewarding experience that allows you to enjoy the beauty of these plants for years to come. Whether you choose cuttings or seeds, the process is relatively simple and can be enjoyed by gardeners of all levels. With a little patience and the right techniques, you’ll soon be surrounded by a beautiful, thriving Nandina garden!