Unlocking the Secrets to Propagating Anthocleista Grandiflora: A Guide to Growing Your Own “Fireball Tree”
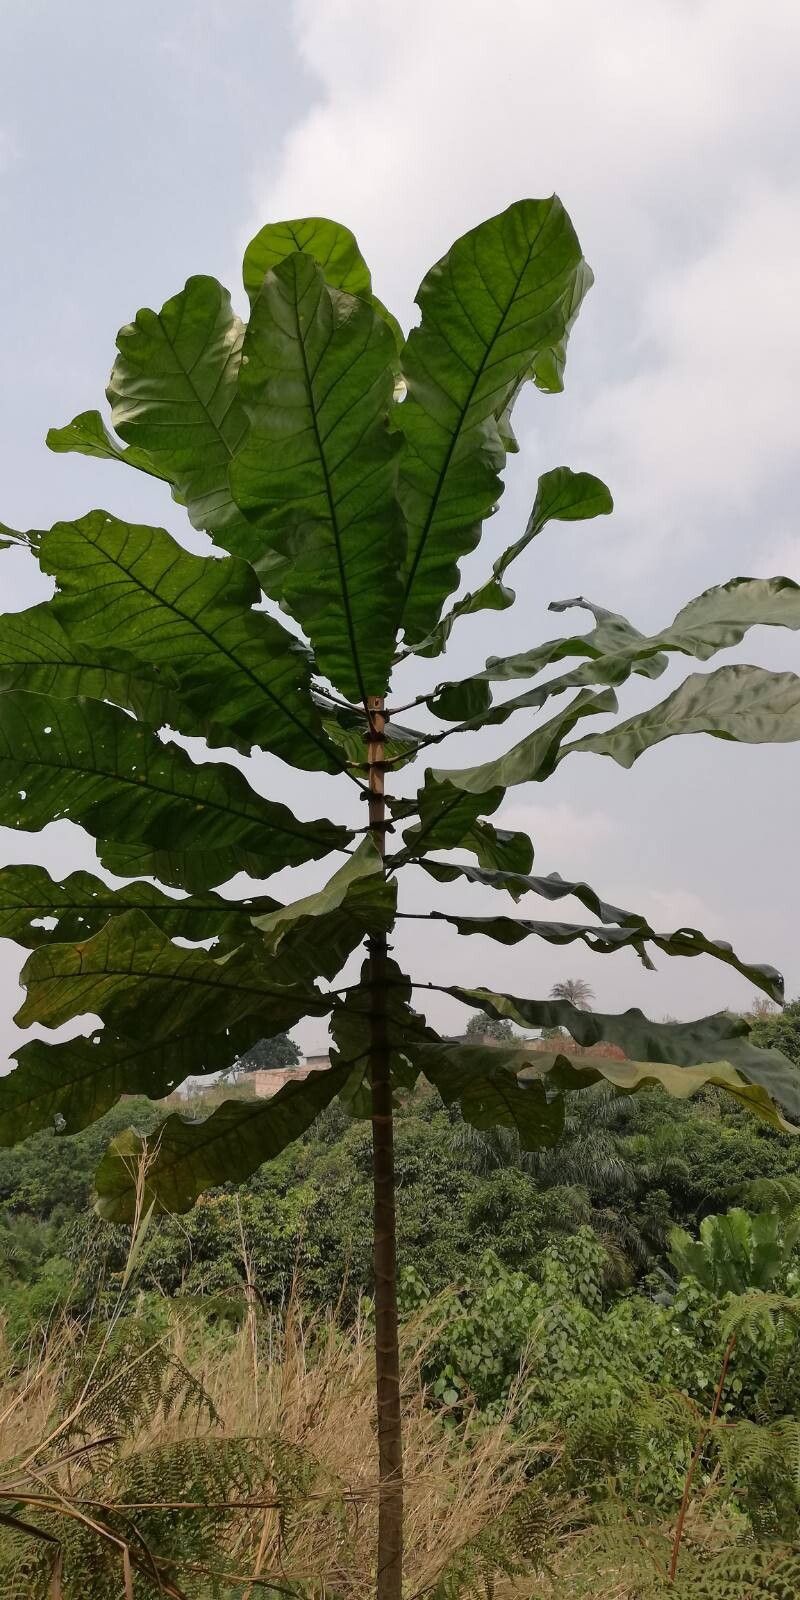
The Anthocleista grandiflora, also known as the “Fireball Tree”, is a stunning tropical plant with vibrant red flowers that bloom in clusters, resembling fiery orbs. Their beauty can easily be admired indoors or outdoors, but what if you could share that beauty with others or just grow more of them for your own enjoyment?
This blog post is your guide to the fascinating world of Anthocleista grandiflora propagation. We’ll explore the various methods you can use to cultivate new plants from existing ones, allowing you to grow your own fiery spectacle.
Understanding Propagation Methods
Propagation is the process of creating new plants from existing ones, and with the Anthocleista grandiflora, there are two primary methods:
- Cuttings: This involves taking a piece of stem from the parent plant and rooting it in a suitable medium. Stem cuttings are the most common method for propagating Anthocleista grandiflora.
- Seeds: Collecting seeds from the fruit pods and sowing them in a well-prepared soil is another option, but it can be a slightly more challenging method.
The Art of Stem Cuttings
- Timing: The best time to take cuttings is during the late spring or early summer when the plant is actively growing. Choose healthy stems with several nodes (the bumps on the stem where leaves grow).
- The Cut: Use sharp, sterilized pruning shears to make a clean cut just below a node. Remove any leaves from the bottom two or three nodes.
- Rooting Medium: A combination of peat moss and perlite is ideal, providing good drainage and moisture retention. You can also use a commercial rooting hormone powder or liquid to encourage faster root development.
- Planting: Dip the cut end of the stem in the rooting hormone and insert it into the prepared medium. Gently firm the soil around the stem and water thoroughly.
- Environment: Cover the pot with a clear plastic bag or wrap to create a humid environment, mimicking the natural conditions the plant needs. Place the pot in indirect sunlight for at least 6 weeks.
- Patience: It may take 4 to 6 weeks for the cuttings to develop roots. Check the cuttings periodically to ensure the soil is consistently moist, but not waterlogged.
Working with Seeds
- Harvesting: When the fruit pods of the Anthocleista grandiflora turn reddish-brown and start to split open, you know the seeds are ripe.
- Preparing the Seeds: Remove the seeds from the pods and discard them for a couple of days to dry out. This stage also helps eliminate any fungal infections.
- Sowing: Use a light, well-draining seed-starting mix and fill small pots or seed trays. Sow the seeds thinly about ¼ inch deep.
- Germination: Water the seeds gently and place the container in a warm, bright location. Keep them consistently moist.
- Transplanting: Once the seedlings develop their first true leaves, carefully transplant them into individual pots, providing them ample space to grow.
Tips for Success
- Humidity: Anthocleista grandiflora thrives in humid environments. You might consider placing a humidifier near your cuttings or seedlings.
- Watering: Consistent moisture is crucial, especially during the rooting process. Water regularly, but avoid overwatering, which can cause root rot.
- Sunlight: Provide your Anthocleista grandiflora with bright, indirect sunlight. Direct sunlight can scorch the leaves and hinder growth.
Enjoy the Rewards
Propagating your own Anthocleista grandiflora allows you to enjoy the beauty of these wonderful plants while becoming a skilled plant parent. Whether you choose cuttings or seeds, remember that patience and consistent care are key to success. As your new plants flourish, you’ll reap the rewarding benefits of growing your own tropical paradise.