From Cutting to Bloom: Mastering the Art of Propagating Pavetta rigida
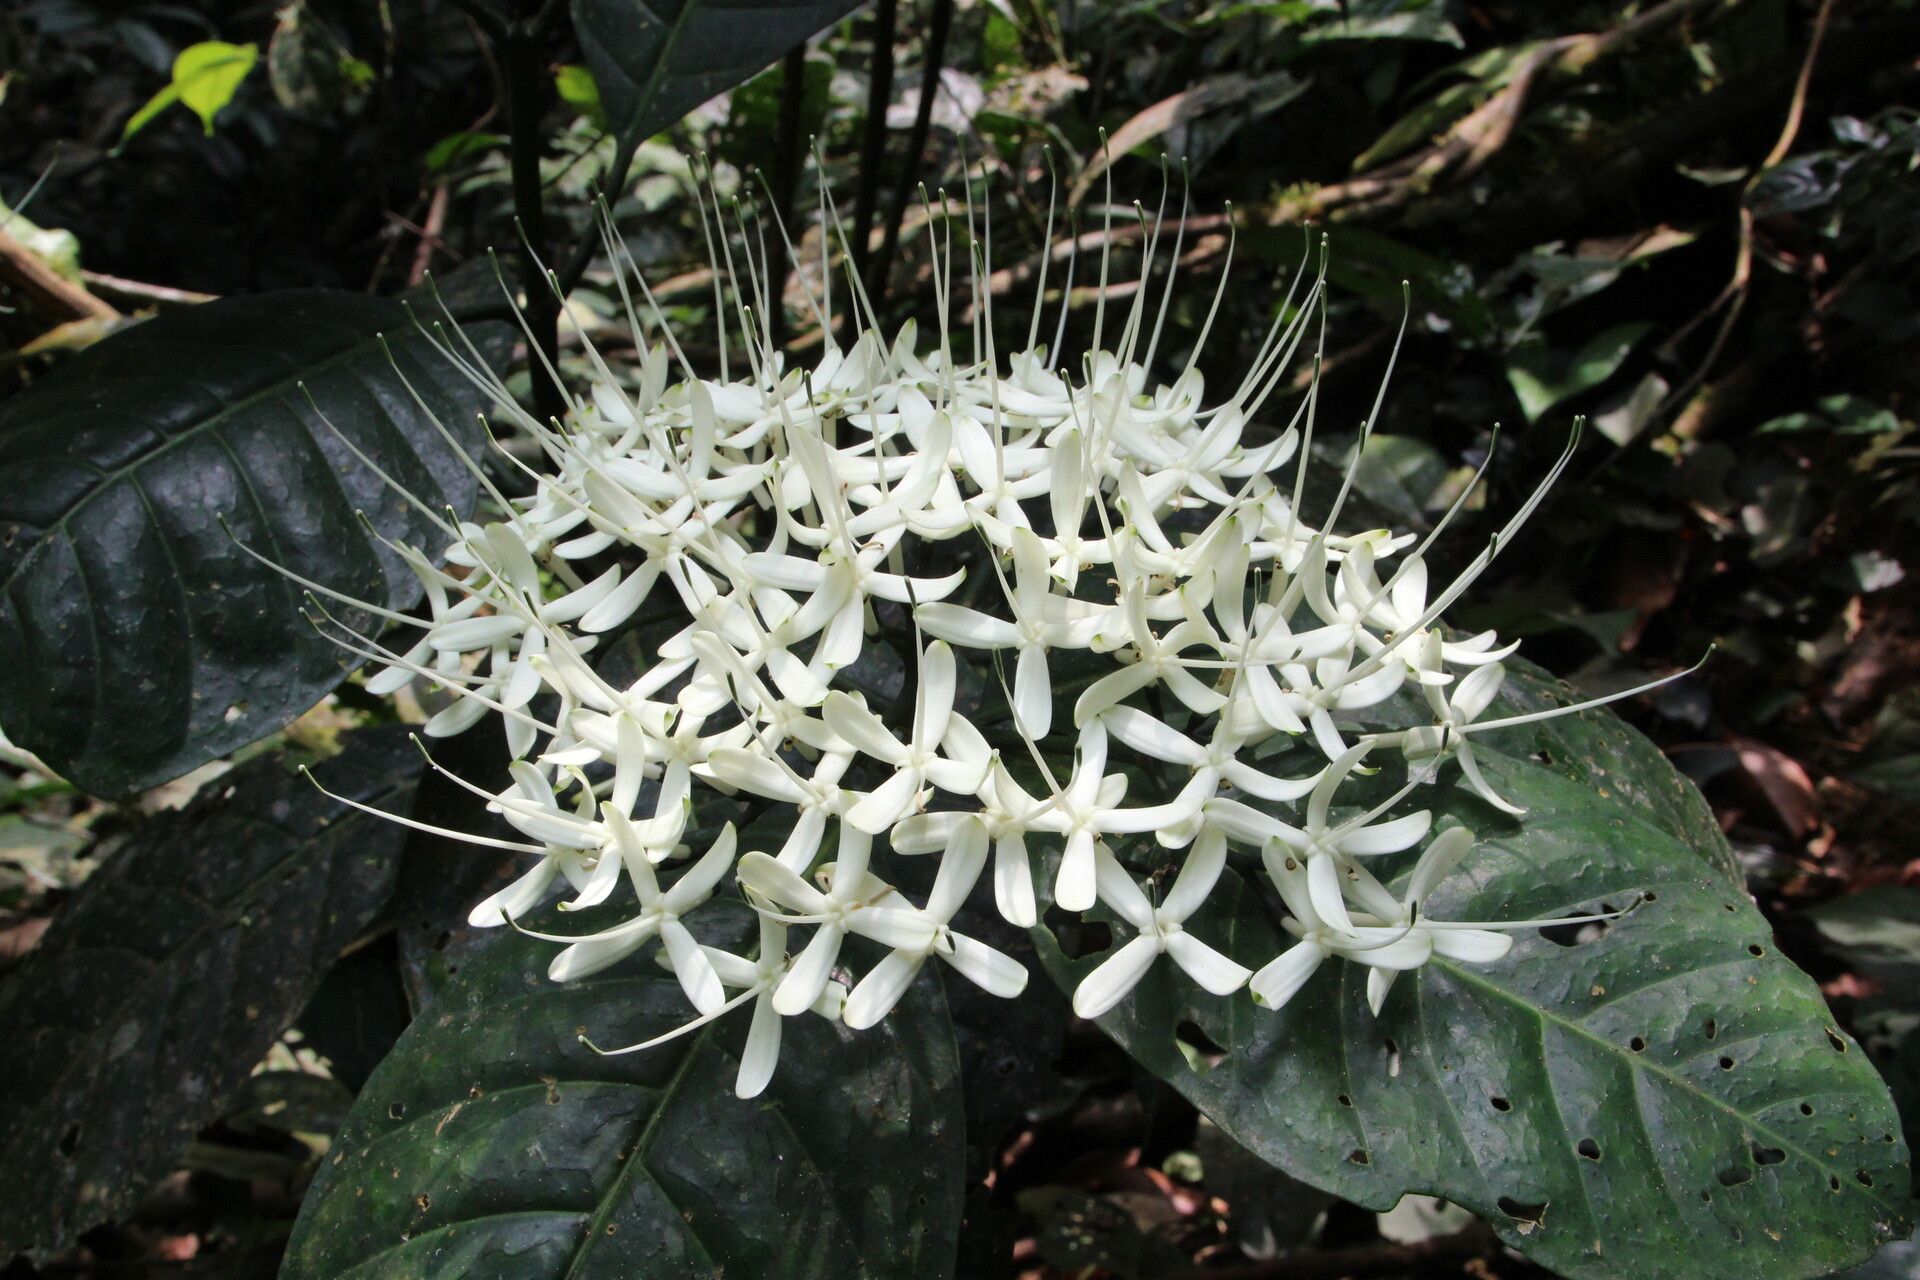
The Pavetta rigida, with its clusters of delicate white flowers and glossy green leaves, is a plant that effortlessly brings a touch of elegance to any space. But securing a new Pavetta rigida can be a challenge as its availability in nurseries is often limited. Fortunately, propagation offers an exciting and rewarding alternative – one that allows you to cultivate this beautiful plant from the comfort of your own home.
Understanding the Process
Propagation involves taking a part of a parent plant, like a stem or leaf, and encouraging it to develop its own root system and grow into a new, independent plant. For Pavetta rigida, the most successful method is through semi-hardwood cuttings. This involves taking cuttings from mature, but not fully hardened stems, usually in the late spring or early summer.
Here’s a step-by-step guide to propagate your own Pavetta rigida:
1. Gather your supplies:
- Sharp, sterilized knife or shears
- Rooting hormone (optional)
- Potting mix specifically formulated for cuttings or a mixture of peat moss and perlite
- Clear plastic wrap or a plastic dome
- Pots or seed trays with drainage holes
2. Take the cuttings:
- Choose a healthy, non-flowering stem with at least two sets of leaves.
- Cut the stem just below a node, the point where a leaf emerges.
- Remove the lowermost leaves, leaving at least two pairs of leaves remaining on the cutting.
3. Prepare the cuttings:
- Dip the cut end of the stem in rooting hormone (optional).
- Plant the cuttings in individual pots or a seed tray, inserting the cut end into the potting mix 1-2 inches deep.
- Water the potting mix gently, ensuring the soil is moist but not soggy.
4. Create a humid environment:
- Cover the pots with plastic wrap or a plastic dome to create a humid environment which encourages root development.
- You can also use a misting bottle to mist the cuttings daily.
- Place the cuttings in a bright, indirect light location.
5. Patience and care:
- Monitor the cuttings regularly, and keep the soil moist.
- The rooting process can take several weeks to months.
- Watch for new growth as a sign of successful rooting.
- Once the cuttings have established a healthy root system, you can gradually acclimate them to the open air by removing the plastic wrap or dome for increasing periods of time.
Tips for success:
- Use clean tools to minimize the risk of infection.
- Choose healthy cuttings from vigorous, well-established plants.
- Ensure good drainage to prevent root rot.
- Monitor the cuttings for signs of disease or pests.
By following these simple steps, you can successfully propagate Pavetta rigida and enjoy the satisfaction of nurturing a new plant from a small cutting. The rewards go beyond just having a beautiful plant for your home; it’s a rewarding experience that fosters a deeper connection with nature and gives you a sense of accomplishment. And who knows, you might even become a master propagator, sharing your knowledge and cuttings with others to grow the beauty of the Pavetta rigida in your community!