Unveiling the Secrets of Propagation: How to Grow More Pleurothallis pedunculata
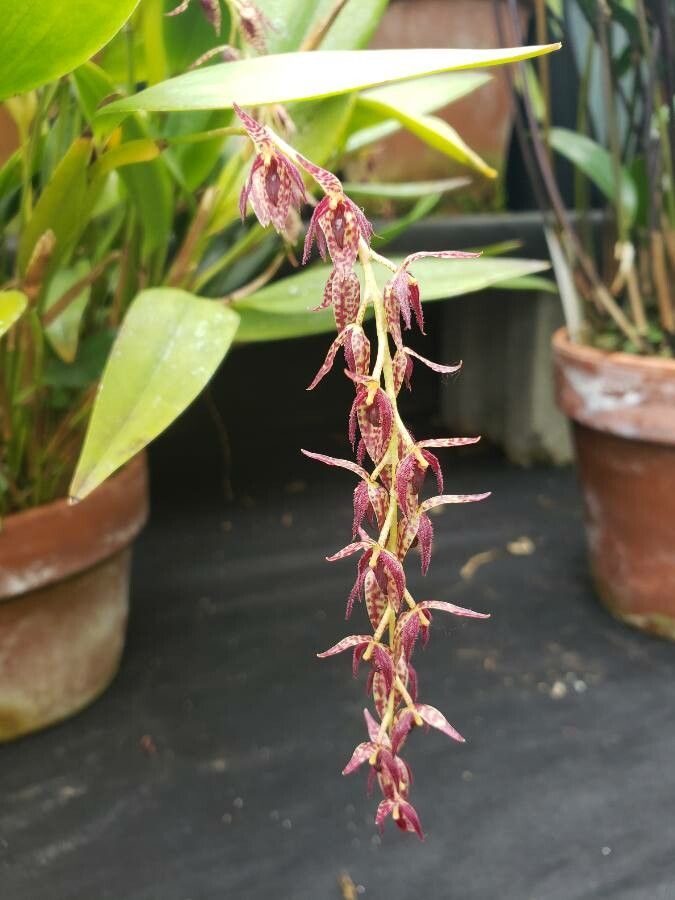
The Pleurothallis pedunculata, with its charming, delicate blooms and intricate foliage, is a captivating orchid that many plant enthusiasts crave. But where do you get more of these miniature beauties? Enter the world of propagation!
This blog post is your guide to understanding the fascinating process of multiplying your Pleurothallis pedunculata, exploring both traditional and more innovative techniques. Whether you’re a seasoned grower or just starting your orchid journey, this information will empower you to expand your collection and share the magic of this species with others.
The Fundamental Methods
There are two main ways to propagate Pleurothallis pedunculata:
Division: This involves separating a mature plant into individual divisions, each with its own roots and growth points. This method is considered more reliable and is particularly suitable for established plants with multiple growth points.
- Seed Propagation: While possible, this method is more challenging and time-consuming. It requires sterile conditions and a specific environment to ensure successful germination.
Division: A Simple and Effective Approach
- When and How: The best time to divide a Pleurothallis pedunculata is during the growth season, typically after blooming. Look for healthy plants with multiple pseudobulbs (swollen stems) and well-developed roots.
- The Process: Gently detach a portion of the plant with a sharp, sterilized knife or scissors. It’s crucial to ensure each division has at least two or three pseudobulbs and some healthy roots.
- Repotting: Repot each division in a fresh, well-draining orchid potting mix. Use a pot size appropriate for the size of the division. Remember to water immediately after repotting.
Seed Propagation: A More Complex Journey
- Collecting Seeds: The tiny seeds of Pleurothallis pedunculata are enclosed within pods. Once the pods turn brown and dry, you can carefully harvest the seeds.
- Sterile Environment: Seed propagation requires a sterile environment to prevent contamination. Use a dedicated space with sterilized tools and media. Orchid seed starter is the ideal medium for this purpose.
- Germination: The seeds are sown on the surface of the sterile medium and covered with a humidity dome. Germination typically occurs within a few weeks, but it can take several months.
Other Propagation Techniques
- Keiki: Occasionally, Pleurothallis pedunculata may produce offshoots called keikis. These are miniature plants that arise from the stem or pseudobulbs. When the keikis develop their own roots, they can be carefully separated and potted.
- Tissue Culture: This specialized technique is commonly used in laboratories for mass propagation but can also be attempted by hobbyists with the right equipment and knowledge.
Tips for Successful Propagation
- Proper Lighting: Provide bright, indirect light and avoid direct sunlight.
- Humidity and Ventilation: Maintain moderate humidity levels and ensure adequate ventilation to prevent fungal growth.
- Consistent Watering: Water regularly, but allow the potting mix to dry slightly between waterings.
- Fertilizer: Use a balanced fertilizer specifically formulated for orchids, diluted to half strength.
Reaping the Rewards
Propagating your Pleurothallis pedunculata is a rewarding experience. It allows you to create more of this captivating beauty and share your passion for orchids with others. It’s a journey filled with anticipation, as you witness the emergence of new life from a single plant. By following these techniques, you’ll embark on a fascinating journey of discovery and propagation, ultimately enriching your orchid collection and enjoying the unparalleled beauty of this species.