Orchids at Home: Unlocking the Secrets of Prosthechea spondiada Propagation
For orchid enthusiasts, the thrill of propagating their own plants is unparalleled. It’s a gateway to expanding your collection, sharing the beauty with others, and even challenging yourself with horticultural mastery. Today, we’re diving into the fascinating world of Prosthechea spondiada propagation, a rewarding journey for even beginner orchid growers.
Why Propagate Prosthechea spondiada?
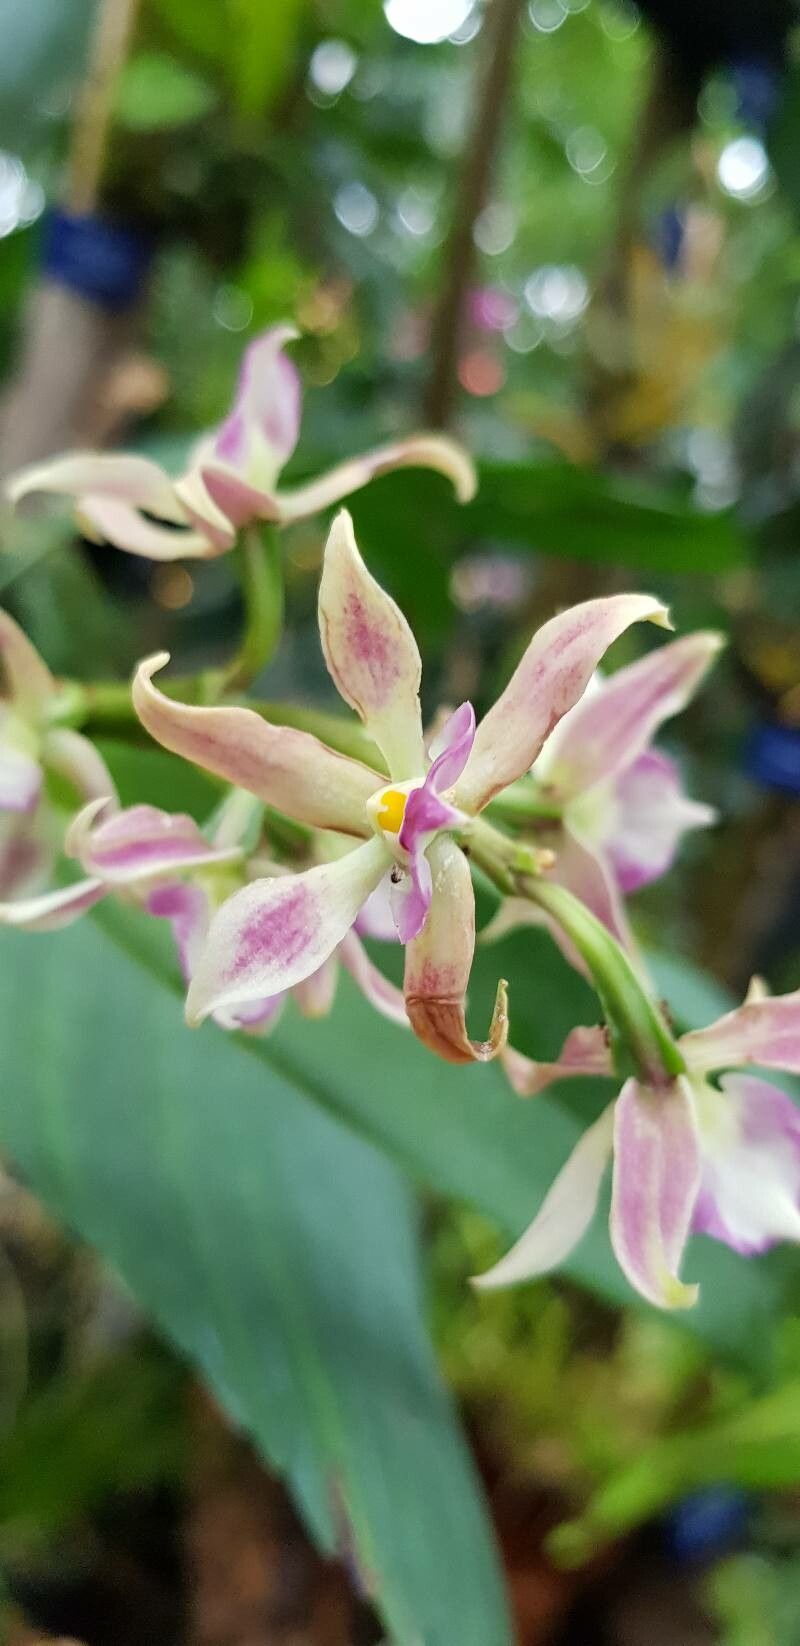
Prosthechea spondiada, with its vibrant blooms and unique, spidery petals, is a captivating addition to any orchid collection. Cultivating your own plants from seeds or divisions offers several advantages:
- Cost-effective: Propagation can significantly reduce the cost of expanding your collection.
- Rewarding: Successfully growing your own plants from scratch is extremely rewarding.
- Genetic Diversity: Propagation lets you experiment with different techniques and create new, unique plants.
Methods for Propagating Prosthechea spondiada:
While this orchid species can be propagated through seeds, this method is best suited for experienced growers and is quite time-consuming. The most accessible and successful option for beginners is vegetative propagation, specifically dividing your orchid. Here’s how:
- Choosing the Right Time: The ideal time for division is during the orchid’s active growth phase, just after flowering. This allows for maximum healing and growth.
- Preparing the Orchid for Division: Carefully remove the orchid from its pot, gently loosening the roots. Examine the plant for healthy, established pseudobulbs. Typically, a plant with 3-4 pseudobulbs is optimal for division.
- Dividing the Orchid: Using a sharp, sterilized knife or shears, carefully cut the plant at the base, ensuring each division has at least one healthy pseudobulb, roots, and a portion of rhizome.
- Repotting the Divisions: Prepare individual pots with a well-draining orchid potting mix. Place each division in its own pot, ensuring the rhizome is just slightly buried within the mix. Water thoroughly.
Post-Division Care:
- High Humidity: Prosthechea spondiada thrives in humid environments. After division, maintain consistently high humidity, preferably above 70%, by misting regularly or using a humidifier.
- Warm Temperatures: Ensure the plant is kept in a warm environment, ideally with temperatures between 70-85°F (21-29°C) during the day and slightly cooler at night.
- Indirect Sunlight: Avoid direct sunlight, which can scorch the delicate leaves, and position the plant in a bright, indirect location.
- Watering: Water thoroughly when the potting mix is dry but avoid overwatering, which can lead to root rot.
- Fertilizer: Apply a balanced orchid fertilizer diluted to half strength during the growing season.
Patience is Key:
Remember, propagating orchids takes time and patience. The newly divided plants might not bloom immediately, but with the right care, they will eventually produce stunning blooms, a testament to your dedication and expertise.
Conclusion:
Propagating Prosthechea spondiada is a rewarding experience for orchid enthusiasts of all levels. By following these steps and providing the right conditions, you can create new plants, expanding your collection while enjoying the magic of witnessing new life emerge. So, grab your tools, gather your supplies, and embark on this exciting journey of orchid propagation!