From One to Many: Successfully Propagating Your Austroderia fulvida
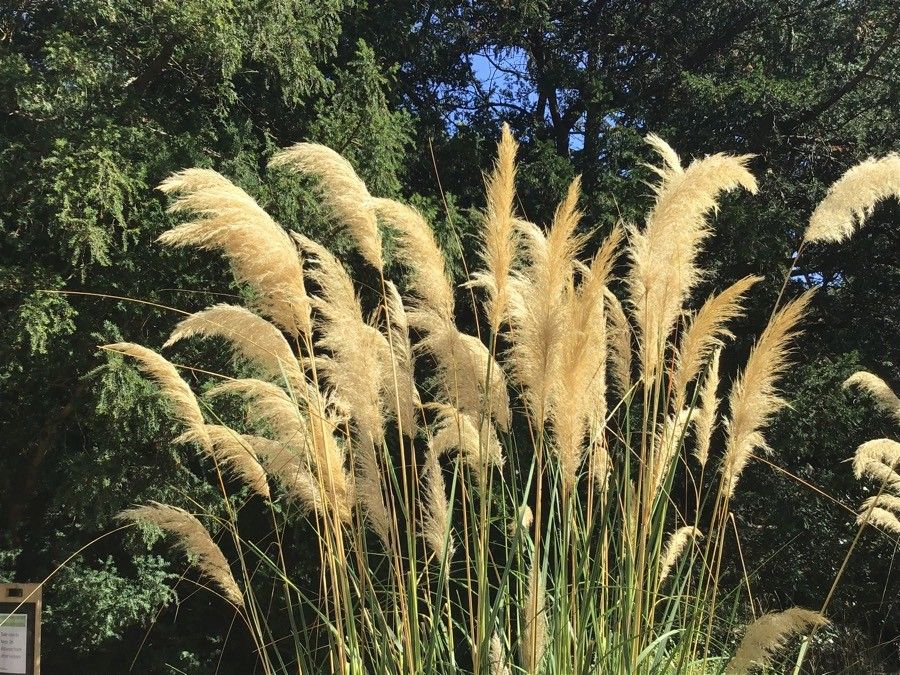
Ah, the Austroderia fulvida, also known as the “Giant Reed”. This striking perennial grass boasts beautiful, feathery foliage and adds a touch of dramatic elegance to any garden. But what if you want to enjoy the beauty of this majestic plant in multiple spots?
Fear not! Propagation is a relatively simple process for the Austroderia fulvida, allowing you to expand your collection (or share the joy with friends) without breaking the bank. Let’s delve into the two main methods:
1. Division: The Easier Route
For those seeking a straightforward and effective method, division is a fantastic option for propagating your Austroderia fulvida. Here’s how it works:
- Timing is key: Spring is the optimal time for dividing your fulvida. As the plant emerges from its winter dormancy, it’s full of energy and ready to regenerate.
- Unveiling the roots: Carefully dig around the base of the plant, exposing the root system.
- Making a split: Using a sharp spade or knife, divide the clump into smaller sections. Aim for each section to have healthy roots and at least a few shoots or stems.
- Ready for planting: Plant the divisions in their new homes, ensuring the root ball is just below the soil surface. Water thoroughly to settle the roots.
2. From Seed to Splendor: The Patient Gardener’s Path
Propagating your Austroderia fulvida from seed may take a bit longer, but it’s rewarding for the patient gardener. Here’s a step-by-step guide:
- Collecting your seeds: Wait for the beautiful, feathery plumes to mature and shed seeds. Collect these seeds in a paper bag or container.
- Sowing the seeds: Lightly sow the seeds on the surface of a seed tray filled with moist, well-draining seed-raising mix.
- Providing warmth and light: Place the tray in a sunny location or under a grow light to promote germination. Keep the soil consistently moist but not soggy.
- Patience is a virtue: Germination can take a bit of time – anywhere from two to six weeks!
- Transplanting time: Once seedlings develop a few true leaves, transplant them into individual pots, providing them with ample space to grow.
- Hardening off: Before planting outdoors, slowly acclimate your seedlings to the outdoors by gradually exposing them to more sunlight and wind.
Tips for Success:
- Soil Choice: Austroderia fulvida thrives in well-drained soil that is slightly acidic to neutral.
- Sunlight: Give your fulvida ample sunshine – they love six hours of direct sunlight daily.
- Watering: Water regularly but avoid overwatering. Let the soil dry slightly between waterings.
- Fertilizing: Feed your Austroderia fulvida with a balanced fertilizer during the growing season to promote healthy growth.
Important Notes:
- Know Your Limits: As the Austroderia fulvida is a vigorous grower, it’s essential to choose the right spot in your garden. Consider space and its potential for spreading before planting.
- The Invasive Factor: Be aware that in some regions, Austroderia fulvida can become invasive. Check with local authorities before planting to avoid any potential issues.
Go Forth and Propagate!
Whether you choose division or seed propagation, the process of creating more of these stunning grass beauties is relatively simple. With a little patience and care, you can enjoy the majestic beauty of Austroderia fulvida’s feathery foliage in many parts of your garden, or even share the joy with friends and family. Happy propagating!