From Tiny Seed to Stunning Blooms: Propagating Downingia pulchella
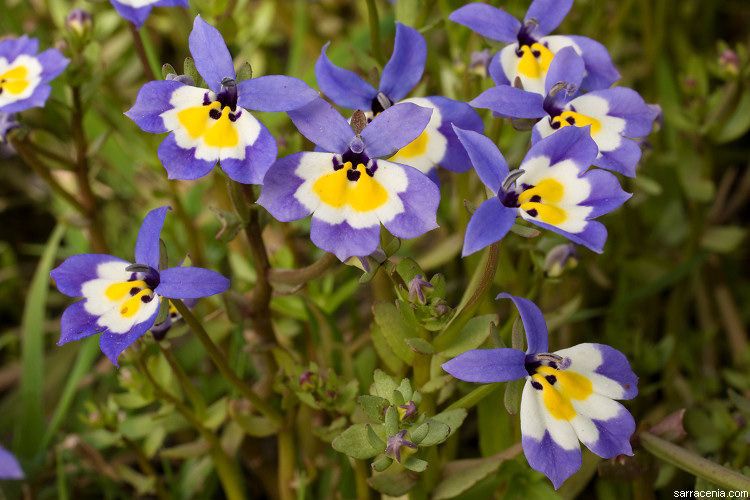
Downingia pulchella, with its delicate blue and white flowers, is a real showstopper in the garden. But did you know you can easily grow this charming wildflower from seed, and even share it with friends? This post is all about propagation, specifically how to create new Downingia pulchella plants from seeds and cuttings.
The Magic of Seeds
Downingia pulchella is a true annual, meaning it grows from seed, blooms, and sets seed within one season. It’s a classic example of how to harness the power of natural propagation.
Sowing Success:
Timing is Key: Sow seeds indoors, six to eight weeks before the last frost, or directly outdoors after all risk of frost has passed.
Prepare Your Seedbed: Use a seed starting mix or well-drained potting soil. Gently press the seeds onto the surface, as they need light to germinate.
Moisture is Crucial: Keep the soil evenly moist but not soggy. Use a spray bottle for gentle watering.
Cover with Humidity: A clear plastic dome or humidity dome will help retain moisture and warmth, ideal for germination.
Wait for the Magic: Germination can take 10-14 days. Thin seedlings as needed, keeping the strongest ones.
Hardening Off: Once seedlings have several sets of true leaves (about 10-14 days), gradually acclimate them to outdoor conditions by placing them in a sheltered location for increasing periods each day.
- Planting Out: Once the soil has warmed and all risk of frost has passed, transplant your Downingia pulchella seedlings into their final position in the garden.
Taking Cuttings: Extending the Season
Beyond seeds, you can also propagate Downingia pulchella using cuttings. This method offers a faster way to create new plants:
Choose Your Cuttings: Select healthy, non-flowering stems from a mature plant. The best cuttings are softwood, meaning they are new growth that hasn’t hardened off yet.
Cut and Dip: Use a sharp knife or shears to make a clean cut below a leaf node. Immediately dip the cut end into rooting hormone powder.
Potting Up: Place the cuttings in a pot filled with a well-drained seed starting mix or a rooting medium. Gently press the soil around the cut ends.
Maintain Humidity: Cover the pot with a plastic dome or humidity dome to promote rooting. Ensure the soil stays evenly moist.
Patience is Key: Cuttings will typically root in 2-4 weeks. Check for new growth at the base of the stem, indicating successful rooting.
- Transplantation: Once the cuttings have developed strong root systems, gently pot them up into individual containers, or transplant them directly into the garden.
A Final Tip:
Downingia pulchella prefers full sun to partial shade and moist, well-drained soil. With correct watering and care, this delightful wildflower will reward you with a tapestry of blue and white flowers throughout the summer.