From Tiny Seeds to Lush Lawns: Mastering the Art of Dichondra occidentalis Propagation
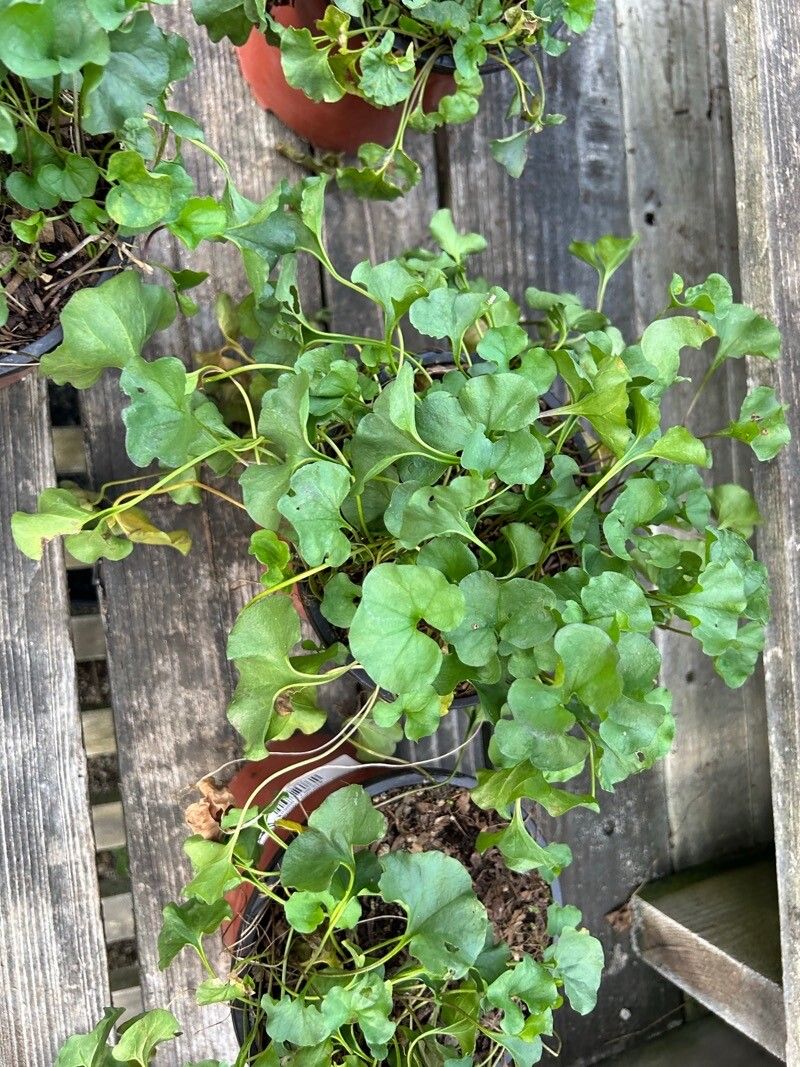
Dichondra occidentalis, the charming “lawn substitute” with its coin-shaped leaves, is increasingly becoming a popular choice for low-maintenance lawns and groundcover. But did you know that you can effortlessly grow your own Dichondra from scratch?
Understanding the Two Main Propagation Methods
There are two primary ways to propagate Dichondra occidentalis:
- From Seed: Seeds are the most common method for establishing a new Dichondra patch. They are readily available and cost-effective, making them an excellent choice for larger areas.
- From Cuttings: This method is ideal for quickly expanding an existing Dichondra patch or for obtaining specific varieties. It’s a faster and more convenient way to fill gaps or create a dense groundcover.
Here’s a detailed breakdown of each method:
1. Propagation from Seed
- Timing is Key: Sow Dichondra seeds in spring or early summer when the soil is warm and the weather is consistently mild.
- Prepare the Soil: Dichondra prefers well-drained, slightly acidic soil. Amend your soil with compost or peat moss to improve its structure and fertility.
- Direct Seeding: Spread seeds evenly over the prepared soil surface and lightly rake them in.
- Watering: Water the seeds thoroughly and consistently, keeping the soil moist but not soggy. Germination can typically take 10-21 days.
- Thinning: Once seedlings are established, thin them out, leaving about 6 inches between plants for optimal growth.
2. Propagation from Cuttings
- Choose Healthy Cuttings: Select healthy stems with several nodes (where leaves attach).
- Cuttings Preparation: Make a clean cut just below a node, ensuring it is about 3 inches long. Remove any lower leaves that would be submerged in soil.
- Rooting Hormone (Optional): Dip the cut end of the cutting in rooting hormone for better success.
- Planting: Place the cuttings in a well-draining potting mix in a pot or tray. Ensure they are evenly spaced and keep the soil moist.
- Placement: Place the container in a bright, indirect light location and cover with a clear plastic dome or bag to maintain humidity.
- Rooting Time: It typically takes 2-4 weeks for the cuttings to root. Monitor them closely and provide them with water as needed.
- Transplanting: Once rooted, you can transplant the Dichondra cuttings to your desired location.
Tips for Success:
- Patience is Virtue: Dichondra is a slow-growing plant, so be patient.
- Sunlight: It thrives in full sun to partial shade.
- Watering: Keep the soil evenly moist, but avoid overwatering.
- Fertilization: Feed your Dichondra with a balanced fertilizer every few weeks during the growing season.
- Mowing: Dichondra can be mowed regularly with a rotary mower set to a higher height (around 2-3 inches).
Benefits of Growing Dichondra from Seed or Cuttings:
- Cost-Effective: Starting from seeds or cuttings is significantly cheaper than purchasing pre-grown Dichondra plants.
- Fresh Start: Starting propagation provides you with a new and healthy patch of Dichondra, free from pests and diseases carried by purchased plants.
- Personalized Customization: You can tailor the size and shape of your Dichondra patch to suit your specific needs.
With a little patience and understanding, you can easily propagate Dichondra occidentalis and enjoy the beauty of its velvety foliage in your own garden or lawn. Whether you choose to start from seed or cuttings, this versatile plant offers a low-maintenance and visually appealing solution for ground cover, edging, or even a luscious lawn alternative.