Unlocking the Secrets of Boronia falcifolia Propagation: Bringing Beauty Home
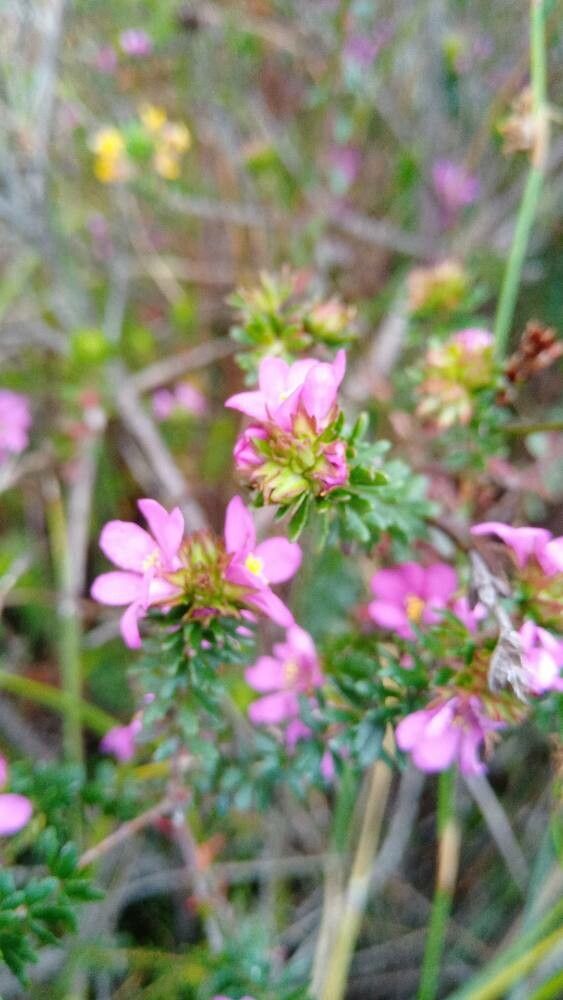
The delicate, fragrant flowers of Boronia falcifolia, also known as the “Pink Boronia”, are a sight to behold. This native Australian shrub, with its silvery-green foliage, adds pops of colour and elegance to any garden. But what if you could share this beauty with friends or even create a thriving patch of Pink Boronias in your own yard? The answer lies in the art of propagation.
While Boronia falcifolia can be a little temperamental in cultivation, achieving success through propagation isn’t as complicated as it might seem. Here’s your guide to bringing this stunning plant into your life:
1. Mastering the Art of Cuttings:
The most common method of propagation for Boronia falcifolia is taking semi-hardwood cuttings. This technique involves snipping a piece of healthy, new growth (around 5-8cm long) from a mature plant. The ideal time to take these cuttings is during spring or summer when the plant is actively growing. Here’s a step-by-step guide:
- Choose your cutting: Look for a stem that has not yet fully hardened, ensuring it includes a few leaf nodes.
- Prepare your cutting: Use a sharp, clean knife or pruning shears to make a clean cut just below a leaf node.
- Remove lower leaves: Strip off the leaves from the bottom two nodes and remove any remaining flowers to concentrate energy on root development.
- Dip your cuttings in rooting hormone: Applying a rooting hormone powder or gel to the cut end of the cutting can significantly increase success rates.
- Potting mix: A well-draining mixture like a mix of potting soil, perlite, and vermiculite is ideal. Ensure the pot has drainage holes.
- Planting: Insert the cut end of the cutting into the prepared potting mix, leaving the upper leaves exposed.
- Humidity is key: To encourage root development, cover your cuttings with a clear plastic bag or humidity dome. This creates a mini greenhouse effect, trapping moisture and warmth.
- Light and warmth: Place the cuttings in a bright, indirect light location where they will receive plenty of warmth. Avoid direct sunlight as it can burn the delicate leaves.
- Patience is crucial: It can take several weeks for cuttings to develop roots, so be patient and don’t disturb the pot too often.
2. Alternative Methods:
While cuttings are the preferred method, Boronia falcifolia can also be propagated through seed. However, this method requires more patience as it can take several months for seeds to germinate.
3. Nurturing Your New Plants:
Once your cuttings have developed roots, you can gradually acclimate them to outdoor conditions by removing the plastic cover for longer periods. Once they are well established, you can repot them into a slightly larger pot and continue nurturing them as you would a mature Boronia falcifolia.
4. Key Considerations:
- Avoid overwatering: Boronia falcifolia prefers free-draining soil and dislikes soggy conditions. Allow the soil to dry out slightly between waterings.
- Provide good drainage: Ensure your planting pots have adequate drainage holes to prevent root rot.
- Full sun to partial shade: This plant thrives in a sunny location but can tolerate a few hours of dappled shade during the hottest part of the day.
Achieving Success:
Remember, propagation takes time and dedication. With a little patience and the right techniques, you can turn a single cutting of Boronia falcifolia into a lush, fragrant addition to your garden, bringing the beauty of the Australian bush right to your doorstep.