Unlocking the Secrets of Zamia monticola Propagation
Zamia monticola, also known as the Mountain Zamia, is a captivating cycad species with its luxuriant foliage and fascinating prehistoric charm. But owning these beauties can come with a price tag. Fortunately, Zamia monticola has a secret – it can be easily propagated! Let’s dive into the fascinating world of Zamia monticola propagation and empower you to grow your own collection of these ancient wonders.
The Power of Seeds: A Journey Through Time
The most common method of propagation for Zamia monticola is through seeds. This is where the magic truly lies, as you are essentially participating in the life cycle of a plant that has existed for millennia. Here’s what you need to do:
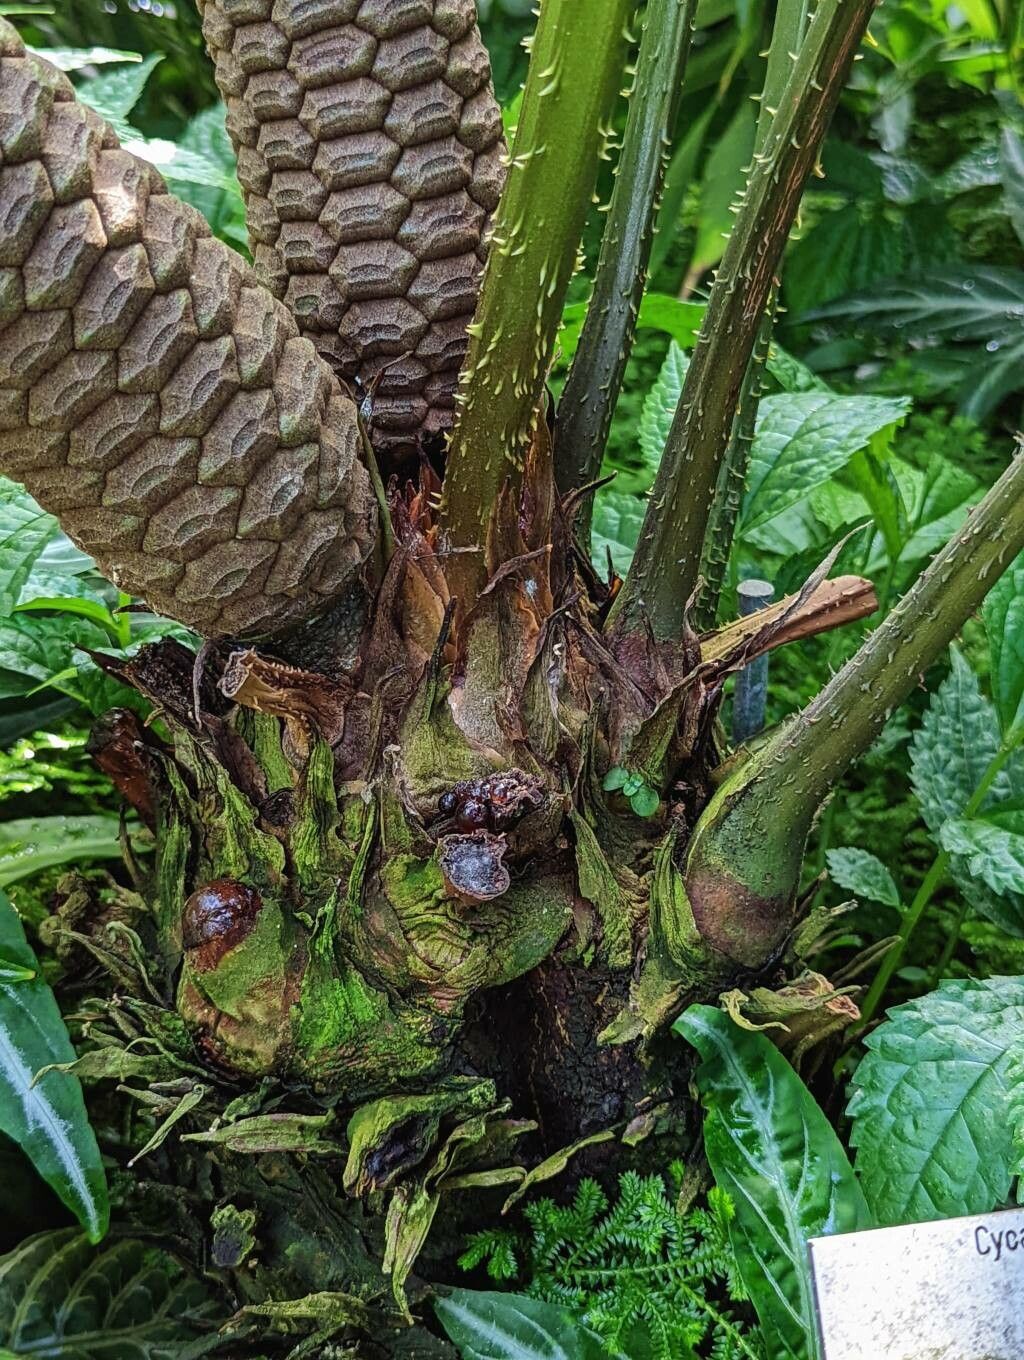
- Harvesting Seeds: Obtain mature cones from a Zamia monticola plant. These cones are typically brown and will hold numerous seeds.
- Preparing for Germination: Remove the seeds from the cone and gently clean them. Ideally, you should sow the fresh seeds within 2-3 months of harvest for the best germination rates.
- Seed Starting Mix: Use a well-draining potting mix and fill small pots or seed trays. It’s essential to avoid over-watering as this can lead to root rot.
- Sowing the Seeds: Plant the seeds about 1/2 inch deep in the soil leaving about 2 inches between each seed.
- Patience is Key: Zamia monticola seeds can take anywhere from 6 months to a year to germinate. Keep the soil moist, but not overly wet, and place the seeds in a warm, sunny location.
- Transplanting: Once the seedlings have developed a few sets of leaves, they can be gently transplanted into individual pots.
Taking Root: The Art of Division
For established Zamia monticola plants, division is another option for propagation. This method involves separating the rhizomes (underground stems) and allowing each section to develop its own root system.
- Timing is Everything: The best time for division is during the spring or early summer when the plant is actively growing. This is when the roots are most vigorous and can readily establish new growth.
- Gentle Removal: Carefully remove the plant from its pot and gently pull the rhizomes apart. Ensure each section has at least one growth point and a good root system.
- New Beginnings: Plant the divided sections in individual pots with a well-draining potting mix. Keep the soil moist and ensure the plant gets adequate sunlight.
- Recovery Time: It’s crucial to allow the divided sections to establish a strong root system before exposing them to full sun conditions. Expect it to take a few weeks for the divisions to recover and begin actively growing again.
Beyond the Basics: A Few Words on Success
Whether you choose seeds or divisions, a few key considerations will boost your Zamia monticola propagation success:
- Light: Zamia monticola thrives in bright, indirect light. Avoid placing them in direct sunlight, especially during intense summer months.
- Watering: Water deeply but allow the soil to dry slightly between waterings. Avoid overwatering, as this can lead to root rot.
- Soil: Use a well-draining potting mix that is specifically designed for cycads.
- Temperature: Zamia monticola prefers warm temperatures and can tolerate a range from 70 degrees Fahrenheit to 90 degrees Fahrenheit.
- Fertilizer: Fertilize your Zamia monticola every few months with a balanced fertilizer diluted to half strength.
The Rewards of Propagation
Propagating Zamia monticola is not only a rewarding experience, but it also allows you to grow and share these fascinating plants with others. From the thrill of seed germination to the satisfaction of witnessing divisions thrive, this journey will connect you with the ancient world of cycads. So, begin your Zamia monticola propagation adventure today and witness the remarkable resilience and elegance of these prehistoric beauties.