From Tiny Snipping to Thriving Beauty: Propagating Psiadia Melastomatoides
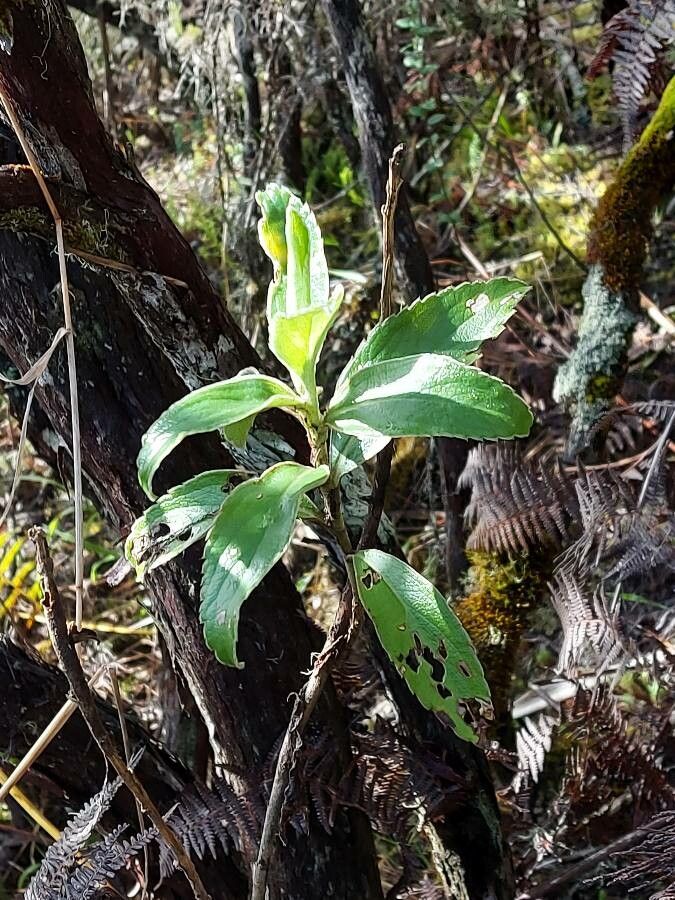
Have you ever admired the vibrant, almost iridescent foliage of Psiadia melastomatoides, commonly known as Madagascar Blue Chamomile? Perhaps you’ve been captivated by its potent aroma, reminiscent of chamomile and eucalyptus. But what if we told you that you could share this beauty with others, or even cultivate your own personal patch of these fragrant wonders? The secret lies in propagation.
Propagation is the art of producing new plants from existing ones, and for Psiadia melastomatoides, it’s a surprisingly simple process. This versatile plant offers several methods for success, allowing you to grow a whole colony from just a few clippings. Let’s delve into the world of Psiadia propagation, exploring the various methods and unlocking the secrets to growing your own fragrant haven.
1. Stem Cuttings: The Quick and Easy Way
One of the easiest and most popular methods for propagating Psiadia melastomatoides is through stem cuttings. Simply take a 4-6 inch cutting from a healthy, non-flowering stem, ensuring a few leaf nodes are present. Remove the lower leaves and dip the cut end in rooting hormone, if desired. Pot the cutting in a well-draining soil mix, keeping the soil moist but not waterlogged. Cover the cutting with a plastic dome or bag to create a humid environment.
2. Layering: A Gentle and Reliable Method
If you prefer a slower but more hands-off approach, air layering might be your preferred method. Choose a healthy stem, and gently cut a ring of bark, about an inch wide, around the stem. Apply rooting hormone to the exposed area and wrap it with damp sphagnum moss, securing with plastic wrap. Keep the moss moist and within a few weeks, you should see new roots emerge. Once the roots are established, you can carefully cut the new plant from the mother plant and pot it.
3. Seed Propagation: For Patience & Experimentation
While less common, Psiadia melastomatoides can be propagated from seeds. Collect the seeds from mature, dried flower heads and sow them in a seed tray filled with well-draining soil. Keep the soil moist and warm (approximately 70-75 degrees Fahrenheit), and the seeds should germinate within a few weeks. Be patient, as seed-grown plants may take a bit longer to reach maturity.
A Few Essential Tips for Success
No matter which method you choose, keeping these tips in mind will increase your chances of successful propagation:
- Use sterilized tools: Preventing disease transmission is key.
- Choose healthy source material: Start with a vigorous, disease-free plant for the best results.
- Provide proper drainage: Overwatering is a major culprit in propagation failure.
- Maintain consistent humidity: A humid environment promotes root growth and encourages faster rooting.
- Patience is key: Propagation takes time, so don’t get discouraged if you don’t see results immediately.
Sharing the Joy of Psiadia Melastomatoides
By mastering the art of propagation, you can share the fragrant beauty of Psiadia melastomatoides with friends, family, and even the wider community. Whether you opt for the simplicity of stem cuttings or the patience of seed propagation, you’ll be rewarded with stunning, aromatic plants that add a touch of magic to any garden. So, why not give it a try? The world awaits your flourishing Psiadia melastomatoides!