From One Anthurium Balaoanum to Many: A Guide to Propagation
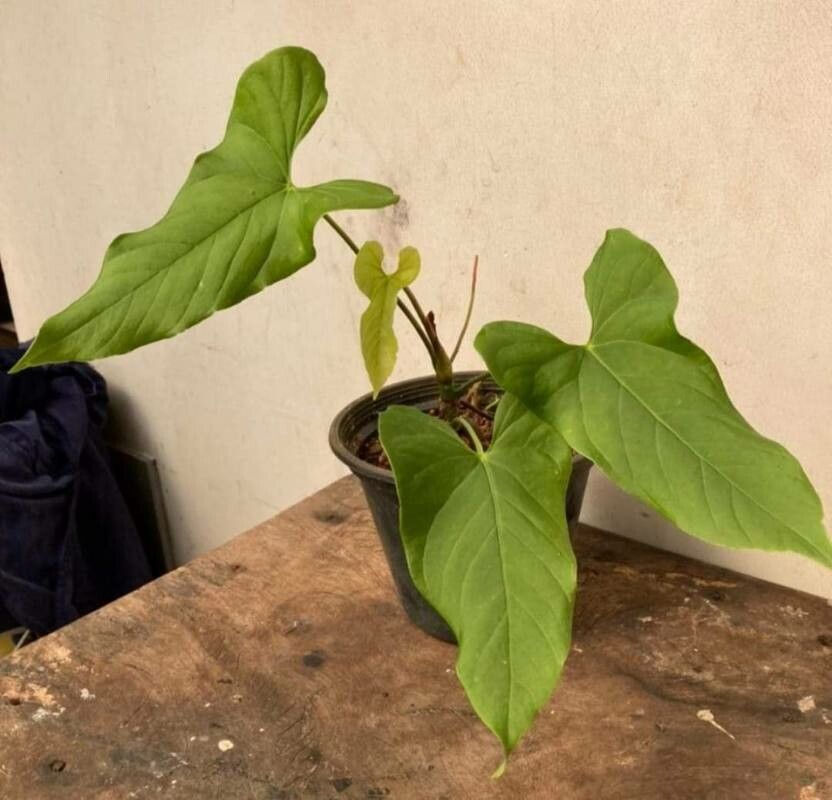
The Anthurium balaoanum, with its stunning red spathes (the colorful “petals”) and velvety leaves, is a true showstopper. But did you know that this beauty can also be easily multiplied by propagation? Yes, you can create more of these captivating plants from cuttings, giving you a room full of lush foliage and vibrant color!
Why Propagate Anthurium Balaoanum?
- More plants for less: Propagation is an affordable way to expand your plant collection without spending a fortune.
- Share the love: Gift your friends and family cuttings of this unique and beautiful plant.
- Experiment with varieties: If you have different Anthurium balaoanum cultivars, you can experiment with propagation to see which methods work best for each one.
The Most Effective Propagation Methods
1. Stem Cuttings: This is the easiest and most common method for Anthurium balaoanum.
- Prepare your materials: You’ll need a sharp, sterilized knife or pair of shears, rooting hormone (optional), and a pot with well-draining potting mix.
- Choose a healthy cutting: Select a stem with several leaves and at least one node (the area where a leaf emerges from the stem).
- Make the cut: Cut the stem just below a node, making sure the cut is clean and sharp.
- Remove lower leaves: Remove the leaves below the soil line to prevent rotting.
- Apply rooting hormone: If using, dip the cut end of the stem into the rooting hormone.
- Plant the cutting: Insert the cutting into the potting mix, ensuring the soil is moist but not soggy.
- Provide humidity: Cover the cutting with a plastic bag or dome to create a humid environment.
- Patience is key: Keep the soil consistently moist and provide indirect light. It may take several weeks for the cutting to root.
2. Air Layering: This technique allows you to root new plants directly on the parent plant.
- Choose a stem: Select a healthy, mature stem with nodes.
- Prepare the stem: Make a shallow cut through the bark around the stem, exposing the cambium layer.
- Wrap the cut: Cover the exposed area with damp sphagnum moss and secure it with plastic wrap.
- Maintain moisture: Keep the moss moist, but not soggy.
- Roots will form: Over time, roots will develop around the cut.
- Sever the cutting: Carefully detach the rooted cutting from the parent plant once the roots have formed.
Tips for Success
- Choose the right cutting: Healthy, vigorous stems with multiple nodes are ideal for propagation.
- Sterilize your tools: This helps prevent fungal infections.
- Use a well-draining potting mix: A mix of peat moss, perlite, and vermiculite is excellent.
- Provide bottom heat: A heating mat can help speed up root formation.
- Be patient: Propagation can take several weeks to a few months.
Enjoying Your New Plants
Once your Anthurium balaoanum cuttings have rooted, you can gradually acclimate them to their new environment. Repot them individually in pots with well-draining potting mix. Give them bright, indirect light and water regularly, allowing the soil to dry slightly between waterings.
With a little care and a touch of patience, you can easily propagate your Anthurium balaoanum and share the beauty of this unique plant with others!