From One to Many: Propagating Your Galax Urceolata (and Why You Should!)
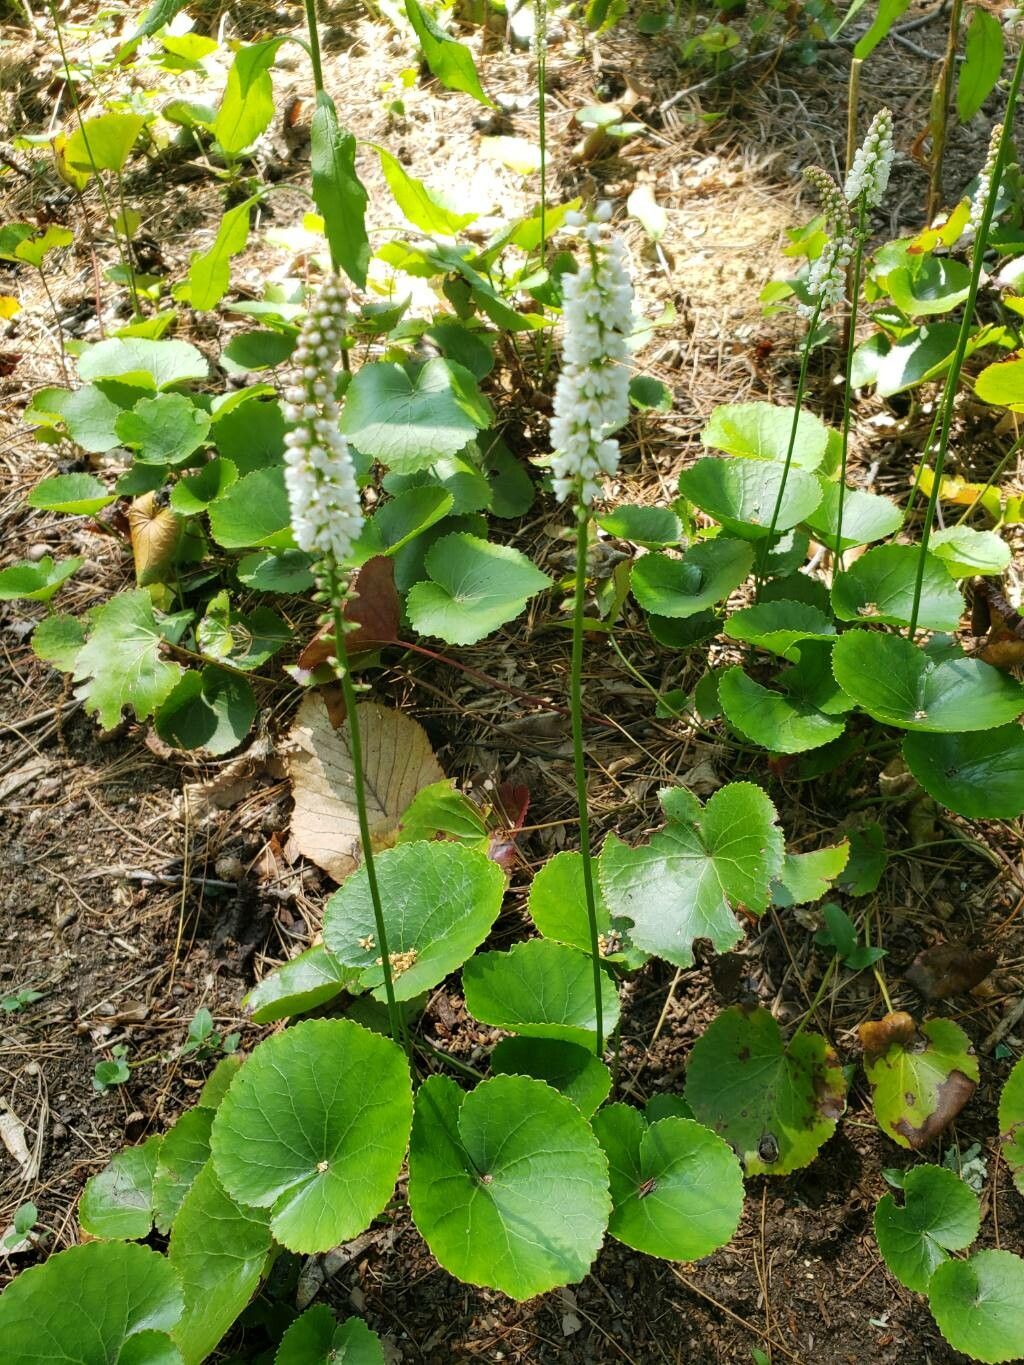
Galax urceolata, also known as Galax, is a beautiful, evergreen groundcover with striking, glossy, dark green leaves. These plants are prized for their foliage, which can add a touch of elegance to any garden or landscape. But beyond their aesthetic appeal, Galax offers a unique opportunity for gardeners: easy propagation!
The Magic of Division
Perhaps the most straightforward method for multiplying your Galax urceolata is through division. This technique is best done during the spring or early fall when the plant is actively growing. Here’s how it works:
- Get Ready: Choose a healthy, well-established Galax plant and gently lift it from the ground, disturbing its roots as little as possible.
- Divide and Conquer: Carefully separate the plant, aiming for divisions with at least three to five healthy crowns (where the leaves emerge). Each division should have its own healthy root system.
- Replant: Now, plant the individual divisions in well-prepared soil, maintaining the same planting depth as the original plant. Water thoroughly and ensure they receive adequate light.
The Power of Leaf Cuttings
For a more adventurous propagation method, consider leaf cuttings. This technique can allow you to create multiple new plants from a single leaf, increasing your Galax collection in a flash. Here’s the process:
- Harvest Your Cuttings: Select healthy, mature leaves from your Galax plant, aiming for the largest ones.
- Prepare the Surfaces: Using a clean, sharp knife or razor blade, cut the leaf into smaller squares, each containing a portion of the leaf vein.
- Plant the Cuttings: Fill a pot with a sterile, well-draining potting mix. Carefully place the leaf cuttings onto the surface of the mix, ensuring the cut surfaces are in contact with the soil.
- Cover and Care: Cover the pot with a plastic dome or wrap to create a humid environment, and place it in a warm, shaded location. Mist the soil regularly to maintain moisture.
Watch the Magic Unfold
Within several weeks, you should start to see new, tiny plants emerging from your leaf cuttings. These are called “plantlets”, and they’ll eventually grow into healthy new Galax plants.
Why Propagate?
You might be asking, why go through the trouble of propagation when you can buy new Galax plants? Here’s why:
- Cost-effectiveness: Propagation is a budget-friendly way to expand your garden, saving you money on buying new plants.
- Increased Variety: You can create a diverse selection of Galax, taking cuttings from different plants with varying leaf size and shape.
- Sharing the Joy: Propagation allows you to share your passion for Galax by gifting new plants to friends and family.
- Garden Expansion: Creating new plants empowers you to fill your garden with beautiful foliage, adding depth and texture.
Beyond Propagation: Caring for Your Galax
Propagation is only half the battle. To successfully grow your new Galax plants, you need to provide proper care. Remember, these hardy plants thrive in moist, shady conditions with well-drained soil. Regular fertilization during the growing season (spring and summer), and minimal pruning to maintain their shape will help them flourish.
Embrace the Joy of Propagation
So, why not try your hand at propagating Galax urceolata? It’s a fun, rewarding, and relatively simple process that will add beauty and diversity to your garden. And as you watch your new plants emerge, you’ll experience the deeply satisfying feeling of cultivating life, one leaf at a time.