Bringing Home the Beauty: Propagating Your Phalaenopsis celebensis
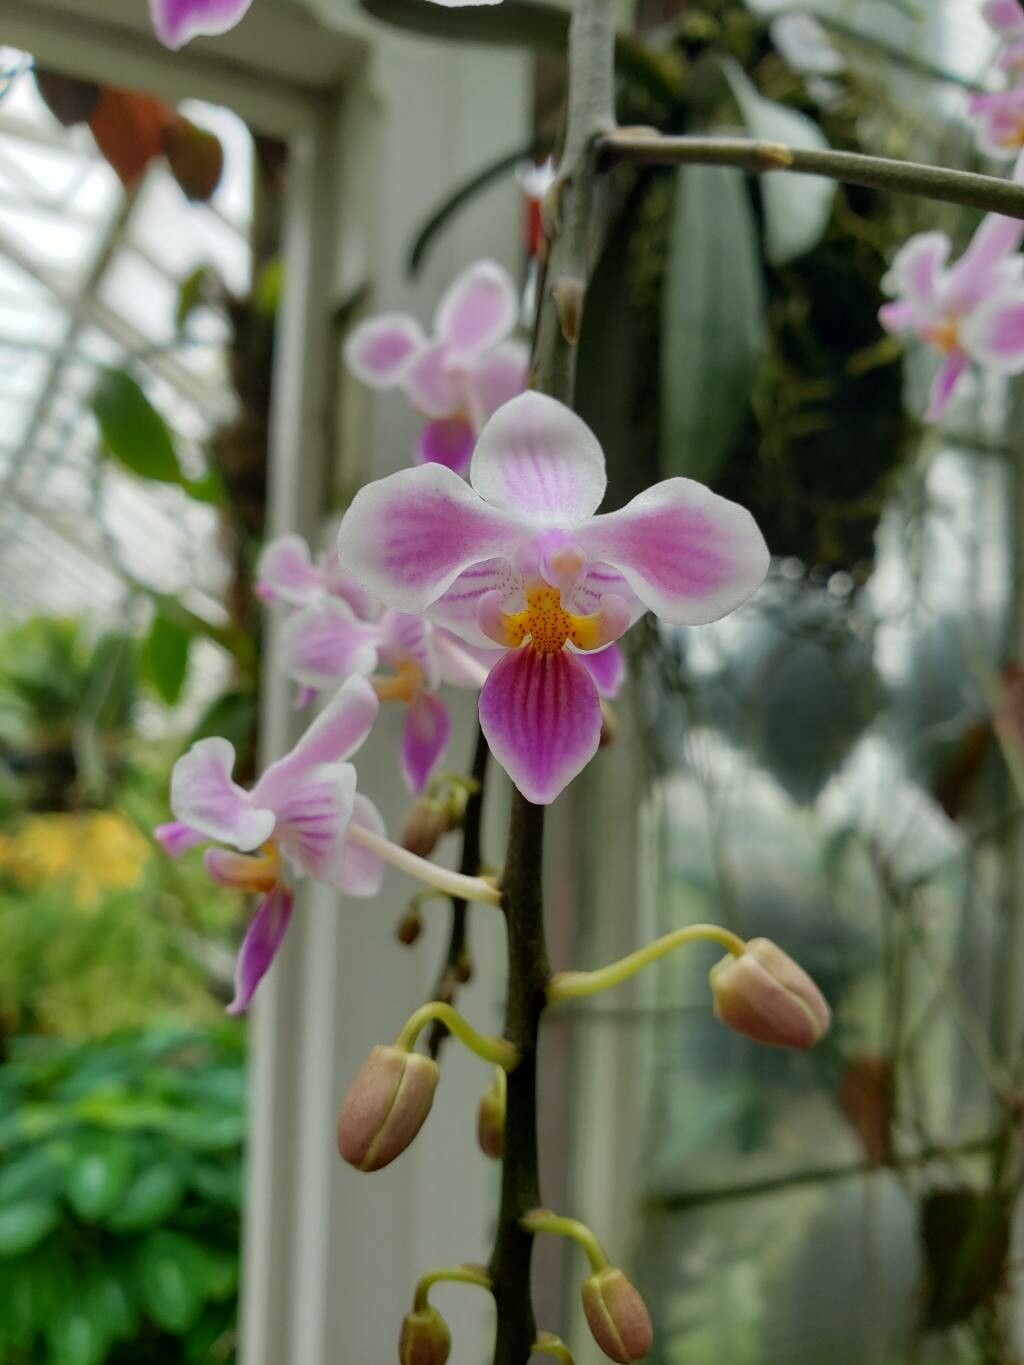
The Phalaenopsis celebensis, with its graceful, star-shaped blossoms, is the jewel of many orchid collections. But what if you could share this beauty with friends or simply expand your own collection? The good news is, you can! While propagation of this captivating orchid isn’t as common as with other species, it is achievable with careful planning and execution. Let’s dive into the fascinating world of Phalaenopsis celebensis propagation.
The Hows and Whys of Propagation
Propagation refers to the process of creating new plants from existing ones. With Phalaenopsis celebensis, you have two primary methods:
- Keiki Propagation: This method utilizes the plant’s natural ability to produce baby plants, known as “keikis.” These miniature replicas emerge on the flower spike or stem.
- Seed Propagation: This method is far more challenging and less frequently employed for home orchid enthusiasts. While the seeds offer the opportunity to cultivate a large number of plants, the process is delicate, requiring sterile conditions and expert plant care.
Focus on Keiki Propagation: A Beginner-Friendly Approach
Let’s concentrate on the easier and more common method, keiki propagation. This method mimics the natural growth pattern of the orchid, allowing you to create new plants from a single parent.
Step 1: The Signs of a Keiki
Observe your Phalaenopsis celebensis closely. A keiki will appear as a tiny plantlet, possessing its own roots and leaves, emerging from the nodes on the stem or flower spike. This is a sure sign that your orchid is ready to produce offspring.
Step 2: Promoting Keiki Development
You can encourage keiki formation by providing your orchid with optimal conditions:
- High Humidity: Warm, humid environments are ideal for keiki development. You can increase humidity by grouping your orchids together, using a humidifier, or placing the pot on a pebble tray filled with water.
- Adequate Lighting: Bright, indirect sunlight is crucial for both the mother plant and the developing keiki.
- Fertilization: Regular fertilization with a balanced orchid fertilizer will provide the nutrients necessary for healthy growth.
- Hormone Application (Optional): If you’re patient, keikis will develop on their own. However, you can speed up the process by applying a commercial keiki paste containing cytokinins. These hormones help stimulate growth.
Step 3: Separating and Planting the New Plants
Once the keiki has developed healthy roots, approximately 2-3 inches long, it’s time to separate it from the mother plant:
- Carefully cut the keiki: Use a sharp, sterilized knife or shears to cut the keiki from the flower spike or stem. Leave a small section of stem attached to the keiki for better root development.
- Prepare a fresh pot: Choose a small, well-draining pot and fill it with an orchid potting mix.
- Plant the keiki: Gently pot the keiki and secure it with the potting mix.
Step 4: Care for the New Plant
After planting, ensure the keiki receives the same care as its parent plant:
- Light and Humidity: Maintain the same light and humidity levels as the mother plant.
- Watering: Water sparingly, allowing the potting mix to dry slightly between waterings.
- Fertilization: Start fertilizing the keiki once it has been established in its new pot. Use a diluted orchid fertilizer once a month.
Patience is Key
Remember, Phalaenopsis celebensis propagation, like any form of orchid propagation, requires patience.
A Final Note:
Propagation is a rewarding challenge, allowing you to grow your personal orchid collection and share the beauty of your treasured Phalaenopsis celebensis with others. Be sure to research further for specific details tailored to your growing environment and conditions. Happy propagating!