From One to Many: Propagating Your Micromeria Cristata for a Garden of Delight
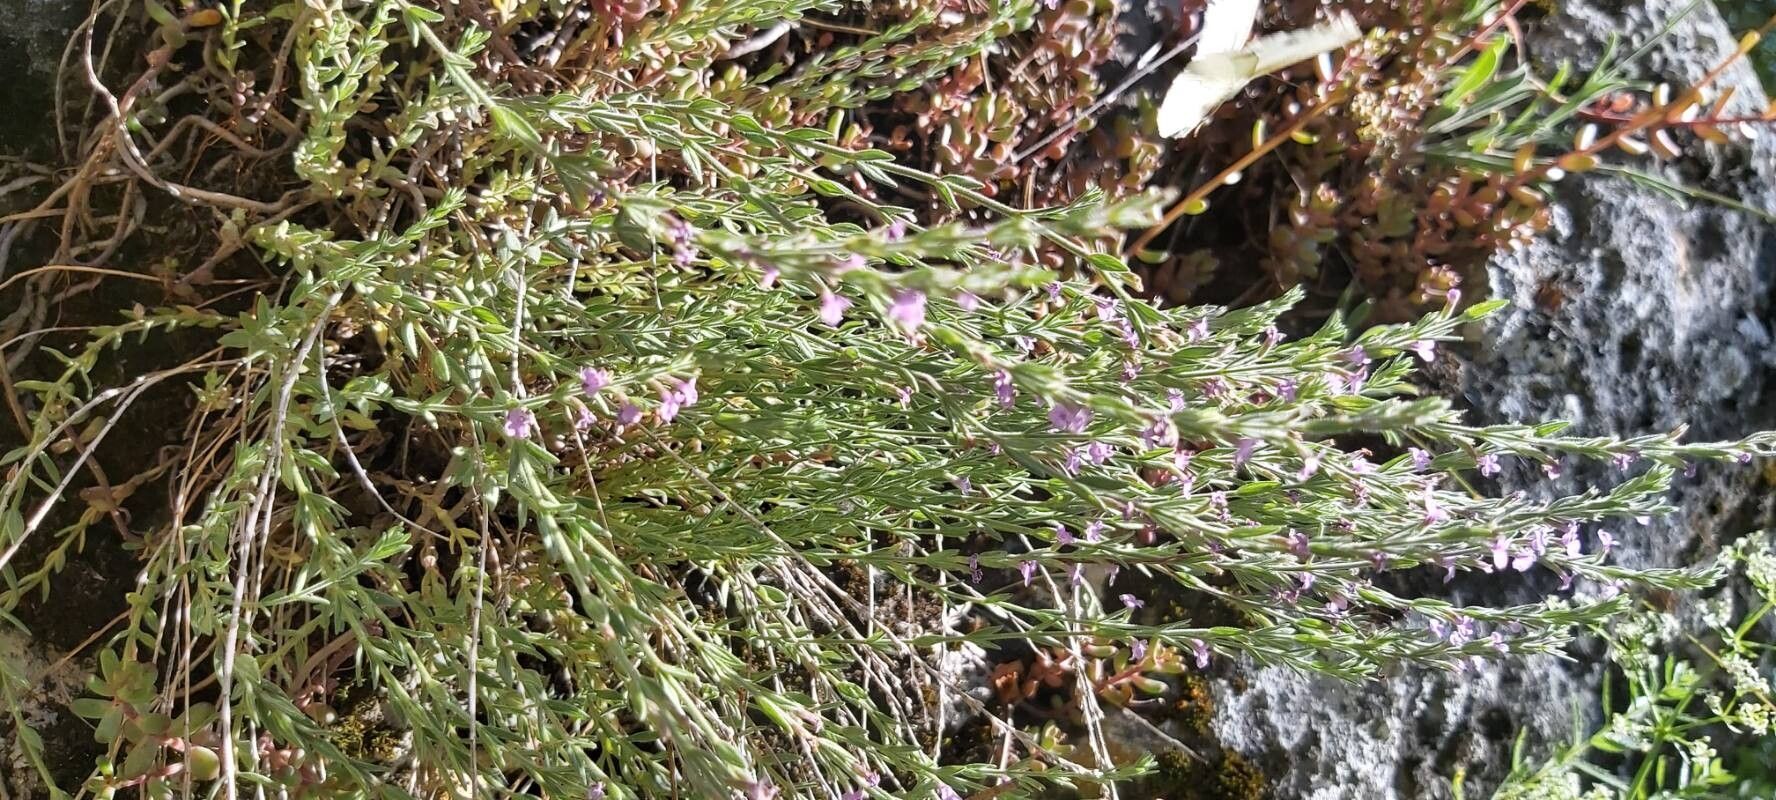
The Micromeria cristata, with its distinctive, feathery foliage and delightful fragrance, is a plant that can easily become a cherished part of your garden. But what if you could share that joy and multiply your supply of this delightful herb? Propagation is the key!
This blog post will guide you through the rewarding experience of propagating your Micromeria cristata, enabling you to expand your garden’s beauty and share this herb with friends.
Understanding the Basics of Propagation
Propagation is the process of creating new plants from existing ones. For Micromeria cristata, two primary methods work wonderfully: cuttings and seed propagation.
1. Propagation by Cuttings: A Quick and Easy Way
- Choosing the Right Cuttings: Select healthy, non-flowering stems that have several nodes (points where leaves emerge). Aim for sections that are about 4-6 inches long.
- Preparing the Cuttings: Use sharp, clean scissors or a knife to make a clean cut just below a node. Remove the lower leaves to expose the stem.
- Rooted in Water or Soil:
- Water Propagation: Place the cuttings in a glass of water, ensuring the nodes are submerged. Change the water every few days to prevent mold. Roots should form in a couple of weeks.
- Soil Propagation: Plant the cuttings in a well-draining potting mix, burying the node in the soil. Keep the soil consistently moist but not soggy. For best results, consider using a rooting hormone powder, available at garden centers.
- Time for Transplanting: Once roots have developed, typically within a few weeks, you can gently transplant your new Micromeria cristata plants into individual pots or directly into your garden.
2. Seed Propagation: A Patient and Rewarding Approach
- Gathering Seeds: Once the Micromeria cristata produces seeds, you can gather them from the mature seed pods (called “nutlets”).
- Sowing the Seeds: Sow the seeds indoors in seed trays or pots filled with seed starting mix. Lightly cover the seeds with soil and mist them regularly to keep the soil moist.
- Germination: Micromeria cristata seeds need warmth and light to germinate. Cover the seed trays with a clear plastic dome or wrap to maintain humidity. Keep the soil consistently moist and place the trays in a warm, sunny location. Germination can take several weeks.
- On to the Garden: Once the seedlings have a few sets of true leaves, you can transplant them carefully into individual pots, gradually acclimating them to outdoor conditions before planting them in your garden.
Tips for Success
- Consistent Moisture: Maintaining consistent moisture is key for successful propagation. Avoid letting the rooting medium dry out, but also avoid overwatering, which can lead to root rot.
- Warm Environment: Micromeria cristata thrives in warmth. Ensure the cuttings or seedlings are in a warm environment, especially during the initial phases of propagation.
- Bright Light: Micromeria cristata needs plenty of light. Place the cuttings or seedlings in a bright location, but avoid direct, scorching sunlight, especially during the hottest part of the day.
Enjoy Your Micromeria Cristata Abundance
With a little patience and effort, you can multiply your Micromeria cristata plants, creating a beautiful and aromatic addition to your garden. Enjoy the joy of sharing this herb with friends and family, or simply revel in the abundance of its beauty and fragrance.