Bringing Beauty to Your Garden: The Secrets of Downingia yina Propagation
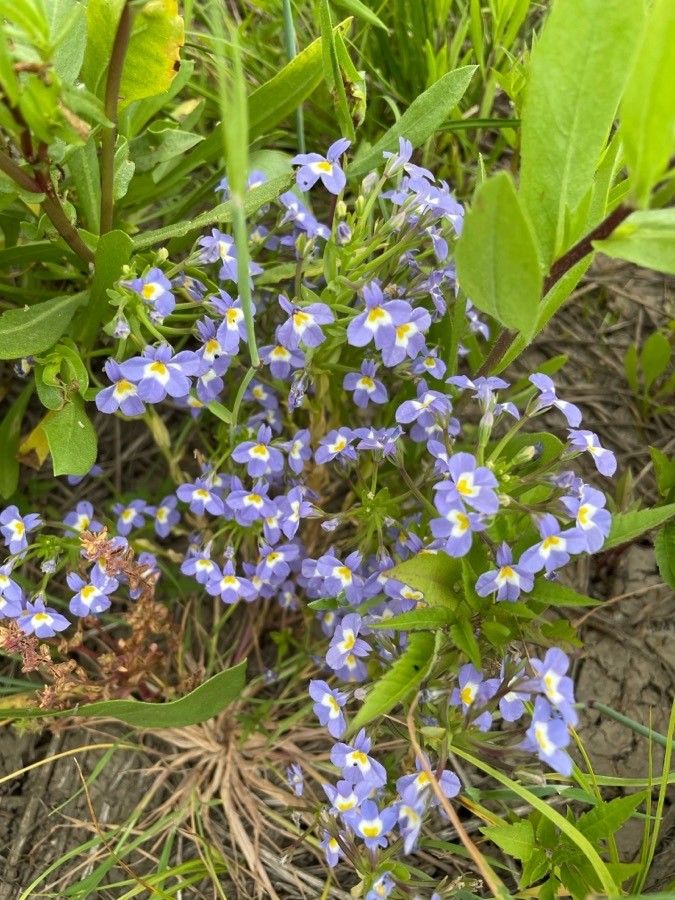
Downingia yina, with its delicate, bell-shaped blue blooms, adds a touch of whimsical charm to any garden. This California native, also known as the “Calistoga Downingia”, isn’t just a pretty face; it’s also remarkably resilient. But how do you share this beauty with your own garden? The answer lies in the magical world of propagation.
Seeds of Hope: The Beginner-Friendly Approach
The easiest way to propagate Downingia yina is by seed. Collected from spent flower stalks, these tiny seeds are best sown directly into the garden bed in the fall. Here’s a step-by-step guide:
- Prepare the Ground: Choose a spot with well-drained soil, enriched with compost. Downingia yina prefers partial shade to full sun.
- Sow the Seeds: Scatter the seeds thinly over the prepared soil. Don’t bury them too deep – a light sprinkle of soil is enough.
- Water Gently: Use a watering can with a fine rose to gently mist the soil. Don’t overwater; the seeds need moisture but not soaking.
- Patience is Key: Germination can take several weeks, so be patient. You can expect to see tiny seedlings emerge in the late winter or early spring.
The Power of Division: Sharing the Gift of Downingia yina
For seasoned gardeners, division offers another avenue for propagation. This method allows you to quickly expand your patch of Downingia yina – perfect for sharing with friends or adding to your own garden design.
- Timing is Everything: Divide your clumps in early spring or late summer, when the plant is actively growing.
- Carefully Separate: Gently lift the clump from the ground and use a sharp knife or trowel to divide it into several smaller sections, ensuring each division has roots and foliage.
- Replant with Care: Plant the divisions in a well-prepared bed, spacing them according to the plant’s mature size (usually 6-12 inches apart).
- Water generously: Keep the soil consistently moist until the divisions establish themselves.
Going Beyond the Basics: The Art of Cuttings
While less common, Downingia yina can also be propagated by cuttings. This technique requires a bit more care but allows for rapid growth.
- Choose the Right Cuttings: Select healthy stems with several nodes (where leaves grow from the stem). Cut them just below a node using a sharp knife or scissors.
- Prepare for Growth: Remove the lower leaves from the cutting, leaving 2-3 inches of stem. Dip the cut end in rooting hormone to encourage root development.
- Create the Perfect Environment: Plant the cuttings in a small pot filled with a moist rooting medium like vermiculite or perlite. Cover the pot with a clear plastic bag or dome to create a humid environment.
- Maintain Patience: Keep the medium consistently moist and wait for roots to develop, which usually takes a few weeks. Once you see new growth, you can plant the rooted cuttings in a garden bed or larger container.
Tips for Success
- Know Your Climate: Downingia yina thrives in cooler climates, especially near coastal areas. If you live in a hotter region, consider growing it in a shadier spot or container for better success.
- Water Wisely: Downingia yina prefers evenly moist soil but can tolerate some dryness. Water deeply but infrequently, allowing the soil to dry slightly between watering.
- Fertilize Sparingly: An annual application of compost is sufficient to provide nutrients, but you can use a balanced, organic fertilizer every few months during the growing season.
- Protect from Pests: While usually pest-resistant, Downingia yina can sometimes be affected by slugs and snails. Consider organic slug baits or copper tape around the base of the plant to deter these pesky critters.
Propagating Downingia yina is a rewarding experience that allows you to enjoy this beautiful native plant’s charm beyond the initial purchase. Whether you’re a seasoned gardener or just starting out, give this simple yet effective method a try. You’ll be amazed by how easy it is to share the beauty of Downingia yina with your garden and others.