From Snipping to Sprouting: How to Easily Propagate Satureja Subspicata (and Enjoy More of its Deliciousness)
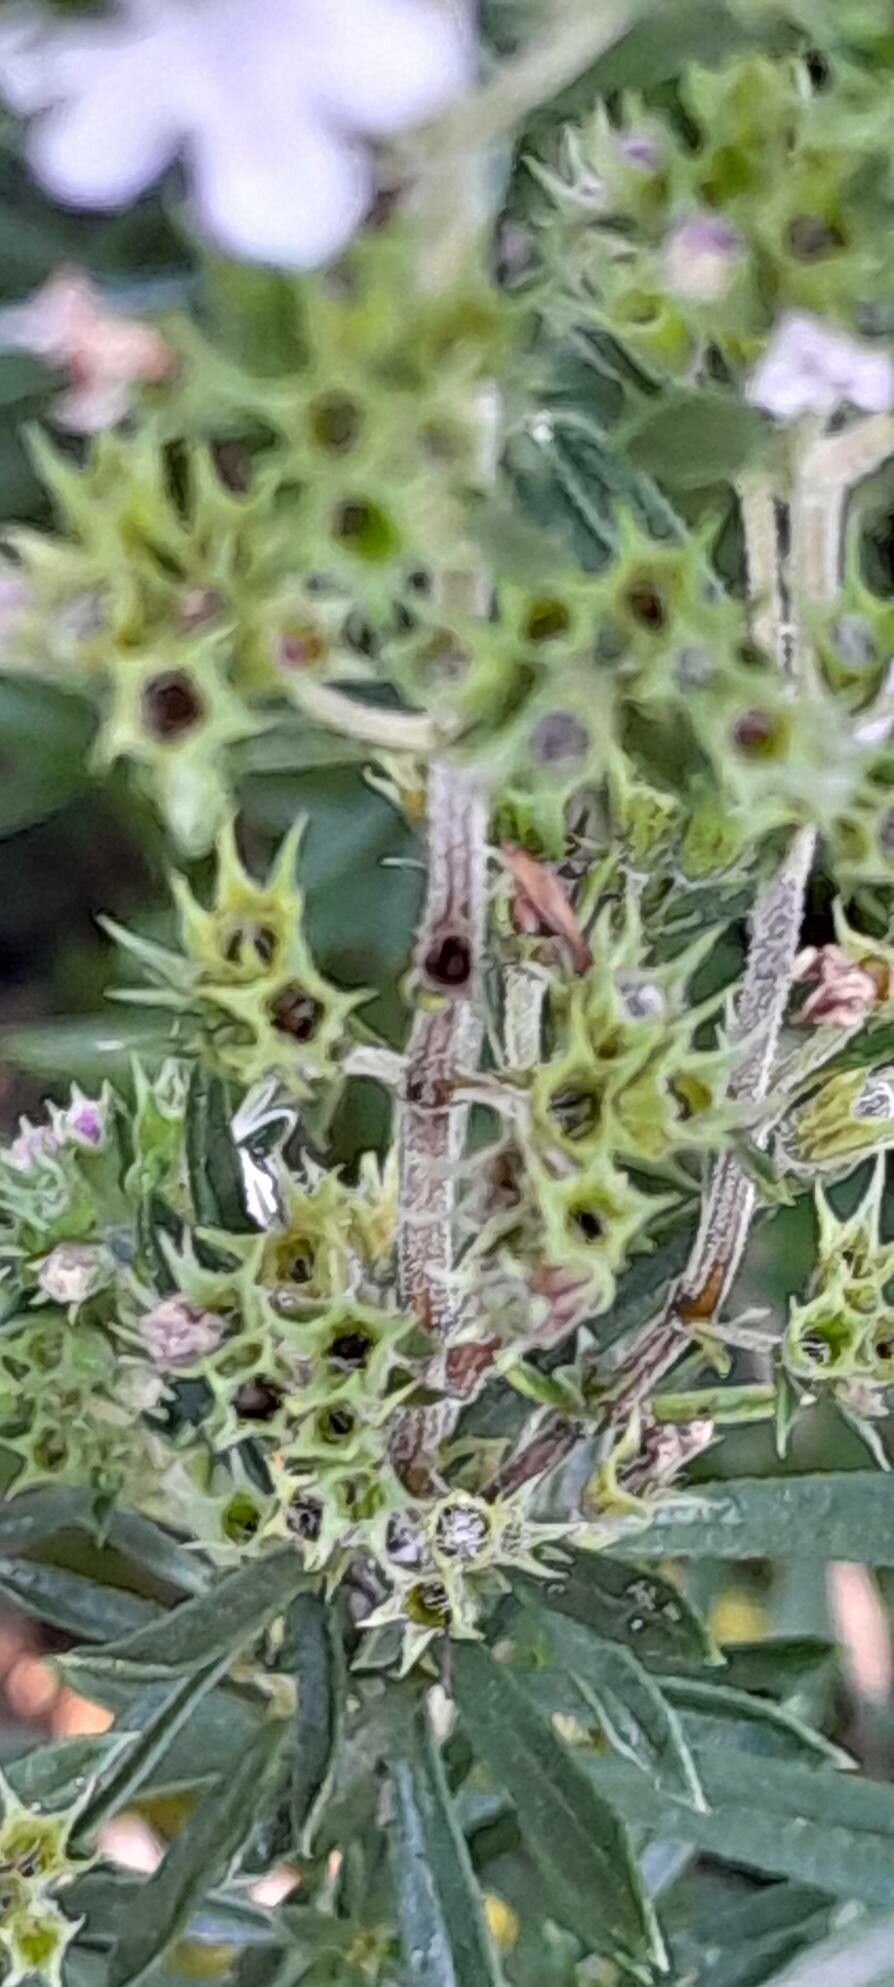
Satureja subspicata, often referred to as Greek savory, is a flavorful herb known for its peppery, savory aroma and distinct taste. It adds a delightful punch to dishes, whether you’re using it in soups, stews, meat dishes, or even salads.
But here’s the best part: this wonderful herb is incredibly easy to propagate! Whether you’re looking to create more plants for your garden or simply want to share your love of Greek savory with friends, this guide will walk you through the process.
The Two Main Methods for Propagating Greek Savory:
Seed Propagation: While Greek savory can be grown from seeds, it’s not always the most reliable method. Seeds can be slow to germinate, and sometimes they don’t produce plants true to the parent plant.
- Cuttings Propagation: This method is much more straightforward and offers the guarantee that your new plants will be identical to your original.
Let’s dive into the art of propagating Greek savory using cuttings:
Step 1: Gather Your Materials
- Healthy Greek savory plant: Choose a plant with strong, vigorous growth.
- Sharp gardening shears or knife: This will ensure a clean cut for your cuttings.
- Potting mix: Select a well-draining mix suitable for herbs.
- Optional rooting hormone: This can help speed up the rooting process.
Clear plastic bag or dome: This creates a humid environment to promote root growth.
Step 2: Take Your Cuttings
- Timing: The ideal time to take cuttings is in the spring or early summer when the plant is actively growing.
- Selection: Choose healthy, non-flowering stems. Cuttings should be about 4-6 inches long.
Cutting Technique: Make a precise cut just below a node (the point where a leaf grows from the stem). Remove any lower leaves that would be below the soil line.
Step 3: Prepare the Cuttings for Rooting
- Optional Rooting Hormone: If you’re using rooting hormone, dip the cut end of the stem in the powder.
- Planting: Pot the cuttings in the prepared potting mix, making sure to bury them up to the first set of leaves.
Step 4: Creating a Humid environment:
- Water well: Gently water the cuttings to settle the soil around them.
- Cover with plastic: Place a clear plastic bag or dome over the pot to trap moisture.
Placement: Place the pot in a bright location, but out of direct sunlight.
Step 5: Patience is Key!
- Monitoring: Check the cuttings regularly to ensure the soil remains moist but not soggy.
- Root development: Depending on the conditions, it can take a few weeks for the cuttings to develop roots.
- Removing cover: Once new growth appears on the cuttings, gradually remove the plastic to acclimate them to a less humid environment.
Step 6: Transplant and Enjoy!
Once the cuttings have established strong roots, they are ready to be transplanted into larger pots or directly into your well-prepared garden bed. Remember to water them regularly and watch as they thrive and reward you with the delicious flavor of Greek savory!
Bonus Tip: For an even more interesting twist, try propagating your Greek savory in a glass jar filled with water. This will allow you to easily see the roots develop, making the process even more enjoyable!
Propagating Greek savory is both simple and rewarding. By taking these easy steps, you can enjoy the delicious flavor of this wonderful herb all year round and share it with your loved ones! So go ahead, give it a try and discover the joy of growing your own Greek savory.