Eranthemum Wattii – A Beginner-Friendly Guide To Propagation
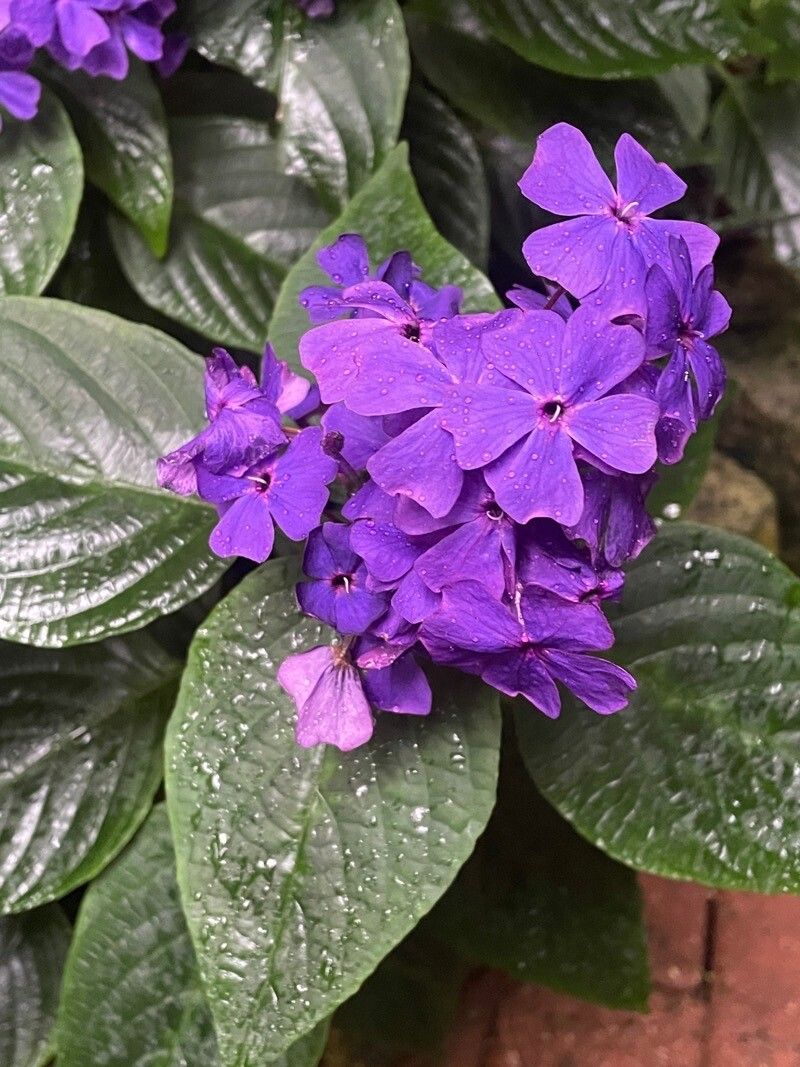
Eranthemum wattii, with its stunning, blue, trumpet-shaped flowers and lush, dark green leaves, is a captivating addition to any garden. But did you know that this beauty can be easily propagated at home, allowing you to share its charm or simply expand your own collection?
This guide will take you step-by-step through the process of propagating Eranthemum wattii, focusing on the most successful and beginner-friendly methods.
The Basics: Why and How to Propagate
- Sharing and Saving: Since Eranthemum wattii can be slightly expensive to purchase, propagation allows you to share this lovely plant with friends and family, or simply create more for your own enjoyment.
- Multiple plants: Propagating also offers the possibility of creating multiple plants from one parent, adding a unique touch to your garden design or home.
- Renewing a plant: If your Eranthemum wattii is getting leggy or the stems have become bare, propagation can help renew the plant.
The Best Methods for Eranthemum Wattii:
Stem Cuttings: This is arguably the most common and successful way to propagate Eranthemum wattii. Here’s what you’ll need:
- Sharp knife or pruning shears: Choose healthy, non-flowering stems around 4-6 inches long.
- Rooting hormone: Optional, but it can significantly increase success rates.
- Potting mix: Use a well-draining mix formulated for cuttings.
- Vase or jar: Use a clean vase or jar to create an easy-to-maintain mini-greenhouse effect.
Steps:
- Prepare your cuttings: Using a sharp knife or clean pair of pruning shears, snip a section of the stem just below a leaf node. This is where new roots will form.
- Remove leaves: Remove the lower leaves on the stem to allow the roots to focus their energy on developing.
- Treat with rooting hormone: Dip the cut end of the stem in rooting hormone, if you choose to use it.
- Pot them up: Plant the cutting into a small pot with well-draining potting mix.
- Create a mini-greenhouse: Lightly mist the cutting and place a plastic bag or clear plastic wrap over the pot to create a humid environment.
- Place in indirect light: Place the pot in an area with bright, indirect sunlight.
- Patience is key: It can take several weeks for roots to develop, so be patient and keep the soil moist.
Air Layering: This method can be used when your Eranthemum wattii has developed thick, woody stems.
- Select a stem: Choose a stem that is about 1/2 inch thick and free of diseases or pests.
- Score the stem Make a slight cut around the stem approximately 1/2 inch long with a sharp knife or pruning shears.
- Wrap with sphagnum moss: Moisten some sphagnum moss and wrap it around the cut area, securing with plastic wrap or aluminum foil.
- Maintain moisture: Keep the moss consistently moist.
- Wait patiently: Roots will develop over time, which can take several months.
- Sever and pot: Once the roots are well-established, cut the stem below the moss and plant the now-rooted cutting into a pot with fresh potting mix.
Tips for Successful Propagation:
- Use fresh cuttings: Always start with healthy, disease-free stems.
- Maintain moisture: Keep the rooting medium consistently moist, but avoid overwatering.
- Provide indirect light: Exposure to direct sunlight can scorch delicate cuttings.
- Be patient: Root development can take time – don’t give up too quickly.
Propagating your own Eranthemum wattii is a rewarding and satisfying experience that will allow you to enjoy this beautiful plant for years to come. With proper care and patience, you can effortlessly add more of this vibrant blues to your garden or share its beauty with others.