From Snipping to Thriving: Propagating Your Deeringia Amaranthoides Like a Pro
Want to expand your garden with the graceful, trailing beauty of Deeringia amaranthoides (also known as the “trailing amaranth”) without breaking the bank? Look no further! This guide will empower you to propagate your own Deeringia amaranthoides plants effortlessly, giving you a bountiful supply of these stunning vines to adorn your home and garden.
Why Propagate?
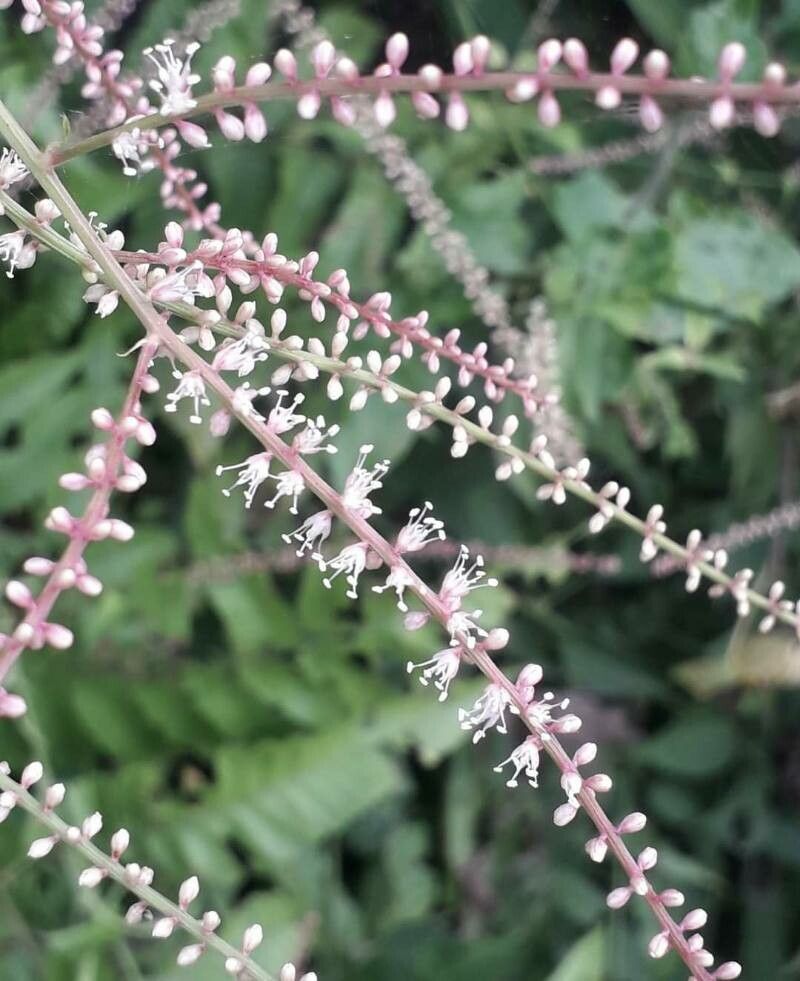
Deeringia amaranthoides, with its captivating foliage and vibrant red berries, is a popular choice for gardeners. But buying new plants can get expensive. Propagation offers a cost-effective and rewarding way to create more of these beautiful plants. You’ll gain a sense of accomplishment, and you’ll have the satisfaction of knowing you’ve nurtured these plants from their very beginnings.
Propagation Methods
Stem Cuttings: The most common and straightforward method for Deeringia amaranthoides propagation involves taking stem cuttings. Here’s how:
- Choose Your Cuttings: Select healthy, non-flowering stems that are about 4-6 inches long. Look for stems with several nodes (the bumps where leaves or roots grow).
- Prepare the Cuttings: Make a clean, angled cut below a node with a sharp knife or pruning shears. Remove any leaves below the water line.
- Root Hormone (Optional): Applying a rooting hormone powder can boost the success of your cuttings. Dip the cut ends into the powder.
- Potting Medium: Use a well-draining potting mix or a mixture of perlite and peat moss. Fill a small pot or tray. Make a hole and insert the cutting.
- Water and Cover: Water thoroughly and cover the pot with a plastic bag or dome to create a humid environment.
- Placement: Place the pot in bright, indirect light. Avoid direct sunlight.
- Patience: Root development can take 4-6 weeks. Keep the soil moist, but not soggy.
- Transplant: Once roots have developed, carefully transplant the cutting into a larger pot or directly into the garden.
Air Layering: Air layering is a technique that allows you to root a new plant while it’s still attached to the parent plant. This method is ideal for thicker stems:
- Preparing the Stem: Select a healthy stem, preferably a year old.
- Incision: Make a horizontal incision about 1 inch long around the stem below a node.
- Sphagnum Moss: Moisten sphagnum moss and wrap it around the incision, using plastic wrap to hold it in place.
- Humidity: Keep the moss moist and ensure the area is humid by wrapping the plastic tightly and creating a mini greenhouse effect.
- New Plant: Within a few months, roots will develop. Sever the stem below the roots and plant your new Deeringia amaranthoides.
Tips for Success
- Timing: The best time for propagation is during the spring or early summer when the plant is actively growing.
- Sharp Tools: Use sharp knives or pruning shears to make clean cuts and avoid damaging the stems.
- Cleanliness: Sterilize your tools before and after use to prevent the spread of diseases.
- Patience: Propagation requires patience. Don’t be discouraged if your cuttings take longer than expected to root.
Conclusion
By following these simple steps, you can successfully propagate Deeringia amaranthoides, creating a beautiful abundance of these enchanting vines. It’s a fulfilling and budget-friendly way to share your love of plants with others or simply enrich your own garden with the captivating beauty of Deeringia amaranthoides.