From Seed to Success: Propagating the Exquisite Pancheria alaternoides
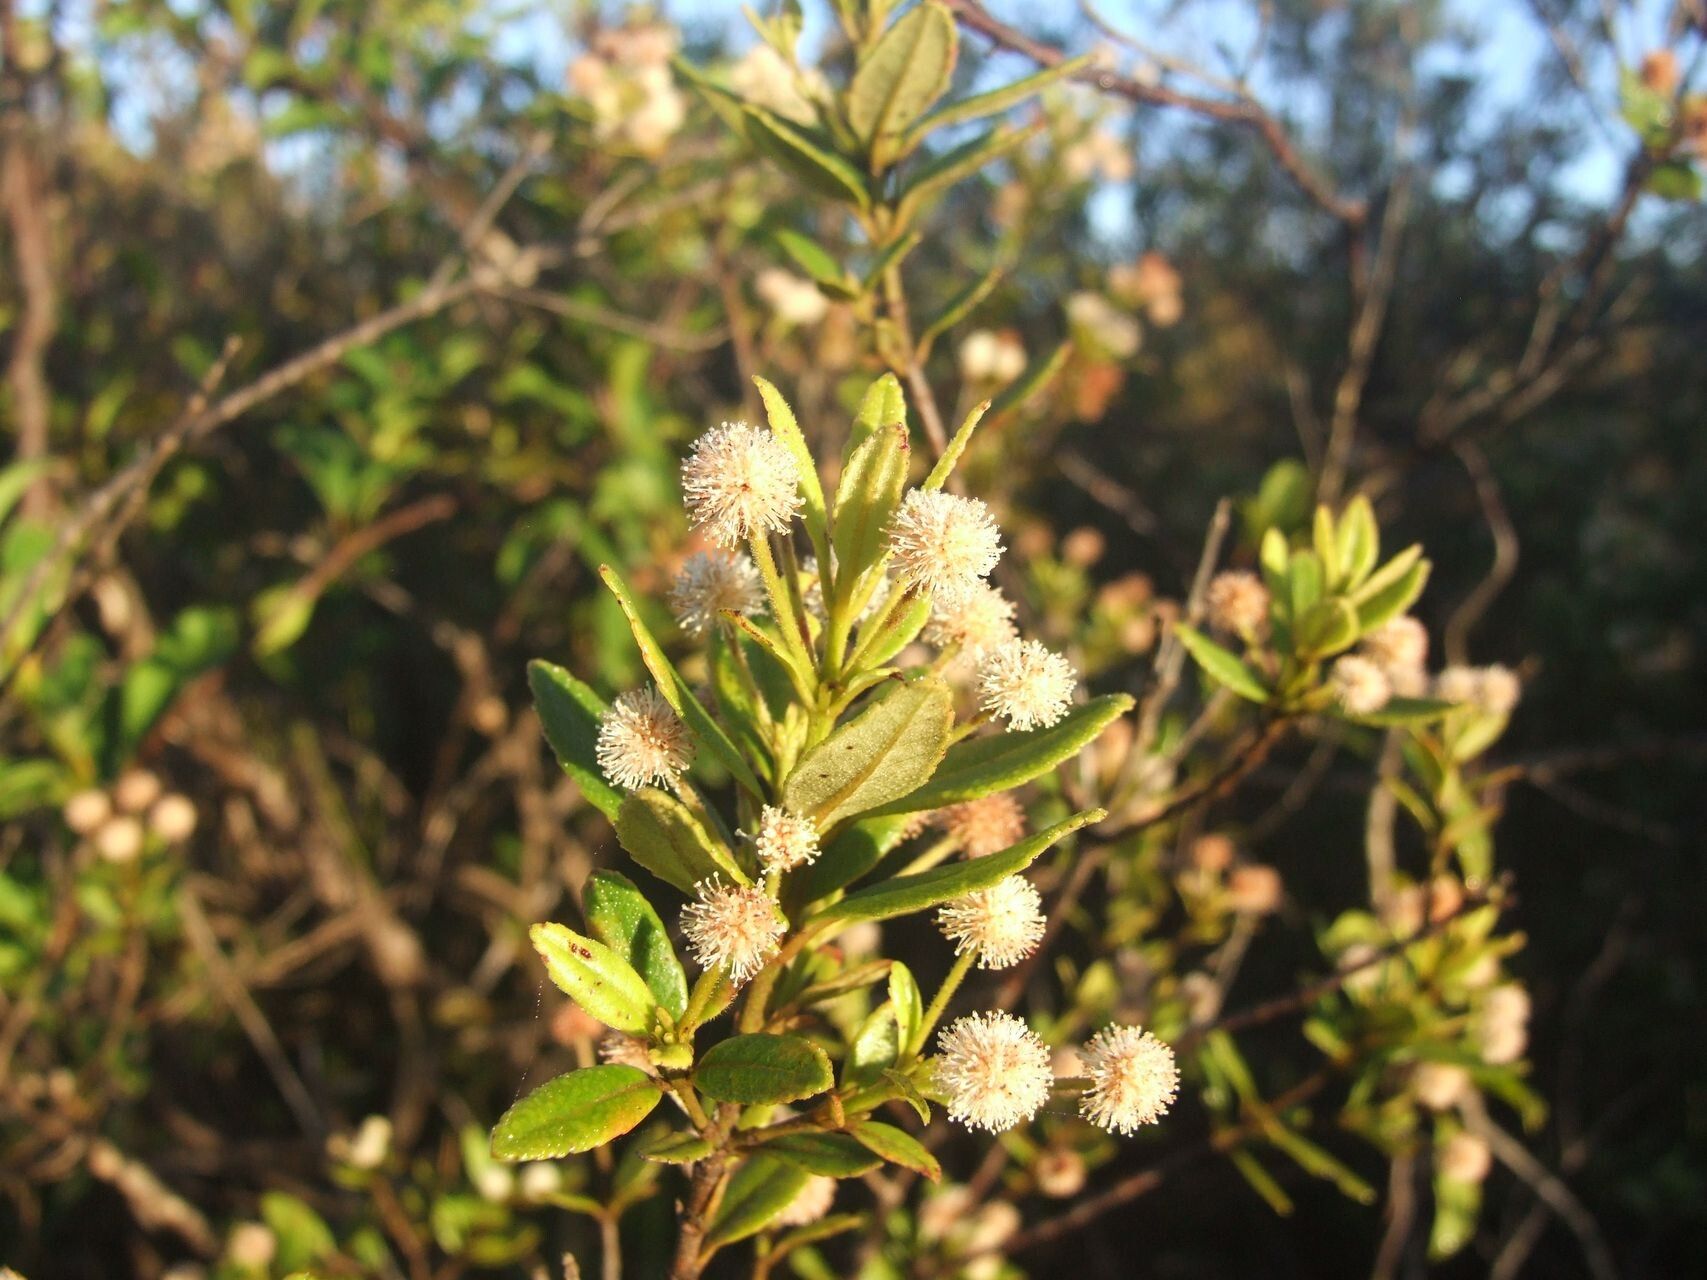
The Pancheria alaternoides, also known as the New Caledonian Holly, is a stunning evergreen shrub that boasts vibrant green leaves and clusters of small, creamy-white flowers. Its unique beauty and adaptability make it a sought-after addition to gardens and landscapes worldwide. But where do you start if you want to add this tropical treasure to your own collection? The answer lies in propagation, and this guide will walk you through the process of bringing new Pancheria alaternoides plants to life.
A Quick Glance at the Basics
Pancheria alaternoides can be propagated using two primary methods: seeds and cuttings. Both methods require a bit of patience and care, but the rewards of nurturing your own plants are immense.
1. The Seed Saga: A Journey from Tiny Sprout to Stately Shrub
- Harvesting the Seeds: Gather ripe Pancheria alaternoides berries from your mature plants. These berries will turn a dark purplish hue when ready. Extract the tiny seeds from the berries and thoroughly clean them.
- Preparation is Key: Before sowing, it’s crucial to scarify the seeds. This process mimics the natural weathering process they would undergo in the wild, allowing them to absorb water more effectively. You can scarify seeds by gently rubbing them with sandpaper or soaking them in warm water for a few days.
- Sowing Time: Plant the scarified seeds in a seed tray filled with a well-draining seed-starting mix. Cover the seeds with a thin layer of potting mix and mist the surface with water. Maintain consistently moist soil conditions, but avoid overwatering.
- Patience is Virtue: Germination can take anywhere from 2 to 4 weeks. Keep the seed tray in a warm, bright location with indirect sunlight. Once seedlings have developed a few sets of true leaves, they can be carefully transplanted into individual pots.
2. The Cutting Challenge: A Faster Track to Garden Glory
- Selecting the Perfect Cuttings: Take semi-hardwood cuttings from the current season’s growth. These cuttings should be about 4-6 inches long and include a few nodes (the points where leaves grow). Remove any leaves below the soil line.
- Boosting Success: Dip the cut ends of the cuttings in a rooting hormone solution to stimulate root development. This step is optional but can significantly increase your chances of success.
- Preparing the Rooting Medium: Fill small pots or trays with a well-draining rooting mix, such as a peat-based mix or perlite. Make a small hole in the mix and insert the cuttings, ensuring that at least one node is buried below the soil surface.
- Time for a Humid Haven: Place the cutting pots under a clear plastic dome or humidity tent to create a humid environment. Regularly mist the cuttings and keep them in a bright, warm location with indirect sunlight.
- The Wait is Worth It: Root formation can take anywhere from 4 to 8 weeks. Once you see new growth emerging from the cuttings, you know roots are developing.
Important Notes:
- Both seed and cutting propagation require a period of time to establish substantial root systems. Be patient and provide the necessary care to ensure the success of your new plants.
Whether you choose to sow seeds or take cuttings, propagating Pancheria alaternoides is a rewarding experience that allows you to connect with nature and create a beautiful addition to your garden. With the right techniques and a little patience, you can enjoy the stunning beauty of this exotic shrub for years to come.