From One to Many: Mastering the Art of Peplonia Asteria Propagation
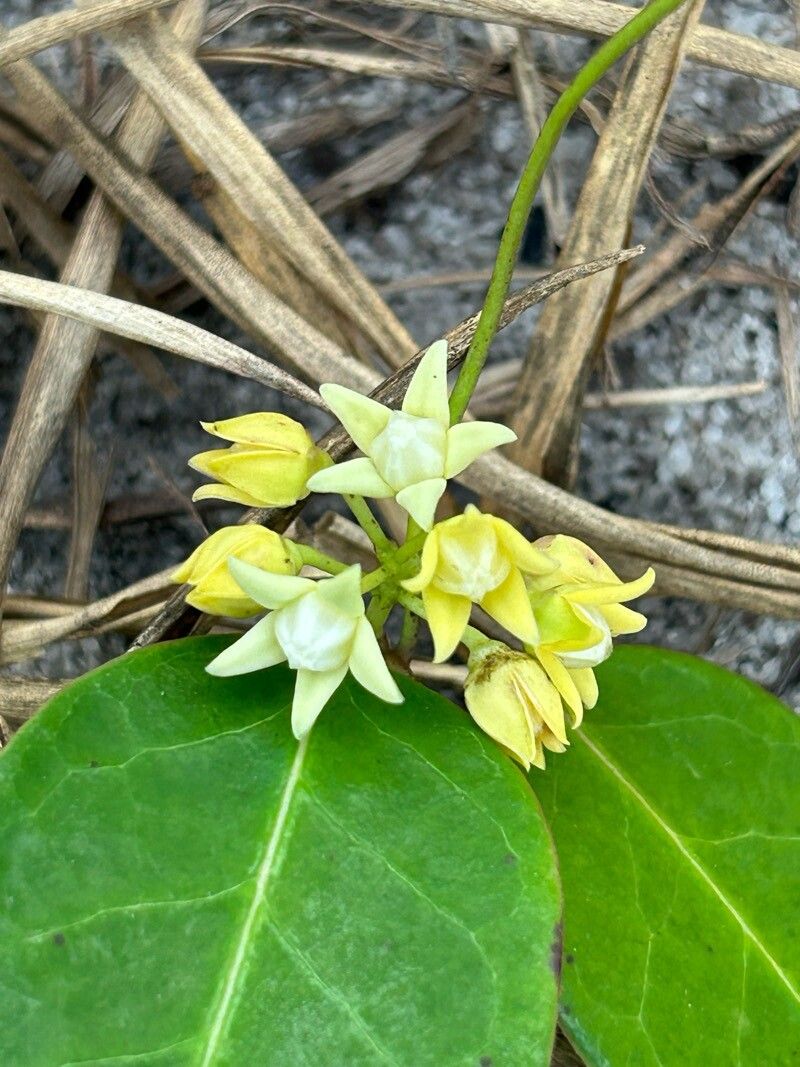
The Peplonia asteria, with its captivating foliage and delicate blooms, is a sought-after plant for its unique beauty and ease of care. But what if you could share this beauty with others, or even expand your own collection? That’s where propagation comes in.
Propagation allows you to create new plants from existing ones, offering a cost-effective way to expand your collection and share your love of plants. For Peplonia asteria, there are two main methods: leaf cuttings and division. Let’s dive into the specifics of each!
Leaf Cuttings: A Simple and Rewarding Approach
This method is incredibly straightforward and yields impressive results. Here’s what you’ll need:
- Sharp knife or scissors: Clean ones are essential to prevent the spread of disease.
- Rooting hormone (optional): Encourages quicker root development.
- Potting mix: Choose a well-draining mix like a blend of perlite and peat moss.
- Small pots or trays: Ensure they have drainage holes.
- Choose healthy leaves: Opt for vibrant, mature leaves without any signs of damage.
- Cut the leaves: Use a clean tool to cut the leaves just below the node, the point where the leaf joins the stem.
- Prepare for rooting: Dip the cut end of the leaf in rooting hormone (optional).
- Plant the cuttings: Place the leaf cuttings in a pot or a seed tray filled with potting mix, leaving a small portion of the leaf above the soil. Gently press the mix around the cuttings.
- Water well: Ensure the soil is damp but not soggy.
- Cover with a plastic dome: This creates a humid environment that fosters root development.
- Provide indirect light: Place the container in a bright spot, but avoid direct sunlight.
- Patience is key: Rooting typically takes 4-6 weeks. Keep the soil consistently moist but not waterlogged.
- Time to transplant: Once roots have developed, gently remove the plastic dome and gradually acclimate the new plants to indoor conditions.
Division: Expanding Your Collection Quickly
Peplonia asteria often forms clumps, making division a wonderfully convenient propagation method. It’s best done during the plant’s active growth period in spring or early summer.
- Prepare the plant: Gently remove the Peplonia asteria from its container.
- Carefully divide: Using a sharp knife or your hands, separate the clumps into smaller sections, ensuring each division has healthy roots.
- Pot up the divisions: Plant each section in a separate pot with fresh potting mix, making sure the roots are well-covered.
- Water thoroughly: Provide the newly potted divisions with adequate moisture.
- Care for the new plants: Position them in a well-lit location and provide consistent watering.
Tips for Success:
- Sterilize your tools: This helps prevent the spread of diseases.
- Choose the right potting mix: Well-draining mixes are ideal for Peplonia asteria.
- Maintain a consistent moisture level: Avoid overwatering, as this can lead to root rot.
- Be patient: Propagation takes time. Trust the process and enjoy the journey!
By mastering the art of Peplonia asteria propagation, you’ll not only increase your plant collection but also discover a rewarding and fulfilling aspect of plant care. So go ahead, give it a try! You’ll be amazed at the beautiful and captivating results.