Unlocking the Secrets of Malesherbia linearifolia: A Guide to Propagation
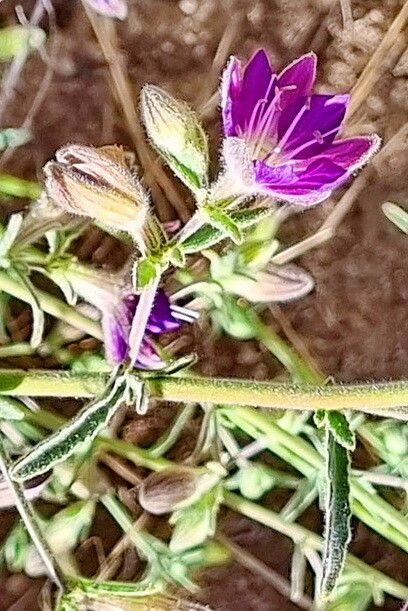
The captivating, star-shaped flowers of Malesherbia linearifolia, also known as the “Chilean violet,” are a sight to behold. This stunning plant, native to the arid regions of Chile, is becoming increasingly popular among gardeners due to its unique beauty and resilience. But how can you bring this captivating species into your own garden? The answer lies in propagation, the process of creating new plants from existing ones.
Understanding the Basics
Malesherbia linearifolia can be successfully propagated through both seeds and cuttings. Each method presents different challenges and rewards, so choosing the right one depends on your individual preferences and skills.
1. Propagation by Seed:
- Advantages: This method allows you to grow a large number of plants from a single seed packet. Seeds are relatively inexpensive and readily available.
- Disadvantages: Seeds can be slow to germinate and require specific conditions, like cool temperatures and well-draining soil. Successful germination can be unpredictable.
Step-by-Step Guide to Seed Propagation:
- Prepare the Seed Starting Mix: Mix equal parts of vermiculite and peat moss for optimal drainage and moisture retention. Fill seed trays or pots with this mix.
- Sow the Seeds: Lightly press the seeds into the soil, covering them with a thin layer of mix. Don’t bury them too deep, as this can hinder germination.
- Provide Ideal Conditions: Keep the seed tray in a bright, cool location (around 50-55°F) and mist regularly to maintain moisture.
- Germination: Expect germination to take 2-3 weeks. Once seedlings have developed their first true leaves, you can transplant them into individual pots with well-draining soil mix.
2. Propagation by Cuttings:
- Advantages: This method is quicker and more predictable than seed propagation. Cuttings directly inherit the characteristics of the parent plant, ensuring genetic continuity.
- Disadvantages: You need a healthy parent plant to take cuttings from, and success can depend on the season and environment.
Step-by-Step Guide to Cutting Propagation:
- Select a Healthy Cutting: Choose a non-flowering, stem tip from a healthy, mature plant. Make a clean cut just below a leaf node, ensuring the cutting is at least 3-4 inches long.
- Prepare the Cutting: Remove any lower leaves below the soil line to prevent rotting. Dip the cut end in rooting hormone powder to stimulate root development.
- Plant the Cutting: Insert the cutting into a suitable mix of vermiculite and perlite. Water thoroughly and place the pot in a warm, bright location, but avoid direct sunlight.
- Maintain Humidity: Cover the pot with a plastic bag or dome to create a humid environment that encourages rooting.
- Rooted Cuttings: Check the cuttings regularly for signs of growth. Once roots have developed (usually within 4-6 weeks), you can remove the plastic cover and slowly acclimate the seedlings to full sunlight.
General Tips for Both Methods:
- Water wisely: Malesherbia linearifolia thrives in well-draining soil and prefers to dry out slightly between waterings. Over-watering can lead to root rot.
- Provide ample sunlight: This plant needs at least 6 hours of direct sunlight daily to flourish.
- Choose the right pot: Ensure the pot has drainage holes to prevent waterlogging. Select a pot size proportional to the size of the plant.
- Fertilize sparingly: Use a balanced fertilizer diluted by half during the growing season.
Conclusion:
Whether you choose seeds or cuttings, propagating Malesherbia linearifolia is a rewarding venture that allows you to share its beauty with your garden. With patience and proper care, you can successfully cultivate this stunning plant and enjoy its star-shaped flowers for years to come. Remember to explore further resources and research specific propagation methods for your chosen variety.