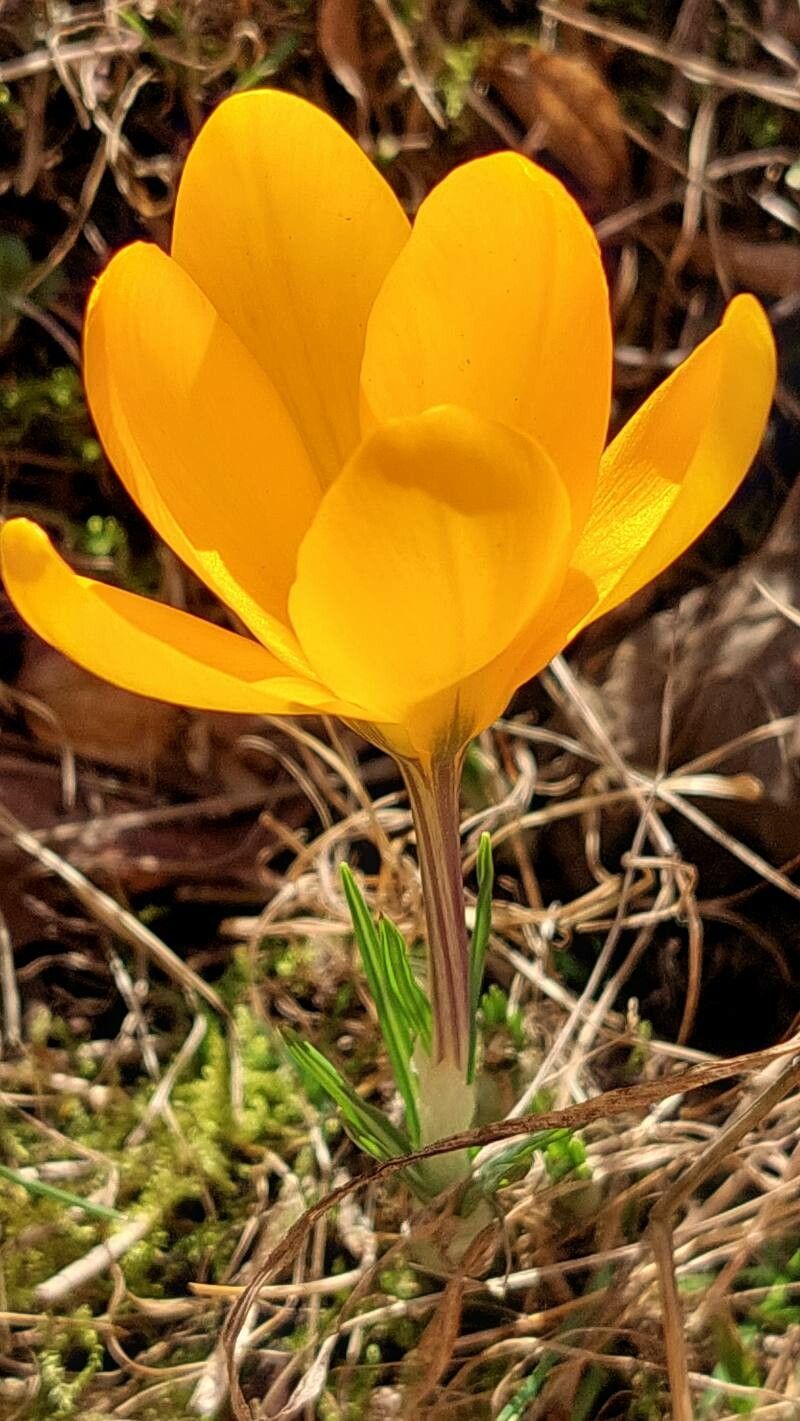
Bringing Sunshine to Your Garden: Propagating the Beautiful Crocus Flavus
The Crocus flavus, with its vibrant yellow blooms that herald the arrival of spring, is a welcome sight in any garden. But what if you could multiply this cheerful beauty and share its charm with others? That’s where propagation comes in – a fascinating and rewarding process that allows you to create new Crocus flavus plants from existing ones.
The Two Main Methods
There are two primary ways to propagate Crocus flavus:
- Division: This method involves separating the corms (bulb-like structures) of an established plant. It’s the simplest and most effective way to produce new plants.
- Seed Propagation: While more time-consuming, this method allows you to potentially create new varieties with unique characteristics.
Division: A Quick and Easy Path to New Crocuses
Division is best done during the plant’s dormant period, usually in late summer or early fall, after flowering. Here’s a step-by-step guide:
- Dig Up the Plant: Carefully excavate the corm cluster from the soil, making sure you don’t damage the corms.
- Separate the Corms: Gently tease apart the corm cluster, being careful not to break the corms. You’ll find smaller corms (offsets) around the main corm.
- Prepare the New Planting Site: Choose a well-drained, sunny spot in your garden. Amend the soil with compost or aged manure to improve drainage and fertility.
- Plant the Corms: Plant the corms 2-3 inches deep and 3-4 inches apart, ensuring the pointy end faces upwards. Water thoroughly after planting.
Seed Propagation: A More Patient Approach for New Variations
If patience is your virtue, seed propagation offers the chance to create new variations of Crocus flavus. Here’s what you need to know:
- Collect Fresh Seeds: As Crocus flavus blooms in spring, its flowers will develop seed capsules. Collect these capsules when they turn brown and dry, then extract the seeds.
- Sow the Seeds: Plant the seeds in a seed tray or pot filled with a well-draining seed-starting mix. Cover them lightly with soil, and water thoroughly.
- Provide Optimal Conditions: Keep the seeds moist, ideally in a cool and shaded location. It may take several months for germination.
- Planting Young Crocuses: Once the seedlings have developed a few true leaves, transplant them into larger pots or directly into your garden. Be patient, as it may take a few years for these young plants to flower.
Tips for Success
- Choose the Right Time: For division, late summer or early fall is ideal. For seed propagation, collect the seeds immediately after flowering.
- Provide Good Drainage: Crocus flavus thrives in well-drained soil. Avoid planting them in areas prone to waterlogging.
- Water Regularly: Ensure the soil is consistently moist, especially during the growth period.
- Feed Your Corms: After flowering, fertilize your Crocus flavus with a balanced fertilizer to promote growth.
Conclusion
Propagating Crocus flavus is a rewarding experience that allows you to enjoy this beautiful plant for years to come. Whether you choose the quick and easy method of division or the more patient approach of seed propagation, you’ll be amazed by the results. As your new Crocuses bloom each spring, you’ll have the satisfaction of knowing you played a part in their journey from seedling to vibrant, blooming plant. So, gather your tools, choose your method, and start propagating today! You’ll be rewarded with a garden bursting with the cheerful yellow of Crocus flavus for years to come.