
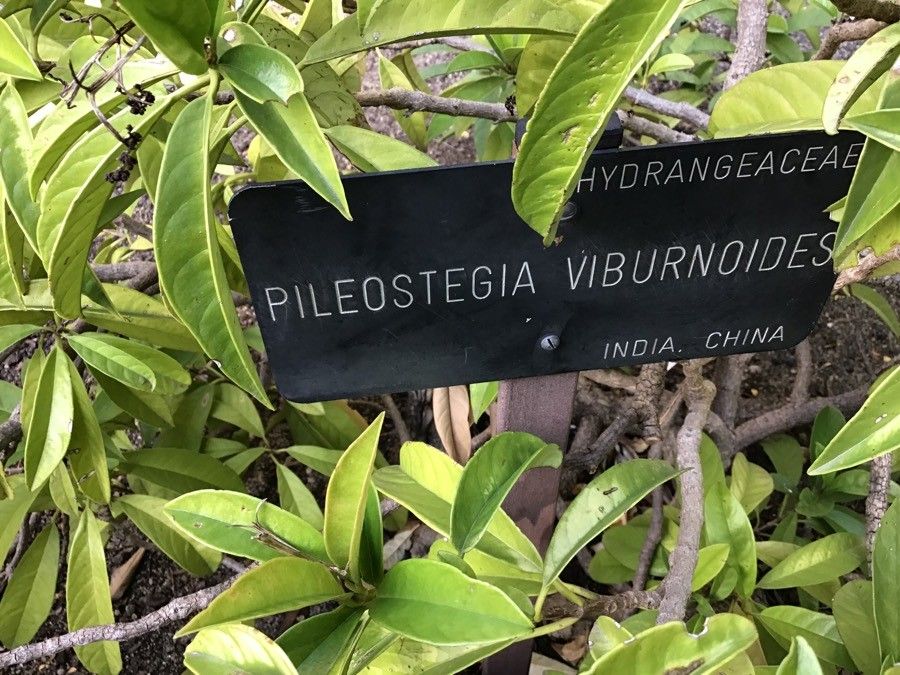
From One to Many: Propagating Your Own Hydrangea viburnoides
Looking to expand your garden with the stunning beauty of the Hydrangea viburnoides, also known as the Maple-Leaved Hydrangea? This plant, with its abundance of delicate white blooms and distinctive, maple-like leaves, is a true gem for any landscape. The good news is that you can easily share this beauty with your garden or even with friends by propagating new plants from cuttings.
Understanding the Method: Softwood Cuttings
The most successful method for propagating Hydrangea viburnoides is through softwood cuttings. This involves taking cuttings from new, tender growth – think spring and early summer when branches are still pliable and flexible.
Here’s a step-by-step on how to propagate your own Hydrangea viburnoides:
1. Selecting the Right Cuttings:
- Choose healthy, non-flowering stems from this year’s growth. Look for shoots that are green, pliable, and around 4-6 inches long.
- Make a clean cut just below a node – the point where leaves sprout on the stem.
2. Preparing the Cuttings:
- Remove any leaves from the lower 2-3 inches of the stem.
- Use a sharp knife or pruning shears to make a precise cut at a 45-degree angle.
3. Promoting Root Growth:
- Dip the freshly cut end of the stem in a rooting hormone powder or solution. This will encourage the development of roots.
4. Starting Your Cuttings:
- Fill a pot with a well-draining potting mix.
- Make a small hole in the soil and insert the prepared cutting about 1-2 inches deep.
- Gently firm the soil around the cutting.
5. The Importance of Moisture and Humidity:
- Water your cuttings thoroughly, ensuring the soil is moist but not waterlogged.
- Cover the pot with a clear plastic dome, a plastic bag, or a propagation lid. This will create a mini greenhouse environment and help maintain humidity.
6. Providing the Right Conditions:
- Place your cuttings in a bright, indirect light location, away from direct sunlight.
- Maintain warm temperatures (around 70-75 degrees Fahrenheit).
7. Patience is Key:
- It will take several weeks, even months, for your Hydrangea viburnoides cuttings to develop roots.
- Keep the soil consistently moist. Avoid overwatering, which could lead to root rot.
- Observe the cuttings regularly and remove any dying or wilted leaves.
Once you see new growth appear, it’s a good sign that roots are developing.
8. Transplanting Your New Hydrangea Viburnoides:
- Once the new plants are established, you can gradually acclimate them to outdoor conditions by removing the plastic cover for shorter periods each day.
- After several weeks, they should be ready to be transplanted into their permanent location.
Important Considerations:
- The success of propagation depends on several factors, including weather, time of year, and your own technique.
- It’s advisable to experiment with several cuttings and choose the best ones for transplanting.
- When selecting a location for transplanting, ensure your Hydrangea viburnoides is planted in a well-drained location with partial shade to full sun and amend the soil with compost or organic matter for optimal growth.
By following these steps, you can successfully propagate your own Hydrangea viburnoides plants, bringing the beauty of this stunning garden addition directly to your landscape. Remember, patience is key. Enjoy the process of nurturing new life and watch your Hydrangea viburnoides flourish!