
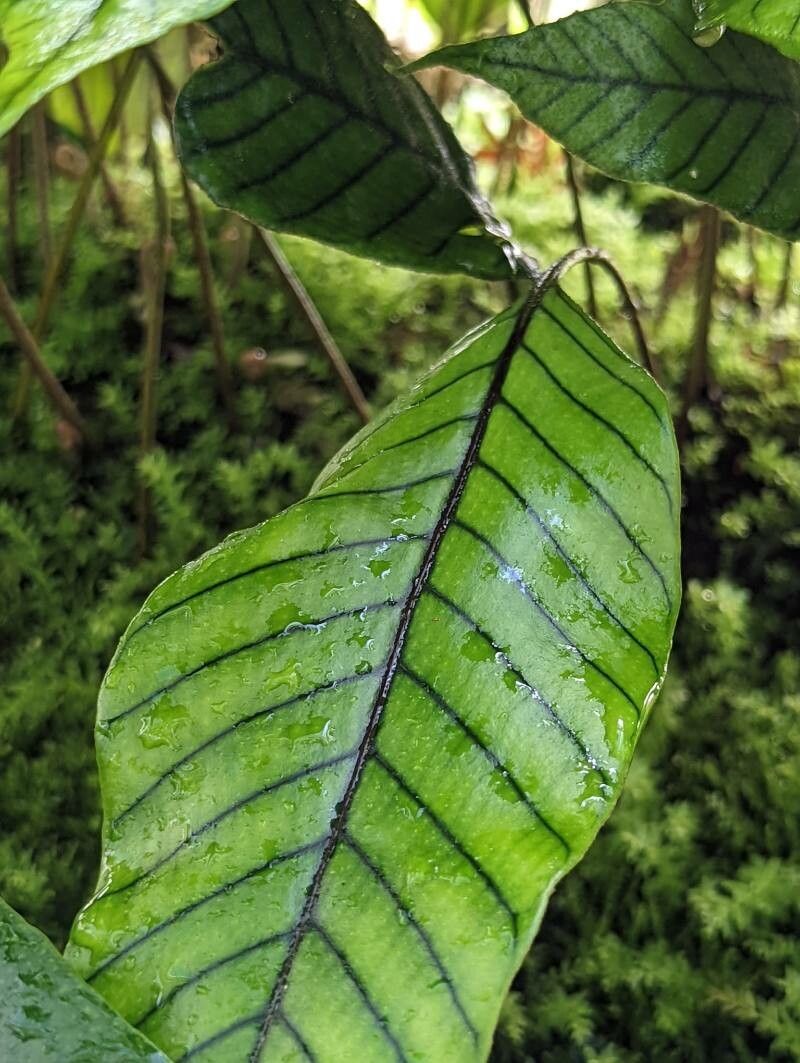
Unveiling the Secrets to Growing Pyrrosia christii: A Guide to Propagation
Pyrrosia christii, with its captivating silver-green foliage and unique, fern-like appearance, is a captivating addition to any indoor plant collection. But what if you want to expand your collection and share the beauty of this captivating fern?
Fear not, fellow plant enthusiasts, for the secrets to propagating Pyrrosia christii are within your reach! This blog post will guide you through the different methods of propagation, offering tips and tricks to ensure your success.
Understanding Pyrrosia Propagation
Like many ferns, Pyrrosia christii thrives on spores. These tiny, dust-like structures are responsible for creating new plantlets. However, their minute size and delicate nature make spore propagation a challenging but rewarding process. This is why other methods, such as division, are often preferred by beginner plant lovers.
1. Spore Propagation: A Journey in Patience
For the adventurous soul, spore propagation offers a truly fascinating glimpse into the plant’s lifecycle.
- Collecting Spores: Locate the underside of mature fronds, where tiny brown spots, known as sori, house the spores. Carefully scrape the spores onto a piece of paper, keeping them in a dry, cool place.
- Preparing a Medium: A sterilized mixture of peat moss and perlite is ideal, allowing for good drainage and air circulation. Fill a seed tray with the mixture and lightly mist it.
- Sowing: Sprinkle the spores evenly over the surface and gently press them into the medium. Don’t bury the spores as they need light for germination.
- Creating the Perfect Environment: Cover the tray with a clear plastic dome or sheet of glass, ensuring proper humidity and warmth. Place it in indirect light and maintain a temperature around 70-75°F (21-24°C).
- Patience is Key: Germination can take several weeks or even months. Be patient, and keep the medium consistently moist.
- Thinning: As the tiny ferns develop, thin them out, providing space for each plantlet to thrive.
2. Division: A Simplified Path to Expansion
If you’re a beginner or prefer a quicker method, division is the way to go. Here’s a step-by-step guide:
- Choose a Suitable Plant: Select a mature Pyrrosia christii that has multiple crowns.
- Pot Reduction: Gradual water reduction over a few weeks allows the plant to dry out slightly, aiding in the division process.
- Gently Remove the Plant: Carefully remove the plant from its pot, ensuring to preserve as much of the root ball as possible.
- Divide the Plant: Using a clean knife or sharp tool, separate the plant into individual crowns. Each section should have a healthy root system and at least one frond.
- Repotting: Plant each division in a pot with well-draining soil, ensuring the crown sits just above the soil line.
- Care: Water the newly planted divisions thoroughly and place them in a bright, indirect light location.
Caring for Your Propagations
- Watering: Pyrrosia christii prefers to dry out slightly between waterings. Avoid overwatering as this can lead to root rot.
- Sunlight: Provide bright, indirect light, but avoid direct sunlight, which can scorch the delicate fronds.
- Humidity: These ferns thrive in humid environments. Consider placing the pot on a pebble tray filled with water or using a humidifier to maintain high humidity levels.
Conclusion
Propagating Pyrrosia christii, while requiring patience and attention, is a rewarding experience that allows enthusiasts to expand their plant collection and share the beauty of this remarkable fern.
Whether you choose to embrace the challenge of spore propagation or opt for the practicality of division, the satisfaction of watching your Pyrrosia christii thrive from a single frond or spore is truly fulfilling. So, gather your potting supplies, embrace the process, and enjoy the journey of growing your own unique collection of Pyrrosia christii plants!