From Seed to Bloom: Propagating the Rare Beauty of Onosma microcarpa
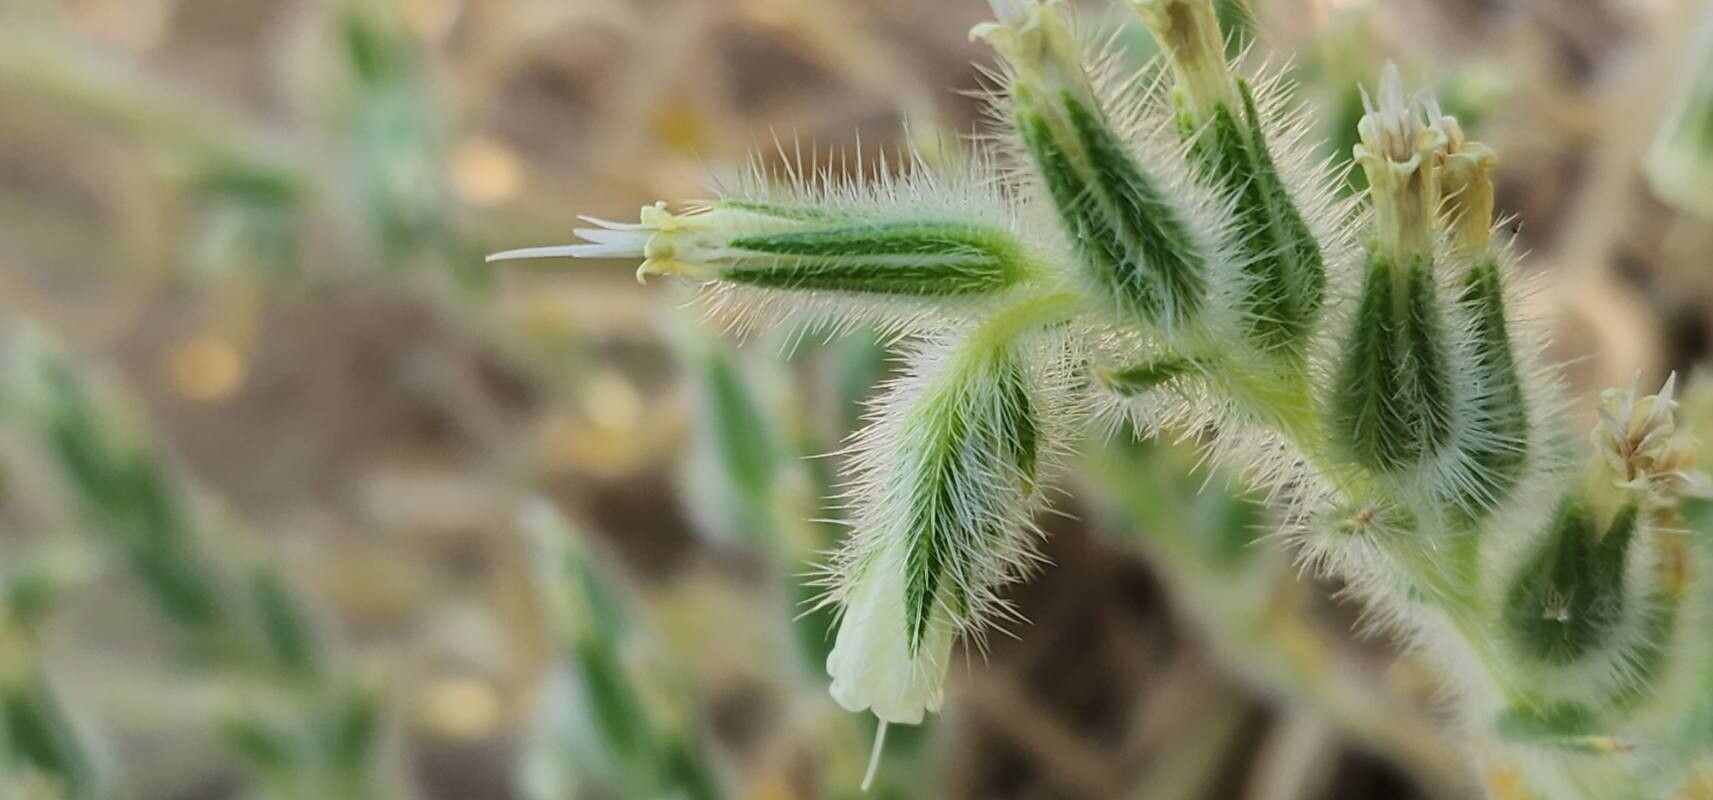
Onosma microcarpa, with its delicate, bell-shaped flowers and striking blue hue, is a captivating wildflower that often captures the eye of gardeners. But finding this gem isn’t always easy, which is where propagation comes in. This article will guide you through the process of bringing this unique beauty into your garden, from seed to blooming plant.
Seeds for the Future:
The most common and satisfying method for propagating Onosma microcarpa is through seeds. These tiny seeds, requiring a period of cold stratification, are best sown in the fall for spring germination. Here’s a breakdown of the process:
- Preparation: Choose a well-drained seed tray or pot filled with a seed-starting mix.
- Sowing: Scatter the seeds thinly on the surface of the soil. Don’t bury them as they require light to germinate.
- Moistening: Gently mist the soil with a fine spray, ensuring even moisture.
- Cold stratification: Cover the seed tray with a clear plastic dome or wrap and place it in a refrigerator for 6-8 weeks at a temperature of 40°F (4°C).
- Outdoors: Transfer the seed tray to a bright, cool location outdoors after the cold stratification period. Keep the soil consistently moist.
- Germination: Patience is key. Germination can take several weeks, but you’ll be rewarded with tiny seedlings that will eventually flourish into beautiful blooms.
Beyond Seeds: Exploring Other Options
While seed propagation is the most usual method, Onosma microcarpa can also be propagated through cuttings. This requires a bit more patience and care, but it can be rewarding for those who want to quickly expand their collection.
- Taking cuttings: Choose healthy, non-flowering stems from the plant. Cut 4-6 inches long just below a leaf node.
- Preparing the cuttings: Remove the lower leaves from the stem, leaving 2-3 leaves at the top. Dip the base of the cutting into a rooting hormone solution.
- Planting: Fill a pot with a sterile, well-draining growing medium, such as a mix of perlite and peat moss. Plant the cuttings, ensuring the bottom node is covered with the medium.
- Care: Place the pot in a bright, indirect light location. Keep the soil consistently moist. Rooting can take several weeks, so don’t give up hope.
Cultivating Success:
Once you’ve successfully propagated your Onosma microcarpa, here’s what you need to know about cultivating these beautiful plants:
- Sunlight: Onosma microcarpa prefers a sunny location with at least 6 hours of direct sunlight each day.
- Soil: Well-drained, sandy soil is ideal, but they can tolerate a range of soils. Enrich the soil with compost or well-rotted manure.
- Watering: Water regularly, especially during dry periods, but avoid overwatering.
- Fertilizing: A light application of balanced fertilizer during the growing season will help promote healthy growth and flowering.
The Final Result:
With a bit of effort and patience, propagating Onosma microcarpa can be a rewarding experience. Not only will you have a flourishing collection of these delicate blooms, but you’ll also be actively contributing to the preservation of this increasingly rare species. So, gather your seeds, get your hands dirty, and embark on a journey of cultivating the beautiful Onosma microcarpa in your garden. The journey is worth the reward!