
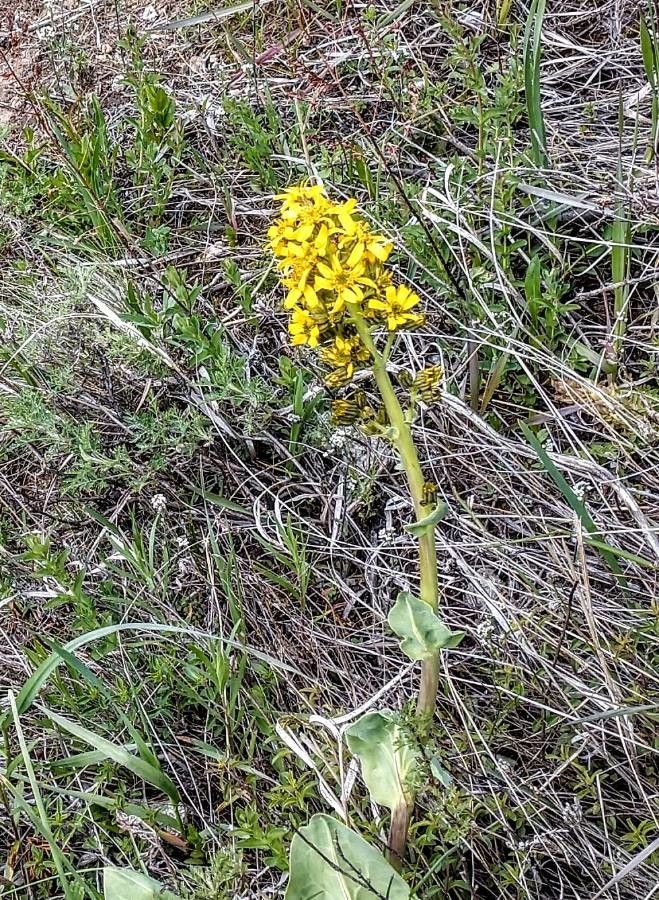
Unleash the Ligularia Alpigena: A Guide to Magical Propagation
Ligularia alpigena, with its dramatic, architectural foliage and vibrant yellow blooms, is a true garden statement piece. But did you know that this beauty can be easily multiplied in your own garden? That’s right, propagating Ligularia alpigena is a rewarding journey that allows you to share this stunning plant’s magic with other green thumbs or simply expand your own garden’s splendor.
Division: The Easiest Way to Multiply Your Ligularia
For Ligularia alpigena, division is the simplest and most reliable method for propagation. Here’s how to do it:
- Time is Key: Spring is the ideal time for dividing Ligularia, as the plant is transitioning into active growth. Alternatively, you can also divide in early autumn, after the flowering season.
- Prepare Your Plant: Begin by gently digging around the base of your established Ligularia plant, making sure not to damage the root system.
- Separate the Crowns: Using a sharp knife or a trowel, carefully divide the root clump. The goal is to create divisions that have at least one healthy growth point and a decent root system.
- Replant Your New Ligularia: Prepare individual planting holes slightly larger than the root ball, ensuring good drainage. Gently place each new division in the hole, ensuring that the top of the root ball is level with the soil surface. Firm the soil around the roots, water generously, and keep the soil consistently moist until the plant is established.
Taking the Seed Route: A Longer But Rewarding Journey
For those looking for a new challenge, propagating Ligularia alpigena from seed is another option. This method takes more time and patience, but the sense of achievement is immeasurable. Follow these steps:
- Seed Collection: After the plant flowers, gather the seeds from the spent flower heads. Store them in a cool, dry place for several weeks, allowing them to dry completely.
- Sowing Time: Spring is the best time to sow Ligularia seeds. Prepare a seed tray or pots filled with a well-draining seed-starting mix.
- Sowing Technique: Sow the seeds on the surface of the seed mix, gently pressing them into the soil. Mist the surface with water, maintaining a consistent moisture level. Cover the tray with plastic wrap or a clear lid to create a mini greenhouse environment.
- Germination and Transplanting: Expect germination to take several weeks, and maintain consistent temperatures. Once the seedlings have developed a few true leaves, carefully transplant them into individual pots.
Tips for Propagating Success
- Patience is Key: Remember, propagation takes time. Some methods, like seed sowing, can take a whole season to mature.
- Proper Watering: Once your propagations are established, provide them with regular watering, especially during dry periods.
- Fertilizer Boost: Feed your Ligularia plants with a balanced fertilizer once or twice a year to encourage growth.
Enjoy the Journey:
Propagating Ligularia alpigena is about more than just creating new plants. It’s a rewarding experience that connects you to your garden and its cycles. As you see your new Ligularia plants flourish, you’ll find yourself not only enjoying the beauty of this wonderful plant but also taking pride in your successful propagation journey. From division to seed sowing, there’s a method for every gardener, beckoning you to embrace the magic of Ligularia alpigena. So, get ready to spread the charm of this plant and fill your garden with its captivating presence!