
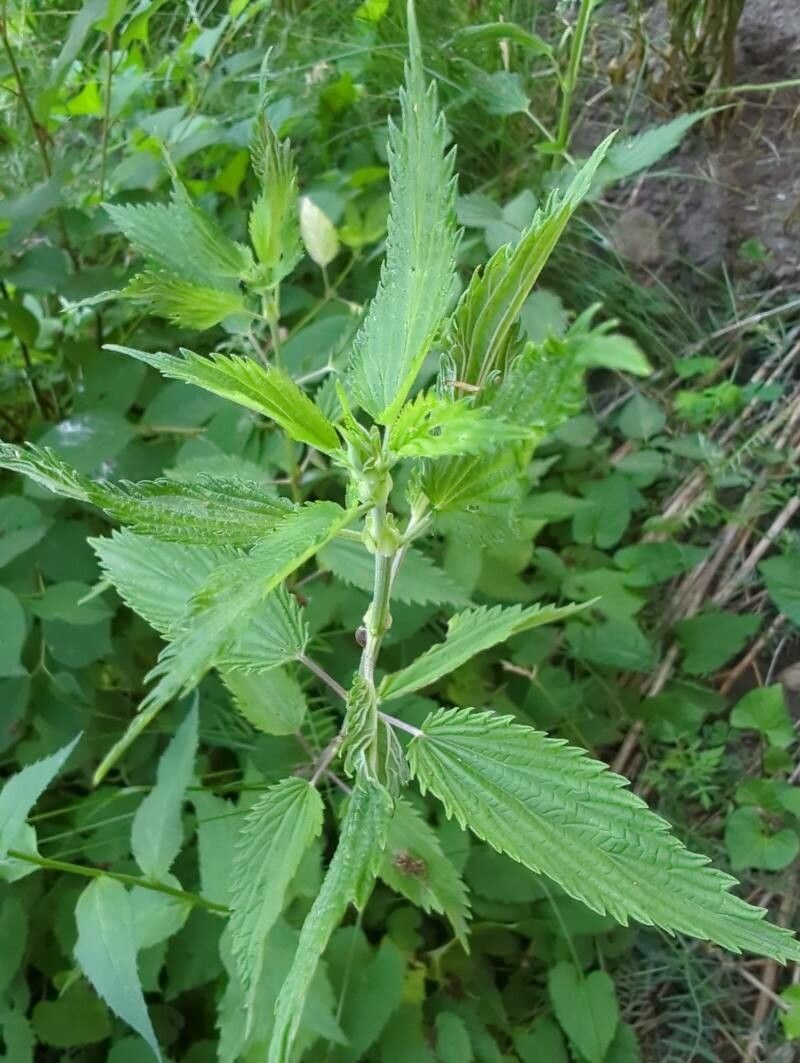
From Seed to Success: Growing Your Own Urtica gracilis
Urtica gracilis, commonly known as the slender nettle, is a fascinating plant with a surprising range of uses. From its vibrant foliage to its potential as a natural dye source, this species captivatingly bridges the gap between beauty and practicality. But what if we told you that you could easily cultivate this intriguing plant yourself?
That’s right! Propagating Urtica gracilis is a remarkably straightforward process, accessible to even the most novice gardener. This blog post delves into the two most popular methods for growing this vibrant herb: from seed and through cuttings.
The Seed Method: A Patient’s Delight
For those with a little patience, the seed method offers a rewarding journey into the world of Urtica gracilis. Here are the steps to guide you:
Collect or Purchase Seeds: Obtaining seeds is your first step. You can collect seeds directly from mature Urtica gracilis plants in the wild, carefully removing them from the seed pods. Alternatively, you can purchase seeds from reputable online retailers or local nurseries.
Prepare a Suitable Seedbed: Fill a tray or pot with a well-draining seed-starting mix. Ensure the soil is slightly moist but not waterlogged.
Sow the Seeds: Gently sprinkle the seeds on the surface of the soil, ensuring even distribution. Lightly cover the seeds with a thin layer of soil.
Provide Optimal Conditions: Cover the tray or pot with a plastic dome or wrap to create a humid environment. Place the container in a warm and bright location, avoiding direct sunlight. This setup helps encourage germination.
Regular Watering: Maintain the soil’s moisture levels, ensuring it doesn’t become too dry or overly saturated.
- Thinning: As the seedlings emerge, thin them out, allowing the strongest ones space to grow. Leaving the healthiest seedlings at a minimum distance of 2 inches will ensure they thrive.
The Cutting Method: A Quicker Path to Propagation
For those who prefer a quicker method, propagation through cuttings is an excellent option. This technique leverages the plant’s regenerative abilities to quickly create new plants. Here’s a step-by-step guide:
Gather Stem Cuttings: Choose healthy stems from mature Urtica gracilis plants. Selecting stems that are about 4-6 inches long with several nodes (the points where leaves grow) is ideal.
Prepare the Cuttings: Use a sharp, clean knife or scissors to make a diagonal cut at the base of the stem, just below a node. Remove any lower leaves that would be submerged in soil.
Rooting Medium: Prepare a pot or tray with a rooting medium like peat moss, perlite, or a combination of both. Moisten the medium before inserting your cuttings.
Planting Cuttings: Gently insert the cut ends of the stems into the potting mix, ensuring at least one node is buried beneath the surface.
Provide Suitable Environment: Cover your cuttings with a plastic dome or humidity dome to create a warm and humid environment. Place the pot in a bright, indirect location.
- Regular Maintenance: Keep the rooting mixture lightly moist, but avoid waterlogging. Carefully monitor your cuttings for root development, which typically takes 2-4 weeks.
Final Notes on Propagation:
Both seed and cutting methods, when followed diligently, offer effective ways to propagate Urtica gracilis. This fascinating plant can brighten up your garden with its unique beauty and offer you a fascinating journey into the world of natural dyes and herbalism. However, it is important to check local regulations before growing Urtica gracilis, as it can become invasive in some areas.
With a bit of patience and the right techniques, you can easily cultivate your own thriving patch of Urtica gracilis, enjoying the satisfaction of nurturing life from seed or cutting. And who knows, you might even discover the surprising potential of this plant in your own creative endeavors.