Unlock the Secrets of Fritillaria Involucrata Propagation: Growing Beauty from Bulbs
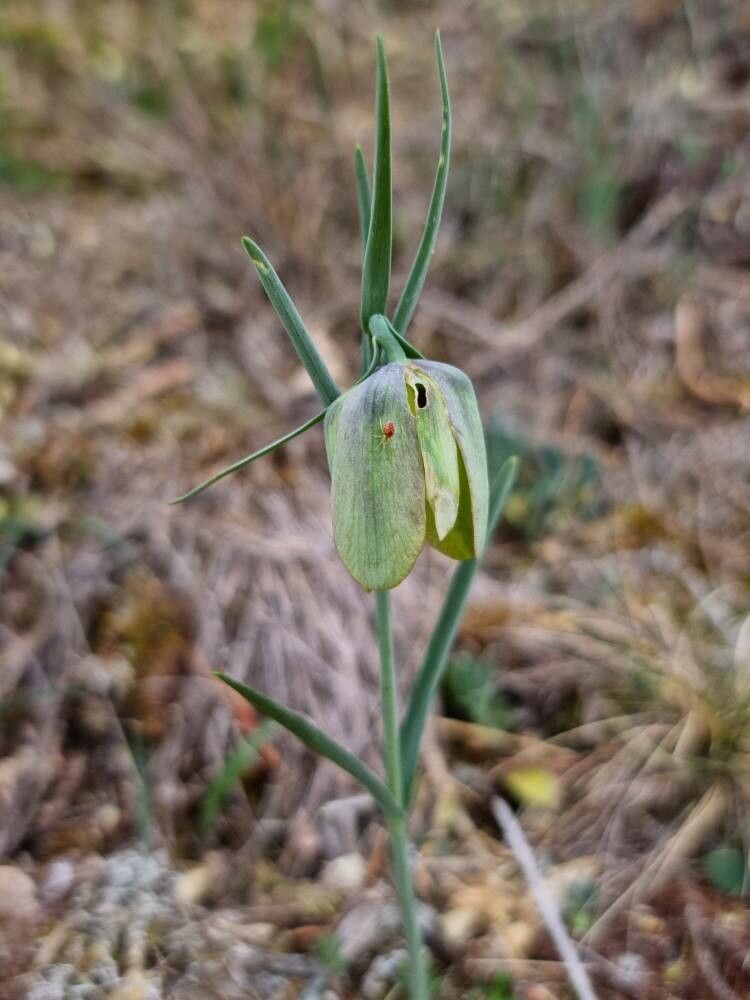
Fritillaria involucrata, with its captivating checkerboard pattern and delicate nodding blooms, is a true gem for any garden enthusiast. But how can you share this beauty beyond your own borders? The answer lies in propagation, the art of creating new plants from existing ones.
This blog post will guide you through the world of Fritillaria involucrata propagation, unraveling techniques that both seasoned gardeners and beginners alike can master. We’ll look at the most common and successful methods, ensuring you can expand your collection or share these treasures with fellow plant lovers.
Understanding the Fundamental: Fritillaria Involucrata Bulbs
Fritillaria involucrata, like many other fritillaries, spreads through underground bulbs. These bulbs are essentially miniature food storage units that the plant relies on to survive the dormant season and sprout new growth the following spring.
Method 1: The Power of Bulb Division
The easiest and most reliable method of propagation is bulb division. Here’s how to do it:
- Timing is Key: Wait for your Fritillaria involucrata to enter its dormant period, typically after the foliage has died back, usually in late summer or early autumn.
- Gently Dig and Separate: Carefully dig up the bulb clumps and separate them, ensuring each division has at least one healthy bulb.
- Planting Time: Replant the divisions in well-drained soil, spaced according to the mature size of the plant.
- Watering and Patience: Keep the soil consistently moist and provide good drainage. Remember, patience is key – it may take a couple of years for the newly divided bulbs to bloom.
Method 2: The Intriguing World of Seed Propagation
For those seeking a longer-term propagation adventure, seed propagation offers a unique experience. Here’s how it works:
- Collect the Seeds: After the flowers fade, small, brown seed capsules will form. Wait until they ripen and dry, then gently remove the seeds.
- Sowing Season: Sow the seeds in a well-drained seed tray filled with a seed-starting mix. You can either sow them directly in the ground during the fall or start them indoors in the late winter.
- Patience is a Virtue: Fritillaria involucrata seeds can take up to two years to germinate and even longer to bloom. Be patient, observe, and nurture their growth.
Key Tips to Boost Your Propagation Success:
- Soil Matters: Prioritize well-drained soil that is rich in organic matter. A loam-based mix with added compost is ideal.
- Sunlight and Shade: Fritillaria involucrata prefers partial shade in the garden, especially during the hottest parts of the day.
- Watering Wisely: Keep the soil consistently moist but not soggy, especially during the growing season.
- Feeding Time: Use a balanced, granular fertilizer during the spring to provide essential nutrients for healthy growth.
Sharing the Bounty:
Once your propagated Fritillaria involucrata plants thrive, you can share the beauty with others. Whether gifting them to fellow gardeners or adding them to your own garden, each new plant represents a testament to your gardening efforts.
By mastering the techniques of Fritillaria involucrata propagation, you’re not simply planting a flower, but creating a legacy of beauty and wonder. As you witness each new plant blossom, remember that you played a vital role in bringing these captivating blooms to life.