Unlocking the Secrets of Propagation: Sharing the Joy of Polyosma leratii
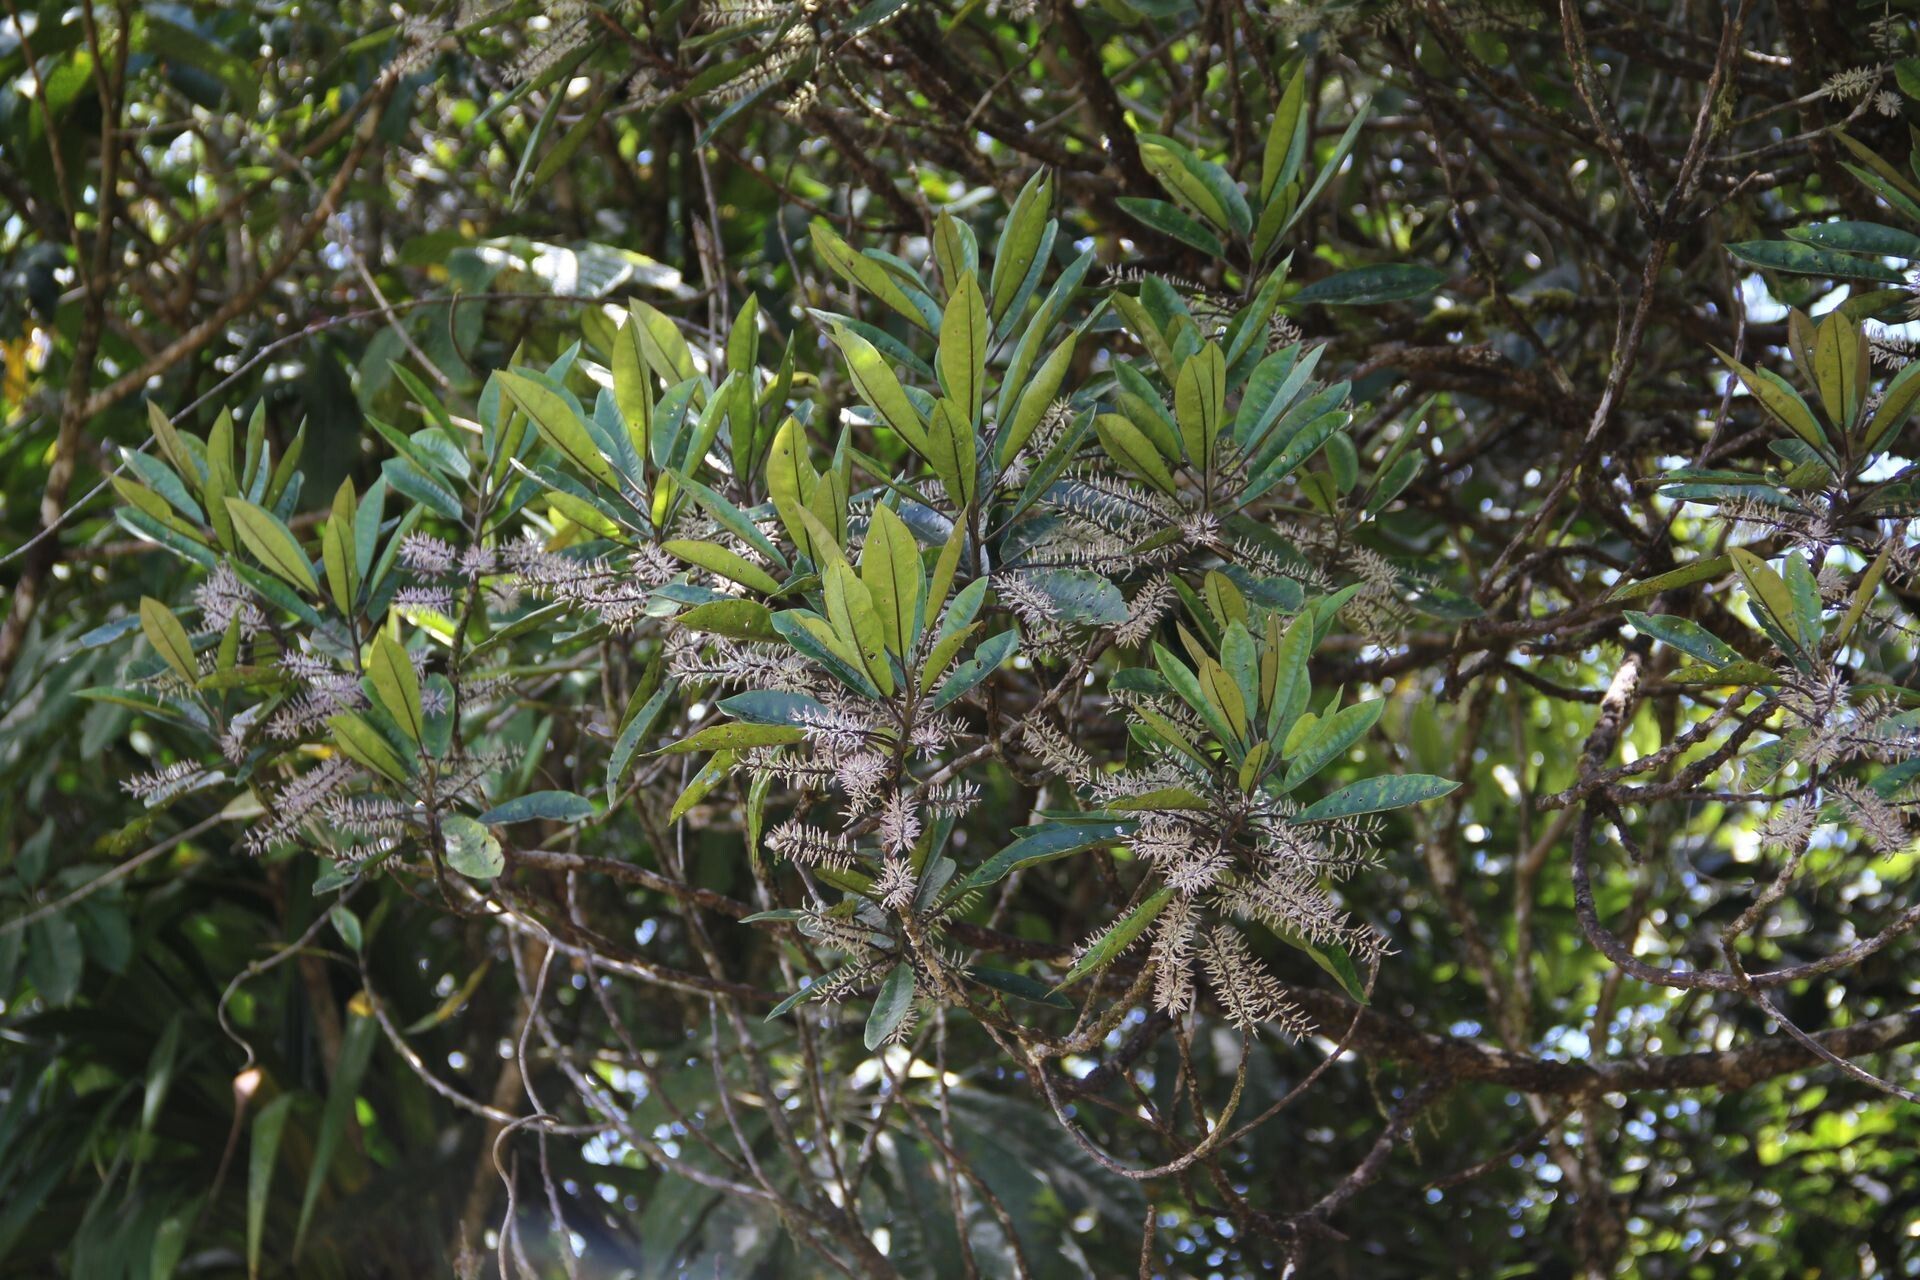
Polyosma leratii, with its glossy emerald leaves and dramatic, cascading form, adds a touch of tropical elegance to any garden. But what if you could share this beauty with friends, neighbors, or create a thriving new plant for yourself? That’s where the magical world of propagation comes in.
This guide will take you step-by-step through the process of propagating Polyosma leratii, empowering you to grow this stunning plant from cuttings.
The Art of Taking Cuttings
Polyosma leratii can be successfully propagated using semi-hardwood cuttings. The best time for this is during the late summer or early fall when the plant is transitioning from vigorous growth. Here’s how:
- Select the Right Cuttings: Choose healthy, non-flowering stems from the current year’s growth. Cuttings should be about 4-6 inches in length, with at least two sets of leaves.
- Prepare for Success: Using a sharp, clean pair of pruning shears, make a precise cut just below a leaf node. Remove the leaves from the bottom inch or two of the cutting.
- Root Hormone Magic: To encourage rapid root growth, apply a rooting hormone powder or gel to the cut end of the cutting.
- Potting Up: Prepare a pot filled with a well-draining potting mix, such as a blend of peat moss and perlite. Make a small hole in the mix and insert the cutting, ensuring the treated end is buried.
- The Humidity Factor: Creating a humid environment around the cuttings is vital. This can be achieved by placing the pot in a clear plastic bag or dome, or by covering the pot with a plastic wrap.
- Finding the Right Spot: Place the potted cuttings in an area with bright, indirect light and maintain a temperature around 70-75°F. Avoid direct sunlight as it can dry out the cuttings.
Patience is Key
Patience is crucial during the rooting process. It can take anywhere from 6-8 weeks for the cuttings to develop roots. Check the cuttings every few weeks for signs of new growth, which indicates successful rooting.
From Cuttings to Thriving Plants
Once the cuttings have rooted, gently remove them from the humidity dome or bag and transplant them into individual pots filled with a well-draining mix. Water them regularly, keeping the soil evenly moist, but avoid overwatering.
Enjoy your New Polyosma leratii!
With a little patience and the right technique, you can confidently propagate beautiful Polyosma leratii plants. This process is a rewarding experience, allowing you to multiply your collection and share this stunning plant with others. So go ahead, dive into the world of plant propagation and unlock the joy of creating new life from cuttings! Don’t hesitate to experiment and see what works best for you – cultivating Polyosma leratii is a journey of discovery.