From One to Many: Propagating Your Lysimachia ciliata for a Lush Landscape
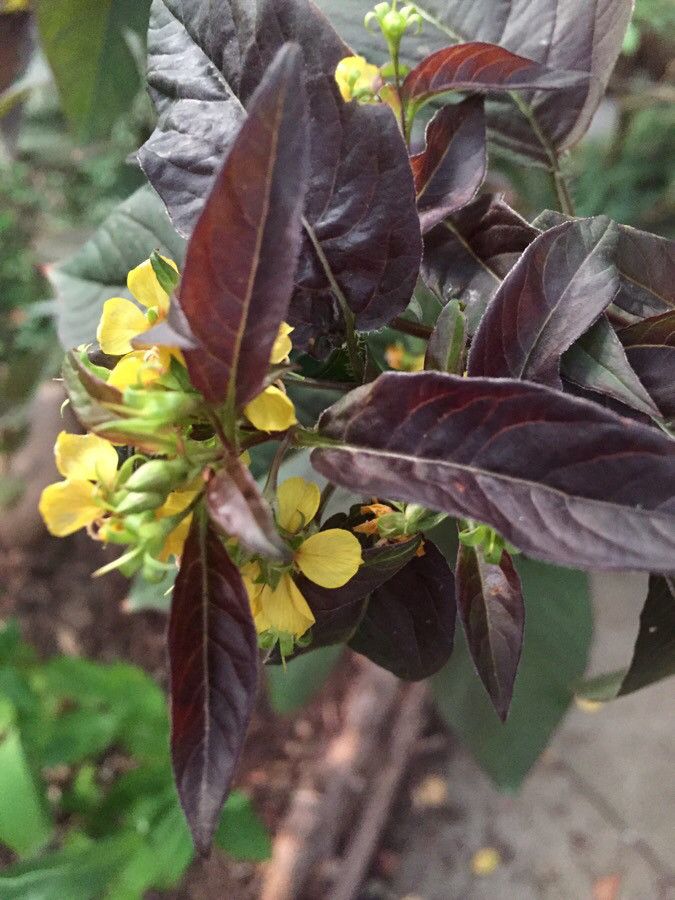
The stunning Lysimachia ciliata, commonly known as the fringed loosestrife, is a prized addition to any garden. Its bright, vibrant yellow flowers, often resembling tiny trumpets, dance in the wind, attracting pollinators and adding a cheerful splash of color. But let’s be honest – one plant just isn’t enough! Fortunately, propagating Lysimachia ciliata is a relatively simple process, allowing you to expand your garden paradise without breaking the bank.
The Power of Division: A Simple and Effective Method
For those looking for the quickest and easiest method, dividing your existing Lysimachia ciliata plant is the way to go. This technique works best in the spring or early fall when the plant is actively growing. Here’s how to do it:
- Dig and Divide: Carefully dig up the plant, taking care not to damage the roots. Separate the plant into smaller clumps, each with its own set of healthy roots and stems.
- Replanting: Choose a location with similar growing conditions to the original plant, ensuring good drainage. Plant the divided clumps at the same depth as they were initially planted. Water generously.
Stem Cutting Magic: A Journey from Stem to Rooted Plant
Propagating Lysimachia ciliata from stem cuttings is a rewarding experience, especially for those who enjoy the tactile process of plant propagation. Here’s a step-by-step guide:
- Choose Your Cuttings: Take 4-6 inch cuttings from healthy, non-flowering stems.
- Prepare the Cuttings: Remove the lower leaves and make a clean cut just below a leaf node.
- Rooting Medium: Fill a pot or tray with a well-draining rooting medium like a mix of peat moss and perlite.
- Planting: Dip the cut end of the stem in rooting hormone (optional) and insert it into the rooting medium.
- Environment: Keep the cuttings in a warm, humid environment with indirect sunlight. Cover the pot with a plastic dome or bag to create a mini-greenhouse.
- Patience is Key: It can take several weeks for roots to form. Be patient and keep the rooting medium moist but not soggy.
From Seed to Flower: A Journey of Patience and Reward
While Lysimachia ciliata can be grown from seed, it can be a bit more challenging than other methods. However, with patience and the right approach, you can achieve success.
- Seed Collection: Gather ripe seed pods and allow them to dry thoroughly before extracting the seeds.
- Sowing Seeds: Sow seeds in a seed tray filled with a seed-starting mix. Keep the seeds moist and in a warm, sunny location.
- Transplanting Seedlings: Once the seedlings are a few inches tall, you can transplant them into individual pots or directly into the garden.
Tips for Success: Nurturing Your New Lysimachia
- Watering: Maintain consistent moisture, especially during dry periods.
- Sunlight: Choose a location with partial shade to full sun exposure.
- Soil: Lysimachia ciliata prefers well-drained, fertile soil.
- Fertilizer: Feed your plants with a balanced fertilizer every few weeks during the growing season.
With a little care and attention, your propagated Lysimachia ciliata plants will thrive, adding a vibrant touch of color and charm to your garden for years to come. So go ahead, embrace the process and enjoy the magic of creating a miniature world of beauty, one plant at a time.