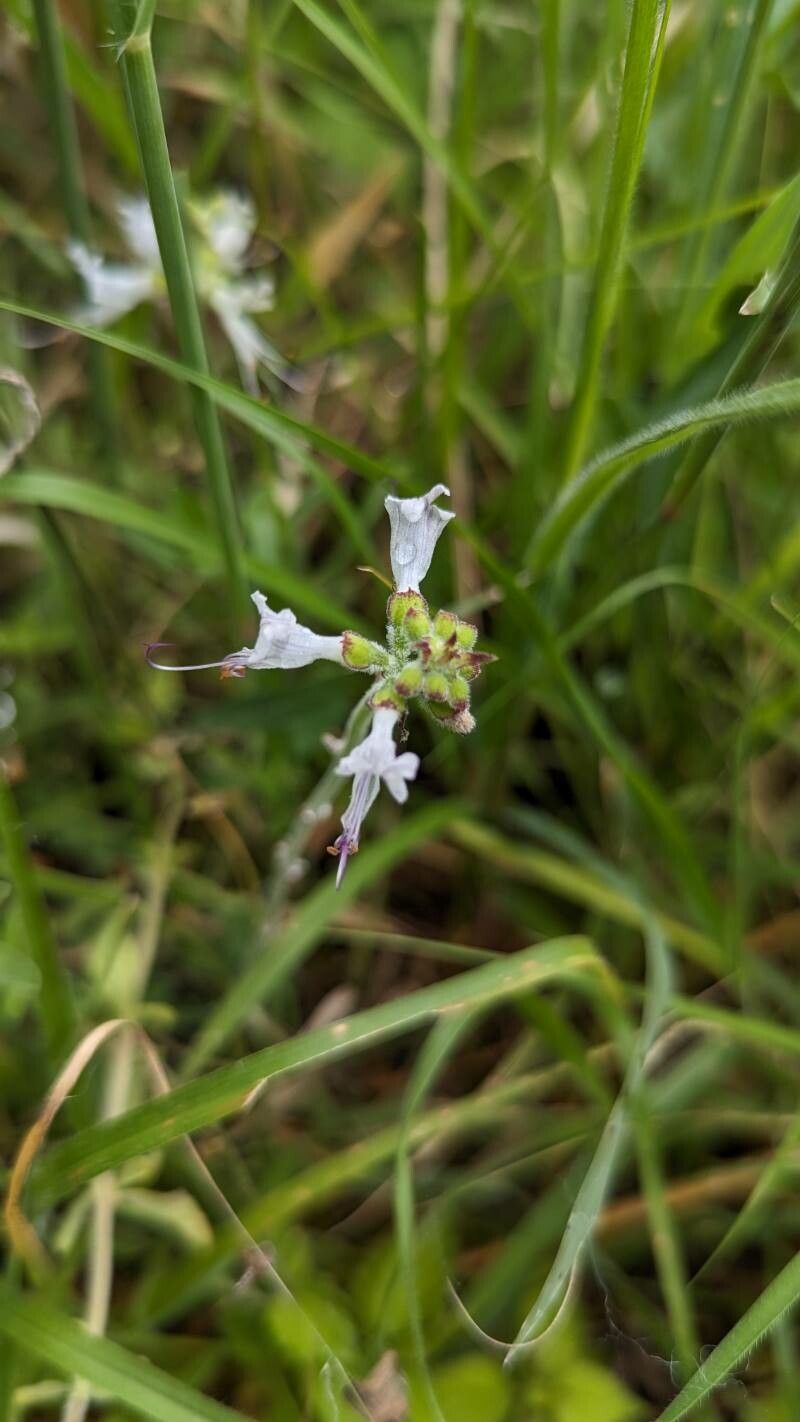
From Snipping to Thriving: Propagating the Aromatic Ocimum Filamentosum
Ocimum filamentosum, with its vibrant green leaves and captivating fragrance, is a delight to have in any garden. But did you know that sharing this treasure with others doesn’t require buying new plants? You can easily propagate your own Ocimum filamentosum from cuttings, adding a new dimension of joy to your gardening experience.
Why propagate?
Propagating plants offers several benefits:
- Cost-effective: Instead of purchasing new plants, you can create more of your favorites for free!
- Preserving Genetics: Propagating from a plant you love ensures you get the same unique traits in the new plants.
- Increased Abundance: Share your plant’s beauty with friends and family!
The art of Ocimum filamentosum propagation:
Ocimum filamentosum is a breeze to propagate using stem cuttings. Here’s a step-by-step guide:
1. Selecting the Cuttings:
- Choose healthy, vigorous stems. Look for stems that are green and have a few nodes (the bumps on the stem where leaves grow).
- Use sharp, clean shears or pruning scissors. This prevents damaging the stem and reduces the risk of infections.
- Cut your stems approximately 4-6 inches long. Each cutting should have at least 2-3 nodes.
- Remove the lower leaves from the stems. This ensures that roots develop from the node beneath the soil level.
2. Preparing the Cuttings:
- Dip the cut ends of the stems in a rooting hormone powder. This stimulates root growth. It’s not strictly necessary, but it can boost success rates.
- Prepare your rooting medium: A mixture of equal parts peat moss and perlite is excellent, as is a pre-made seed starting mix.
- Fill small pots, seed trays, or even DIY containers like plastic trays. Ensure drainage holes are present.
3. Planting the Cuttings:
- Gently insert the cuttings into the rooting medium. Make sure the nodes are buried beneath the soil surface.
- Firmly press the soil around the cuttings to secure them.
- Water the cuttings generously. The medium should be moist but not waterlogged.
4. Providing the Perfect Environment:
- Place your cuttings in a bright, warm location. Avoid direct sunlight, as it can scorch the delicate new stems.
- Maintain consistent humidity. Cover your cuttings with a plastic dome or clear plastic wrap to maintain high humidity levels.
- Mist the cuttings daily to prevent them from drying out.
- Check for signs of root development. Within a few weeks, you should see new growth appearing. This indicates roots are forming.
5. Transplanting:
- Once your Ocimum filamentosum cuttings have developed a healthy root system, they are ready to be transplanted into larger pots or directly into your garden.
- When transplanting, handle the new plants gently to avoid damaging the roots.
- Water them well after transplanting to ensure they settle in their new home.
Troubleshooting:
- If your cuttings start to wilt or turn brown, increase humidity levels by misting more frequently or using a plastic dome.
- If you notice any fungal growth, treat the affected cuttings with a diluted fungicide.
- Don’t give up! Even if your first attempt doesn’t result in 100% success, try again with fresh cuttings.
Enjoy the Rewards:
Propagating your Ocimum filamentosum is a rewarding experience. You not only get a beautiful, aromatic plant but also a sense of fulfillment from nurturing life from scratch. So gather your scissors and embark on your propagation journey, and soon you’ll be surrounded by the enchanting fragrance of your own Ocimum filamentosum plants!