From One to Many: Unveiling the Secrets of Propagating the “Copperleaf” Plant
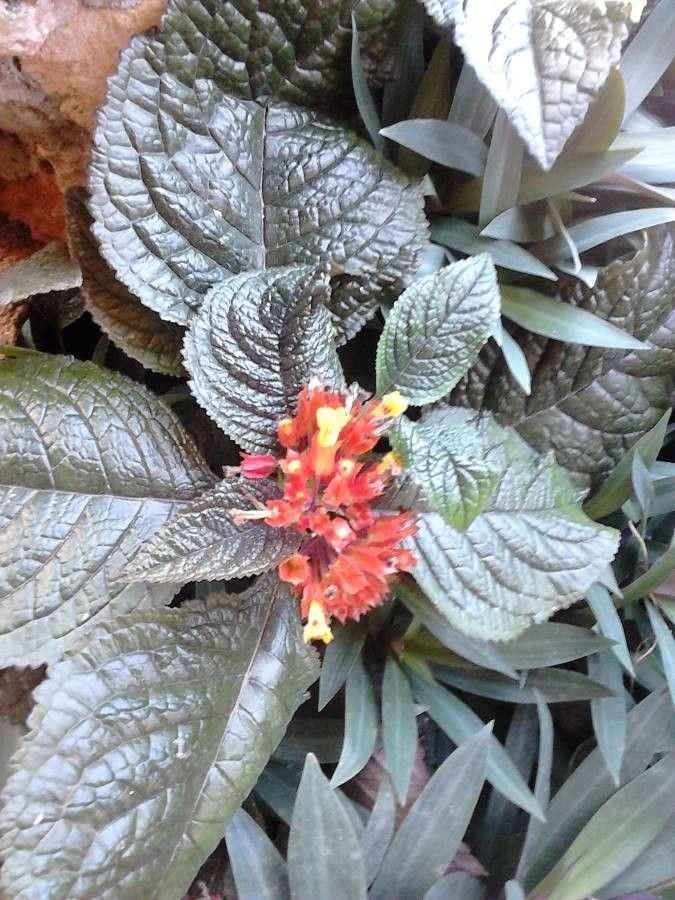
The stunning “Copperleaf” plant, known botanically as Chrysothemis pulchella, boasts vibrant copper-colored bracts that surround its tiny white flowers. This beauty, belonging to the nightshade family, is not just easy on the eyes, it’s also surprisingly easy to propagate! Whether you’re looking to replenish your garden with these tropical marvels or simply want to share the joy of their unique foliage, this guide will equip you with the knowledge to successfully propagate your own Copperleaf plants.
The Tried-and-True Methods:
There are two primary methods for propagating Chrysothemis pulchella:
1. Stem Cuttings:
This is arguably the most common and accessible method. To start, you’ll need a healthy, non-flowering stem tip, ideally 4-6 inches long. Using a sharp, sterile knife or scissors, make a clean cut just below a leaf node (the point where a leaf grows from the stem). Remove the lower leaves from the cutting, leaving the top 2-3 leaves intact.
Next, dip the cut end of the stem in rooting hormone powder. This step isn’t strictly necessary, but it can significantly boost rooting success. Plant the treated cutting in a pot filled with a well-draining potting mix. Keep the soil moist but not soggy.
To encourage rooting, cover the pot with a clear plastic bag or dome, creating a humid environment. Place the pot in bright indirect light, avoiding direct sunlight. Within a few weeks, you should see new growth emerging from the cutting, indicating successful rooting. Once the plant has established itself, gradually acclimate it to its new environment.
2. Air Layering:
For a more advanced approach, you can try air layering. This method is especially helpful if your plant is difficult to root from cuttings.
Choose a healthy stem on your Copperleaf plant and scratch a small section of the bark around the stem. Apply rooting hormone to the exposed area and wrap it in a damp moss or sphagnum peat moss. Secure the moss with plastic wrap and aluminum foil, leaving the top open to allow air circulation.
Keep the moss constantly moist and within a few months, new roots should develop through the moss. Once the roots are a good size, carefully cut the stem below the air layer and transplant it into a separate pot.
Tips for Success:
Regardless of the method you choose, here are some general tips for maximizing your propagation success:
- Timing: The best time to propagate Copperleaf is during the spring or early summer when the plant is actively growing.
- Lighting: Provide bright, indirect light for your cuttings or air layers. Avoid direct sunlight, which can scorch delicate new growth.
- Watering: Maintain consistent moisture in the soil, allowing it to dry slightly between waterings. Avoid overwatering, which can lead to root rot.
- Humidity: As mentioned earlier, maintaining high humidity is key for successful rooting. Covering the cuttings with a plastic bag or dome can help trap the necessary moisture.
- Patience: Be patient! It can take several weeks, even months, for new growth to appear. Don’t give up too soon.
Beyond the Basics:
- Propagation from seed: While less common, it’s possible to propagate Copperleaf from seeds. Sow seeds in a well-draining seed starting mix and keep them consistently warm and moist.
- Division: Established Copperleaf plants can be divided to create new plants. Gently separate the root ball and repot the individual sections.
With a little effort and the right techniques, you can easily multiply your Copperleaf collection and enjoy the vibrant beauty of these plants in various corners of your home or garden. So, get your hands dirty, and let the magic of propagation unfold!