Sun-Kissed and Easy: How to Propagate Your Own Anthemis Cretica (Chamaemelum nobile ‘Treneague’)
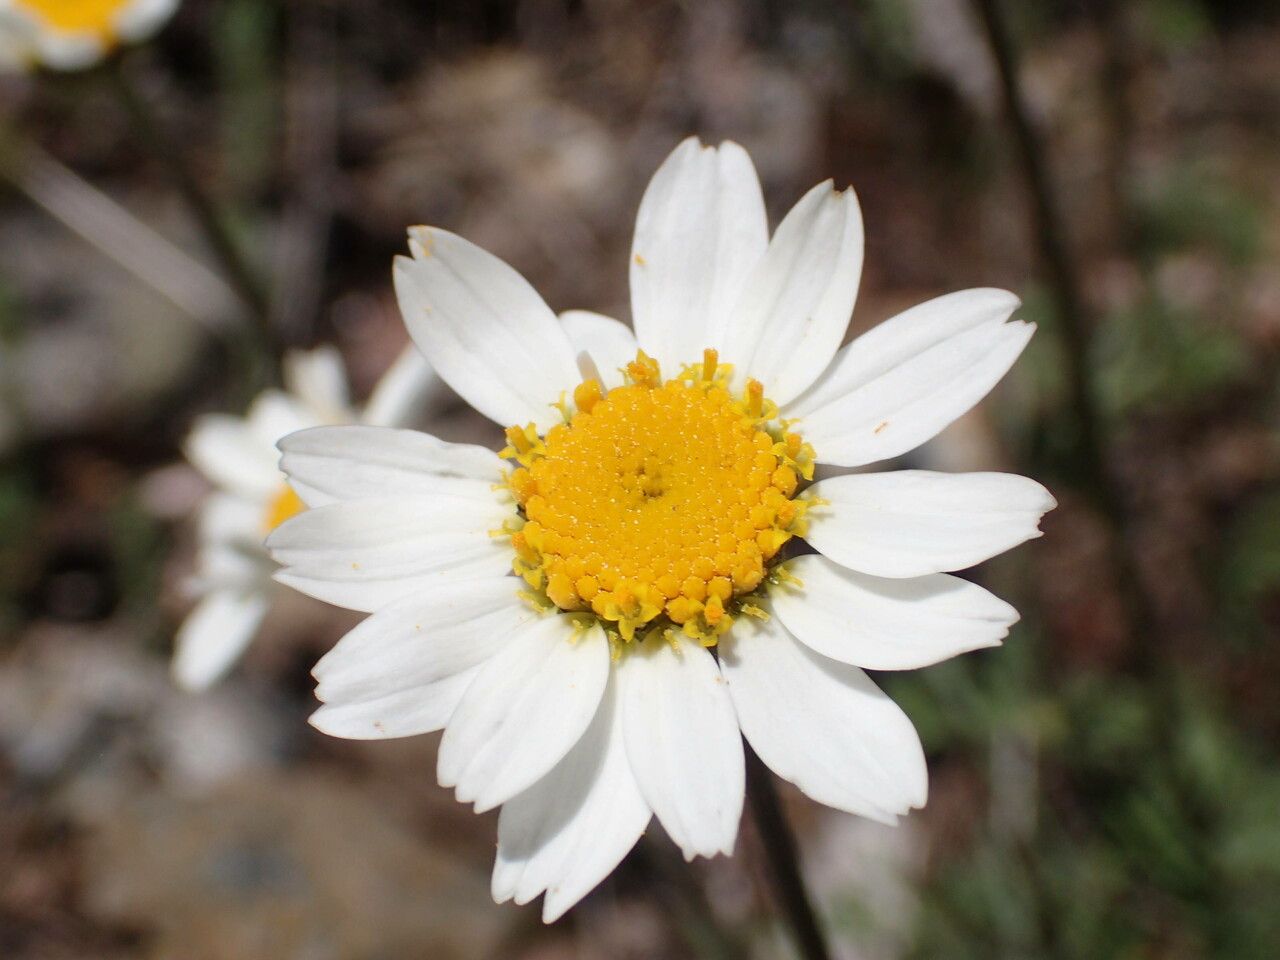
Want to brighten your garden with the cheerful, sunny blooms of Anthemis cretica, also known as Chamaemelum nobile ‘Treneague’? This easy-to-grow, low-maintenance plant is perfect for beginners and experienced gardeners alike. And the best part? You can easily propagate your own new plants from cuttings!
Why Propagate?
Propagating your own Anthemis cretica plants offers several advantages:
- Cost-effective: Starting new plants from cuttings is significantly cheaper than buying them from a nursery.
- Clones of your favorites: You can ensure your new plants have the same characteristics as your existing ones, including flower color and growth habit.
- Share with friends: Growing your own plants is a great way to share your passion for gardening and give friends and family a piece of your green paradise.
Methods of Propagation:
Anthemis cretica can be propagated by two main methods:
1. Stem Cuttings:
This is the most widely used and easiest method for propagating this plant. Here’s how:
- Choose the right cuttings: Select healthy, non-flowering stems with at least two nodes (points where leaves emerge). The best time for taking cuttings is in the spring or early summer when the plant is actively growing.
- Prepare the cuttings: Use a sharp knife or gardening shears to make a clean cut just below a node. Remove any leaves from the bottom inch or so of the cutting.
- Dip the cuttings in rooting hormone: This optional step enhances root development.
- Plant the cuttings: Fill a small pot with a well-draining potting mix. Make a shallow hole and insert the cutting, making sure at least one node is buried. Gently firm the soil around the base.
- Water and cover: Water the pot thoroughly and place it in a bright spot, out of direct sunlight. A humidity dome or plastic bag can help retain moisture and encourage rooting.
- Patience is key: It can take anywhere from 4 to 6 weeks for roots to develop. Once you see new growth, you know the plant is ready to be potted up or planted outdoors.
2. Division:
This method is best suited for established Anthemis cretica plants. Here’s how:
- Separate the plant: Gently dig up the plant and carefully divide the root ball into smaller sections, each with healthy roots and shoots.
- Replant the divisions: Plant the divisions in individual pots or directly in the garden, making sure the roots are spread out and the crown (where the stems emerge from) is level with the soil.
- Water and care: Water the newly planted divisions thoroughly and provide them with regular watering and care until they become established.
Planting and Care for Your New Plants:
Once your propagated Anthemis cretica plants have rooted, plant them in a sunny spot with well-draining soil. They prefer full sun to partial shade and benefit from regular watering, especially during dry spells.
Enjoy Your Garden!
With a little patience and these easy-to-follow steps, you can enjoy the beauty of Anthemis cretica blooming in your garden for years to come. So gather your cuttings, get your hands dirty, and share the joy of propagation!