From One to Many: Propagating the Striking Curculigo orchioides
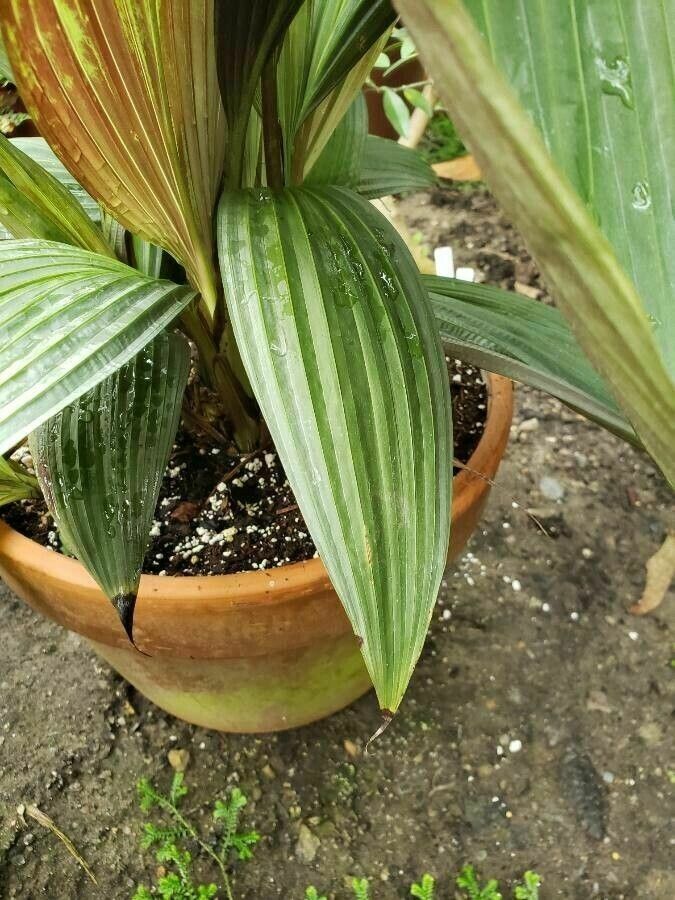
For plant enthusiasts seeking a unique addition to their collection, the Curculigo orchioides, more commonly known as the “orchid lily,” shines with its graceful, strap-like foliage and delicate white flowers. But what if you could turn one plant into many? Fortunately, propagating Curculigo orchioides is surprisingly easy and rewarding, allowing you to enjoy this beauty without breaking the bank.
Understanding the Three Primary Methods
Like many plants, the Curculigo orchioides offers several propagation methods, each with its unique advantages and considerations. Let’s explore the three most common:
- Division: This method involves separating established clumps of plants into individual divisions, each containing roots and its own share of foliage. It’s typically the fastest and most reliable way to propagate, guaranteeing new plants that inherit the parent’s characteristics.
- Cuttings: Taking cuttings from mature stems is another effective method. These cuttings will develop roots and eventually grow into new plants. Cutting propagation is a fantastic way to increase your plant collection without investing in new plants.
- Seeds: While less common for the Curculigo orchioides, you can propagate this plant from seeds. Be warned, this method takes patience and may not produce plants with the exact traits as the parent due to potential hybridization.
Getting Started: A Step-by-Step Guide
Let’s unpack the intricacies of each propagation method, providing a clear roadmap for success:
1. Division:
- When: The best time to divide Curculigo orchioides is during the spring or early summer when the plant is actively growing.
- Process:
- Carefully remove the plant from its pot.
- Gently separate the clump into individual divisions, ensuring each has a healthy root system and foliage.
- Plant each division in its own pot with well-draining potting mix.
- Tips: Be mindful not to damage the roots during separation. Water the new divisions thoroughly and provide them with plenty of indirect sunlight.
2. Cuttings:
- When: Early spring or summer is the ideal time to take cuttings from your plant.
- Process:
- Using sharp, sterilized scissors, cut a 4-6 inch length of healthy stem from the plant, ensuring there are at least two leaf nodes on it.
- Remove the bottom leaves and dip the cut end into rooting hormone powder.
- Plant the cutting in a small pot filled with a well-draining, moisture-retentive rooting medium.
- Tips: Cover the cutting with a clear plastic bag or dome to create high humidity and maintain moisture. Regularly mist the cutting and keep it in a warm, bright location with indirect sunlight.
3. Seeds:
- When: Sow seeds in the spring or early summer after they have been collected from mature plants.
- Process:
- Lightly sprinkle seeds on the surface of a seed-starting mix and cover lightly with soil.
- Keep the soil moist and warm, ideally between 70-75 degrees Fahrenheit.
- Once the seeds germinate, thin out the seedlings, leaving the strongest ones.
- Tips: Seeds may be slow to germinate, requiring significant patience.
Beyond the Basics:
Regardless of the method you choose, ensure you provide the newly propagated plants with the ideal growing conditions, including well-draining soil, ample indirect sunlight, and consistent watering. With care and attention, your propagated Curculigo orchioides will soon thrive, adding a touch of tropical elegance to your collection.
So, embrace the transformative power of plant propagation and watch as your single orchid lily blooms into a vibrant, flourishing collection!