Orchids from Cuttings? The Surprising Way to Multiply Your Aspasia epidendroides
You’ve fallen in love with the delicate, cascading beauty of your Aspasia epidendroides orchid. Its vibrant blooms and cheerful, playful demeanor have brightened your home. But what if you could share that joy? What if you could grow more of these delightful plants from your existing one?
Good news! Unlike many orchids, the Aspasia epidendroides is a relatively easy orchid to propagate, even for beginners. This article explores the surprising methods of propagating this charming orchid, empowering you to create a whole garden of Aspasia epidendroides!
Understanding the Basics
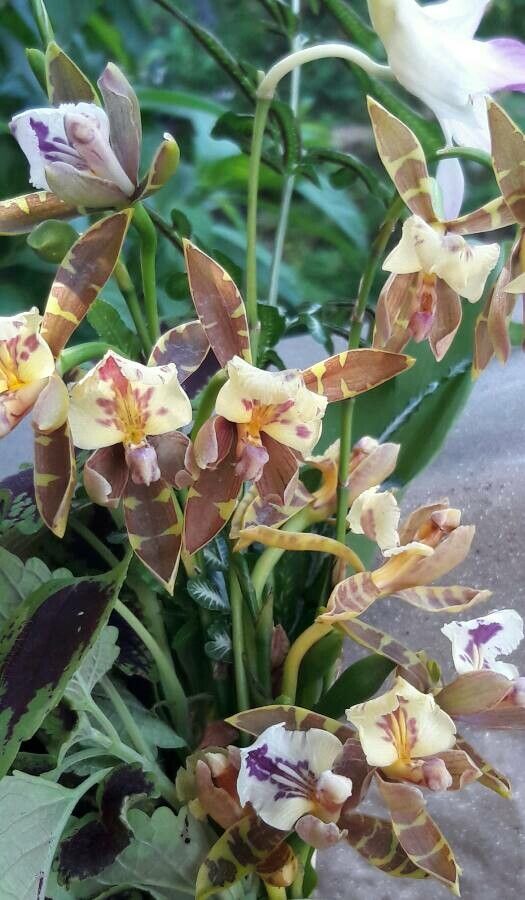
The Aspasia epidendroides, known for its stunning yellow-orange blooms and pendulous growth habit, belongs to the Oncidium alliance in the orchid family. It’s a unique hybrid, meaning it’s been selectively bred for desirable traits.
Unlike many other orchid species, the Aspasia epidendroides can be propagated through cuttings, allowing you to quickly and easily increase your collection. This method involves taking portions of the plant’s stems and encouraging them to develop roots and new growth.
Propagation Methods:
Here are two popular methods for propagating Aspasia epidendroides:
1. Division:
- When: During the growing season, after flowering.
- How: Carefully divide the healthy clump of pseudobulbs (bulbs) into smaller clumps, each with at least three pseudobulbs. Ensure each division has healthy roots.
- Repotting: Pot each division in a fresh, well-draining orchid mix to encourage new growth.
2. Stem Cuttings:
- When: During the dormant period (fall or winter) when plant growth has slowed down.
- How:
- Choose a healthy stem: Select a non-flowering stem with at least one node (where a leaf or root can develop).
- Make a cut: Use a sharp, sterile knife or scissors to cut the stem below a node.
- Prepare the cutting: Remove any leaves below the node to prevent rotting.
- Hormone treatment: Apply a rooting hormone to the cut end for optimal root development.
- Planting: Place the cutting in a small pot with a light, well-draining medium like sphagnum moss and keep it moist.
- Placement: Keep the pot in a warm, humid location with indirect light.
- Roots: Roots will develop in 4-6 weeks. The cutting can be transplanted into a larger pot when roots are established.
Nurturing Your New Plants:
- Light: Provide your newly propagated plants with bright, indirect light. Avoid direct sunlight.
- Humidity: Maintain moderate humidity levels for optimal growth.
- Watering: Water consistently, allowing the potting mix to dry slightly between waterings.
- Fertilizer: Use a balanced fertilizer specifically designed for orchids, diluted to half strength.
Time for Patience
Remember, orchid propagation is a process that takes time and patience. Don’t be discouraged if your cuttings don’t show results immediately. With proper care and attention, your new Aspasia epidendroides plants will soon be thriving, filling your home with a beautiful symphony of color and joy.
Enjoy the Journey
Propagating your own orchids is a rewarding experience – a journey of plant discovery and creation. You’ll not only add more blooming beauties to your collection but gain a deeper understanding of these fascinating plants. So, roll up your sleeves, get your hands dirty, and experience the joy of sharing the wonders of the Aspasia epidendroides orchid!