From Cuttings to Blooms: Easy Propagation of the Coastal Daisy Bush
Looking to add a splash of color and fragrance to your sunny garden? The Coastal Daisy Bush (Baccharis pilularis), a native California shrub, is both beautiful and hardy, making it a popular choice for gardeners. But you don’t need to buy new plants every time you want to fill a pot or bed. The real magic lies in its ease of propagation!
This low-maintenance shrub is a breeze to reproduce using cuttings, making it a budget-friendly and fun way to expand your garden. Let’s dive into the simple steps:
1. Choose the Right Time:
The best time to take cuttings from your Coastal Daisy Bush is in the spring or early summer when the plant is actively growing. This period ensures that the cuttings are full of energy and ready to root.
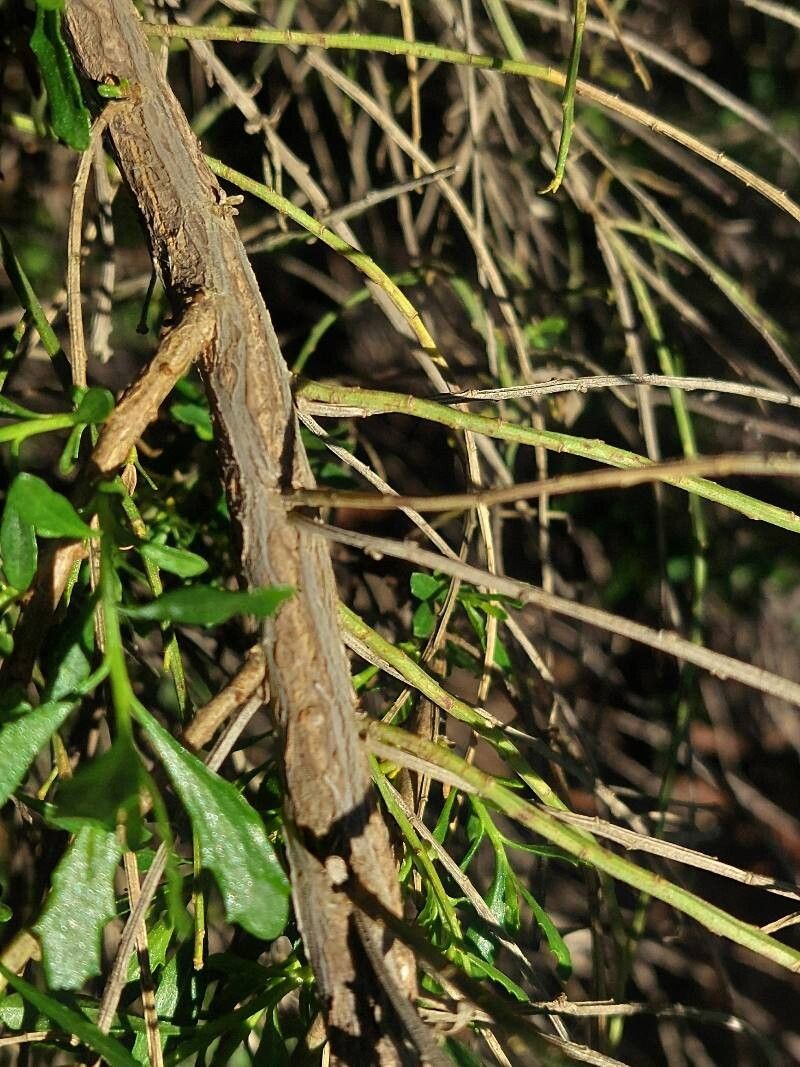
2. Selecting the Perfect Cuttings:
Choose healthy, non-flowering stems that are about 6-8 inches long. Look for stems that are flexible and haven’t yet hardened. Make a clean cut with sharp pruning shears, just below a node (the point where a leaf or branch emerges). Remove the leaves from the bottom 2-3 inches of the stem.
3. Root Hormone for a Boost:
To give your cuttings an extra edge, consider dipping the cut end in a rooting hormone powder. This will encourage root development and enhance their chances of success.
4. Prepare the Planting Medium:
You’ll need a well-draining potting mix for your cuttings. A blend of equal parts peat moss, perlite, and vermiculite works well. Fill small pots or a tray with the mix, leaving about an inch of space at the top.
5. Planting and Care:
Insert the cuttings into the prepared mix, leaving about 1-2 inches of stem above the soil. Gently firm the soil around each cutting. Water them thoroughly, ensuring the mix is consistently moist but not soggy.
6. The Magic of Humidity:
Create a humid environment for your cuttings by placing them in a plastic dome or covering them with a plastic bag. This will help to retain moisture and encourage root growth. Place the cuttings in a bright, indirect light location, but avoid direct sunlight which can scorch the foliage.
7. Patience is Key:
It usually takes about 4-6 weeks for the cuttings to develop roots. Avoid disturbing them during this time, and continue to keep the soil moist. You can check for root development by gently tugging on the base of the cutting – if it resists, roots are starting to form!
8. Transitioning to a Larger Home:
Once the cuttings have developed a strong root system, you can gently ease them out of their rooting pots and transplant them into larger containers or directly into your garden. Choose a sunny location with well-drained soil.
9. Enjoy Your Daisy Bush Bounty:
You’ve now successfully propagated your own Coastal Daisy Bush! You can enjoy watching your new plants flourish and add vibrant color and fragrance to your garden. Just remember to water them regularly, especially during their first year of growth.
Propagation Tip: For longer-term success, you can also propagate your Coastal Daisy Bush using seeds. Collect the seeds from mature flower heads after they have dried. Sow the seeds in a seed tray filled with a well-draining seed starting mix and keep them moist.
Beyond Propagation:
This wonderful shrub offers more than just beautiful blooms. Its fragrant leaves attract beneficial insects, making it a perfect addition to any pollinator-friendly garden. It can also act as a natural windbreak and barrier, adding a touch of both beauty and functionality to your landscape.
So, take the plunge and try your hand at propagating this hardy and beautiful shrub! It’s a fulfilling experience for any gardener and a great way to share the beauty of the Coastal Daisy Bush with others.