
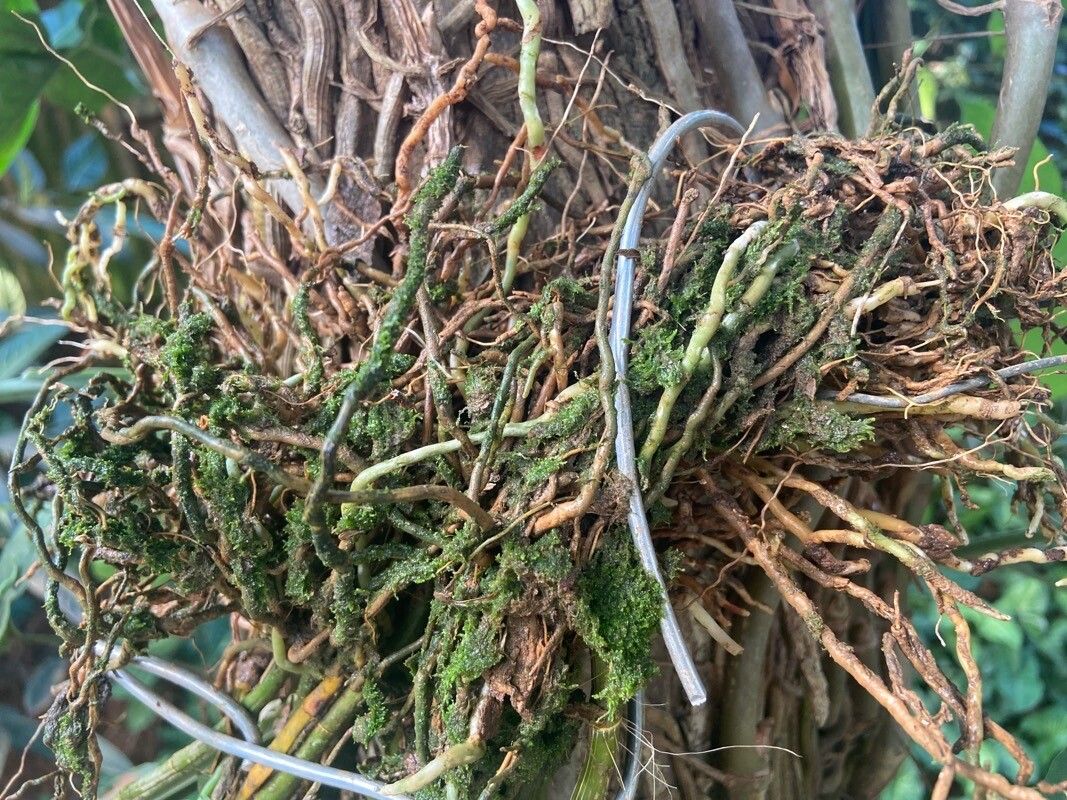
From One Orchid to Many: Propagating Your Dendrobium Aphyllum
The Dendrobium aphyllum, also known as the “Leafless Dendrobium,” is a captivating orchid prized for its stunning, vibrant blooms and unique growing habits. But what if you could share this beauty with others, or even expand your own collection? The good news is, propagating Dendrobium aphyllum is surprisingly achievable, even for those with limited gardening experience.
Understanding the Basics of Dendrobium aphyllum Propagation
Dendrobium aphyllum can be propagated through two main methods:
- Division: This involves carefully separating established clumps of the orchid into smaller, independent plants. This method is best suited for mature plants with multiple growths (pseudobulbs).
- Keiki (Baby Plant): While less common than with other orchid species, Dendrobium aphyllum can occasionally produce “keikis” – tiny plantlets that develop on the stems or pseudobulbs. These keikis can be separated and grown into new, independent plants.
Let’s Dive into the Details:
Division:
- Timing: The best time for division is during the dormant period (usually winter), after the orchid has finished flowering.
- Preparation: Choose a healthy, well-established plant with several pseudobulbs. Use a clean, sharp knife or pruning shears to carefully divide the clump into sections, ensuring each section has at least three healthy pseudobulbs.
- Repotting: Individual sections should be potted in a well-draining, bark-based orchid potting mix. Water the newly repotted plants thoroughly and place them in a bright, indirect light location.
Keiki Propagation:
- Identifying Keikis: Look for small, new growths emerging from the stem or pseudobulbs. These growths will have tiny roots and leaves.
- Separation: Once the keiki has developed a few roots, you can separate it from the parent plant by gently cutting it off with a sharp knife or pruning shears. Be careful not to damage the roots.
- Mounting: The easiest way to propagate a keiki is to mount it on a piece of bark or cork. Simply attach the keiki to the mounting material using sphagnum moss or a string, ensuring its roots can easily access the moisture.
Essential Tips for Success:
- Sterilization: Always sterilize your tools before handling the orchid to prevent the risk of disease or infection.
- Humidity: Maintain high humidity levels during the propagation process, especially for keikis. You can mist the plants regularly or create a humid environment by placing them in a propagation box.
- Patience: Propagation takes time. It may take several weeks to months for the new plants to establish strong root systems and begin to flourish.
Enjoy the Journey:
Propagating Dendrobium aphyllum is an enjoyable and rewarding experience. Witnessing the growth of new orchids from your existing plants is a testament to the wonders of nature. With careful attention and a little patience, you can multiply the beauty of this fascinating orchid, sharing it with your home or with fellow plant enthusiasts. Remember, every new plant is a reminder of the amazing journey of life and the endless possibilities of growth!