Propagating Acalypha villosa: A Gardener’s Guide to the Velvetleaf
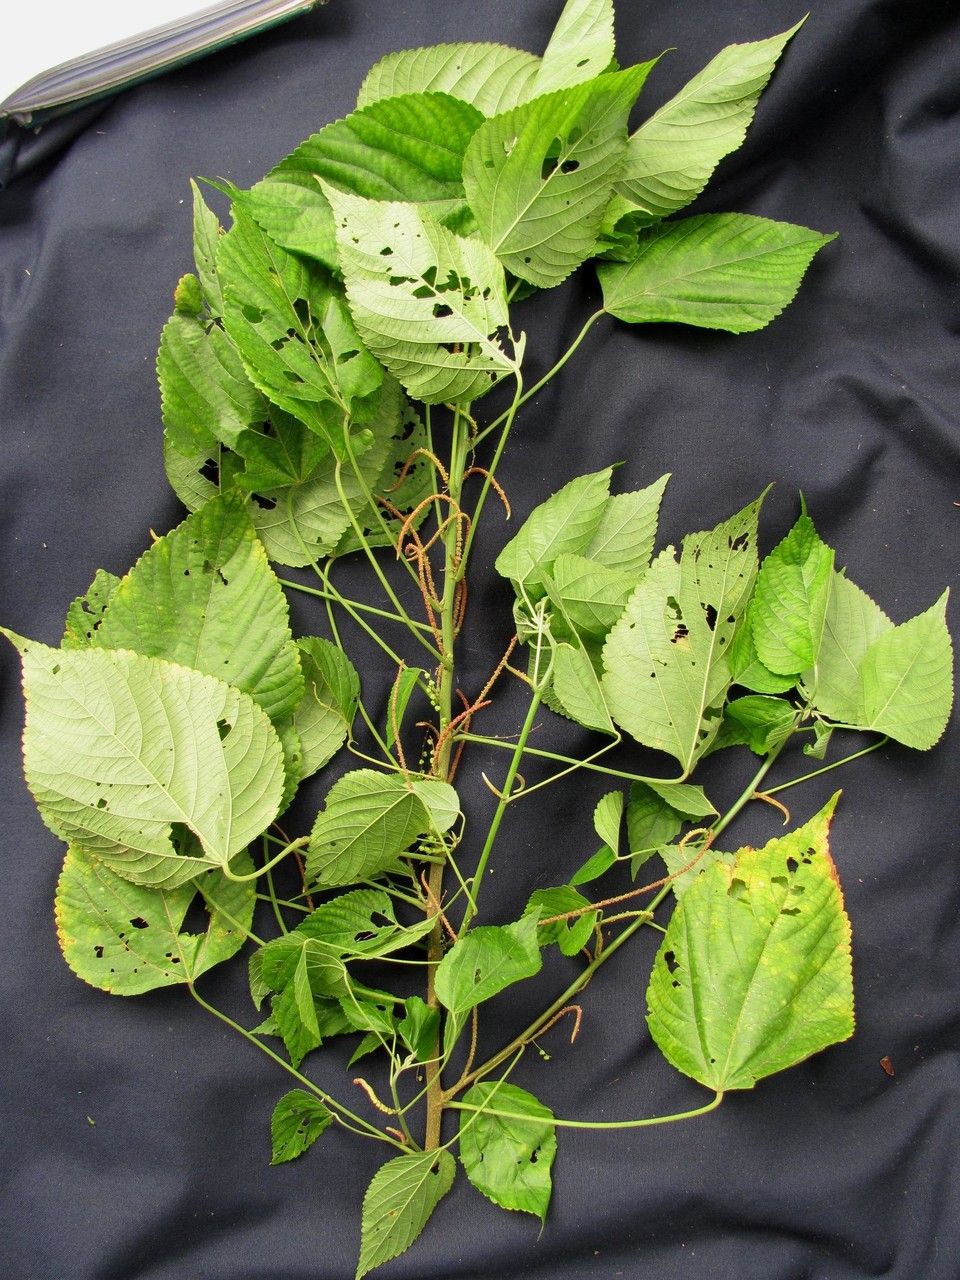
Acalypha villosa, also known as velvetleaf, is a captivating plant prized for its fuzzy, velvety foliage and charming, often inconspicuous, inflorescences. While not as widely cultivated as some of its showier relatives, its unique textural beauty and relatively low-maintenance nature have earned it a dedicated following among gardeners. Propagation, however, presents certain challenges, making successful cultivation all the more rewarding. This article explores various methods for propagating Acalypha villosa, highlighting both the difficulties and the triumphs.
Seed Germination:
Currently, there are no known reliable methods for seed germination propagation of Acalypha villosa. While the plant does produce seeds, their viability appears to be very low, and successful germination rates have yet to be documented in horticultural literature. Further research is needed to explore potential germination stimulants or techniques.
Cuttings:
Cuttings offer the most reliable method for propagating Acalypha villosa.
Challenges: While relatively straightforward, success depends on utilizing fresh, healthy cuttings and providing suitable conditions for rooting. Incorrect humidity levels or fungal infections can easily hinder rooting success.
Practical Tips: Take semi-hardwood cuttings, approximately 4-6 inches long, from actively growing stems in spring or early summer. Remove lower leaves to prevent rot and dip the cut ends in a rooting hormone powder. Plant cuttings in a well-draining propagating mix (e.g., perlite and peat moss) and maintain high humidity by covering the cuttings with a clear plastic dome or bag. Ensure bright, indirect light and consistent moisture, but avoid overwatering.
- Rewards: Cuttings offer a relatively quick propagation method, preserving the genetic characteristics of the parent plant. This makes it ideal for maintaining specific cultivars or expanding existing collections.
Division:
Division is feasible for established Acalypha villosa plants that have formed multiple stems.
Challenges: Careful handling is crucial to avoid damaging the delicate roots. Over-division can lead to weak plants that struggle to establish themselves.
Practical Tips: Divide the plant during the spring or early summer when the plant is actively growing. Ensure each division possesses a healthy root system and several stems. Replant the divisions immediately in a suitable potting mix, providing adequate moisture and shade until they re-establish.
- Rewards: This technique allows for a relatively quick increase in the number of plants, though it’s limited by the size and age of the parent plant.
Tissue Culture:
Tissue culture offers the possibility of large-scale propagation of Acalypha villosa, overcoming limitations of other techniques. However, it requires specialized equipment and expertise.
Challenges: Establishing sterile culture conditions and developing optimal media formulations for Acalypha villosa would be necessary. This requires significant upfront investment in equipment and expertise in plant tissue culture techniques.
Practical Tips: This method is best left to laboratories or experienced tissue culture practitioners. Detailed protocols would need to be developed specifically for Acalypha villosa.
- Rewards: Tissue culture allows for the rapid and large-scale production of genetically identical plants, effectively cloning desired traits. It also allows efficient disease elimination.
Conclusion:
Propagating Acalypha villosa presents unique challenges, with cutting propagation being the most reliable method for the average gardener. While seed germination is currently unsuccessful and tissue culture requires expertise, the rewards of cultivating this velvety plant – the satisfaction of nurturing a unique specimen from a simple cutting or division – far outweigh the efforts involved. Patience, careful attention to detail, and a bit of horticultural experimentation are crucial for success. The unique texture and understated elegance of Acalypha villosa make it a worthy subject for even the most experienced plant enthusiast, offering a satisfying challenge and a beautiful reward.