Let’s Grow More Geraniums: A Super Simple Guide!
Hey there, fellow plant lovers!
Want to turn one geranium plant into a whole bunch? You absolutely can! Propagating geraniums (officially called pelargoniums, but we all know them as geraniums, right?) from cuttings is seriously easy, incredibly rewarding, and a fantastic way to fill your baskets, containers, and garden with these gorgeous blooms.
Think of it as a little plant magic. I’ve done this gazillions of times, and I’m so excited to share my tips and tricks with you. Let’s get those cuttings started and multiply the beauty!
(Just a quick note: Technically, we’re talking about pelargoniums here, not “true” geraniums. But for simplicity’s sake, we’ll stick with “geraniums” in this guide.)
This post contains affiliate links. If you make a purchase after clicking a link, I may make a small commission at no cost to you.
Even though geraniums are perennials in warmer climates (zones 10-11), many of us grow them as annuals. But guess what? You can totally give them the VIP treatment and overwinter them, even in colder zones
Why Go the Cutting Route?
While I love the thrill of starting geraniums from seed – especially to find unique varieties you don’t see everywhere – taking cuttings is awesome for duplicating your favorite plants exactly.
Plus, some geraniums (like zonal geraniums) are only grown from cuttings, not seeds. Pretty cool, huh?
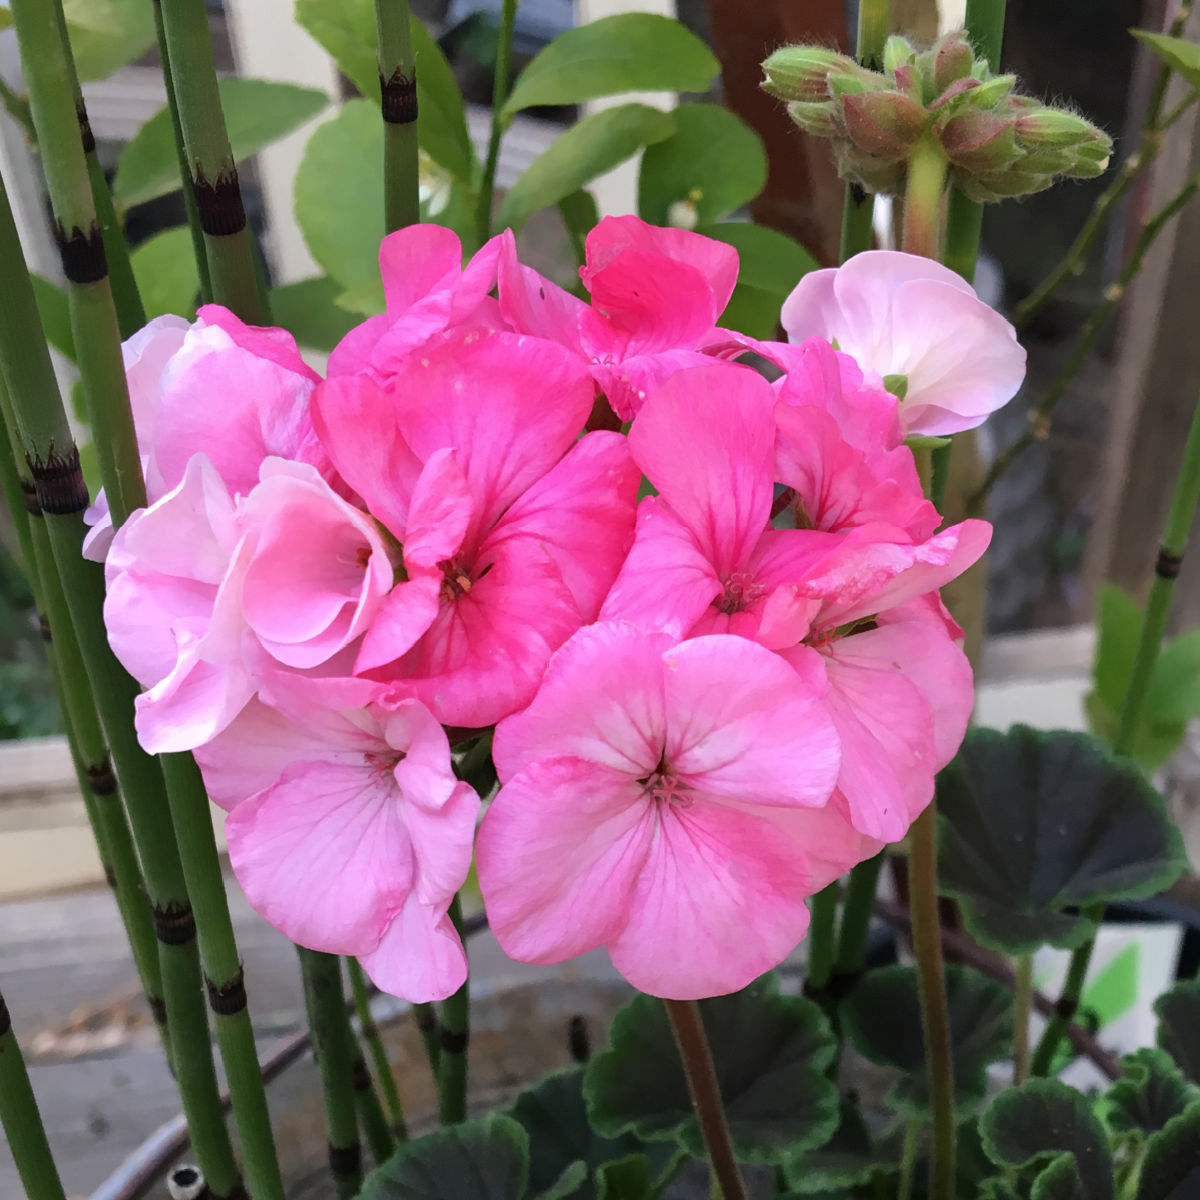
Imagine a riot of color from a whole bunch of geraniums! Planting them en masse is a total showstopper. Grouping certain colors can even attract hummingbirds and other pollinator pals.
Garden geraniums are champs at rooting from cuttings, making them perfect for beginners who want a guaranteed win. It’s like a high-five from the plant world saying, “You got this!”
And hey, speaking of starting geraniums from seed…
Cloning vs. Seeds: A Quick Chat
Cloning means you get a perfect copy of the original, which is awesome! Seeds are a little more unpredictable – you might get a fun surprise if your plant cross-pollinated with another. Think of it like a plant lottery!
Ready to Roll: Starting Your Geranium Cuttings
Okay, let’s get down to business! Here’s the super-simple way to start geranium cuttings:
Step 1: Finding the Perfect Stem
Look for a happy, healthy geranium plant. Then, snip a piece of new growth – that fresh, green branch – right below a leaf node (that’s where the leaves pop out from the stem).
Ideally, grab your cuttings when your plants are putting on lots of lush, green growth – spring, summer, or fall are all great.
Use something seriously sharp and clean to make the cut (think sharp pruners or a razor blade). We want to cut a fresh, green stem – those root easier than the woody, brown parts.
Setting up Home: Preparing Your Pots
Get your little pots ready. I like to wash mine with hot, soapy water and a touch of bleach (then rinse them really well and let them air dry).
The Magic Mix: Soil Prep
Fill your pots with a 50/50 mix of potting soil and perlite. This creates a well-draining home for those little roots to grow.
Snip, Snip Hooray: Taking the Cuttings
Using your trusty pruners, cut a stem about 4 to 5 inches long. Remove any leaves from the lower part of the stem, leaving just a couple of healthy leaves at the top. When you pop the stem into the pot, make sure at least two leaf nodes are nestled under the soil. Leaving the leaves on is your choice. For those that do, try halving them to reduce transpiration!
Give everything a good watering and gently press the soil around the cutting.
Good news: Geraniums are pretty independent and don’t usually need rooting help to get off to a stellar start. They don’t require the use of rooting hormone or cloning gel to make them a success too!
TLC Time: Caring for Your Geranium Cuttings
- Keep ’em Moist: Water well and often!
- Bright Light, Not Harsh Sun: Keep your cuttings in a spot with bright light and moderate temperature. I use my greenhouse, but a spot under grow lights inside works just as well.
- Humidity Alert: While some people use domes to create a humid environment, I’ve found that it can lead to fungal issues. I prefer to skip the dome to reduce this risk, just keeping the soil moist will do.
- Check on Moisture: Keep your cutting’s soil moist, without becoming waterlogged.
Victory Dance: Rooting Success!
My geraniums usually root in about 4 weeks, but it can take anywhere from 4 to 8 weeks, depending on the season and the specific plant. Some are just a little slower than others.
My success rate? Usually 90% or better! Woo-hoo!
Time to Grow Up: Potting Your Rooted Cuttings
Gently take your rooted cuttings out of their small pots and move them to bigger pots with more soil. As they grow, get them ready for the great outdoors by “hardening them off.” This means gradually getting them used to outside conditions over a couple of weeks.
Find a spot with morning sun and afternoon shade (or just light shade). Too much direct sunlight can scorch those tender leaves at the start – they need to get used to it slowly!
For an easy link to supplies you may need in my Amazon Shop please click here
I find that late summer is the perfect time to get more shoots ready to keep and enjoy on your windowsill all winter long. Rooting cuttings is my secret weapon for peace of mind. I can always have back ups!
And just because we’re feeling extra, here’s a little more help with your plants!
4 Ways to Overwinter Geraniums
Happy Growing!