Propagating the Prickly Moses: A Guide to Growing Acacia denticulosa
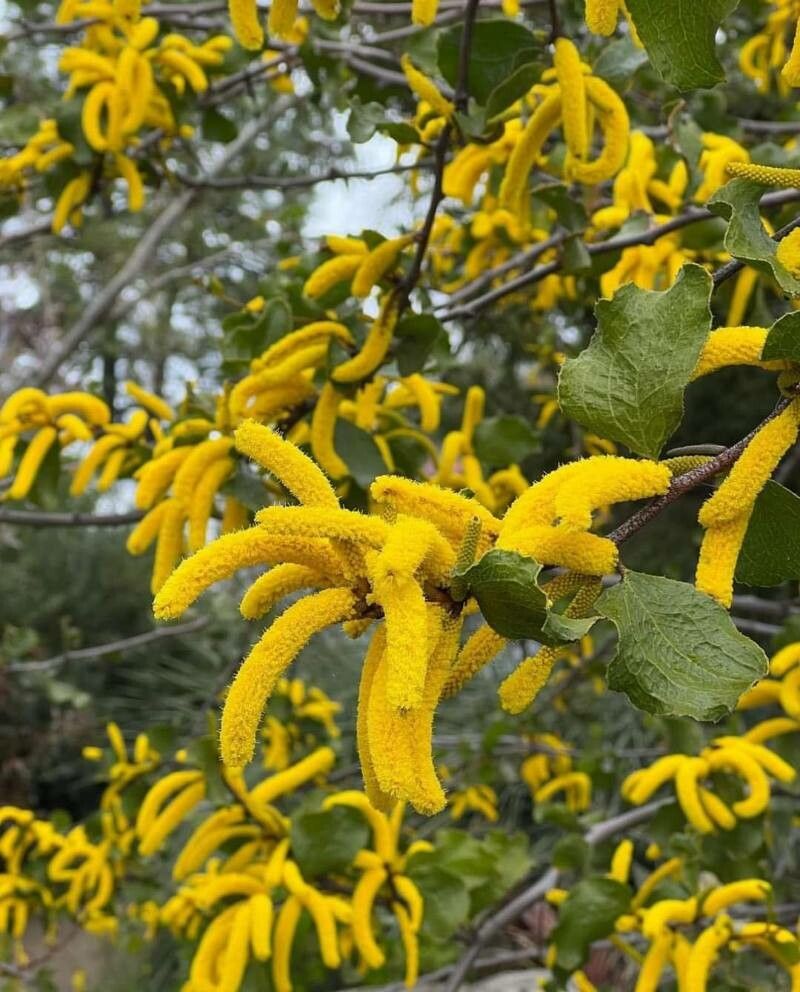
Acacia denticulosa, commonly known as Prickly Moses, is a striking Australian native shrub renowned for its delicate, fern-like foliage and striking yellow flower balls. Its adaptability to various soil types and drought tolerance contribute to its rising popularity amongst gardeners seeking low-maintenance, visually appealing landscaping options. However, propagating this charming species presents unique challenges. Its success often hinges on understanding the intricacies of its reproductive biology and employing the most appropriate propagation method.
Seed Germination:
Currently, there are no known reliable methods for seed germination propagation of Acacia denticulosa. While seeds may be produced, their germination rate is notoriously low, and successful germination has not been consistently replicated. Further research into pre-treatment techniques, specific germination requirements, and the role of symbiotic fungi may be necessary to unlock the potential of seed propagation for this species.
Cuttings:
Cuttings offer a more reliable method for propagating Acacia denticulosa.
Challenges: The success rate can vary depending on the timing, the type of cutting (softwood vs. hardwood), and the application of rooting hormones. Prickly Moses cuttings are prone to fungal diseases, particularly in humid conditions.
Practical Tips: The best time for taking cuttings is during the spring or early summer using semi-hardwood cuttings (taken from new growth that has begun to firm up). Dip the cut ends in a rooting hormone powder before planting them in a well-draining, sterile propagation mix (e.g., a perlite and peat moss blend). Maintain high humidity (using a humidity dome or plastic bag) and consistent moisture (but avoid overwatering) until roots develop.
Rewards: Cuttings offer a quick way to obtain genetically identical plants, preserving desirable traits from the parent plant. This method is particularly suitable for smaller-scale propagation.
Division:
Division is generally not a viable method for propagating Acacia denticulosa. This shrub typically has a deep, taproot system, making it difficult to divide successfully without significant damage to the plant.
Tissue Culture:
Tissue culture offers the potential for large-scale propagation of Acacia denticulosa, overcoming the limitations of seed germination and cuttings.
Challenges: Establishing sterile culture conditions and developing an optimized nutrient medium are crucial. This method requires specialized equipment, technical expertise, and a controlled environment.
Practical Tips: Success heavily relies on selecting healthy, disease-free plant material for explant initiation. Careful control of temperature, light intensity, and humidity are vital for optimal growth and multiplication.
Rewards: Tissue culture can produce large numbers of genetically identical plants quickly and efficiently, ideal for commercial propagation or conservation efforts.
Conclusion:
Propagating Acacia denticulosa presents a unique set of challenges, with cutting propagation offering the most readily achievable results for the home gardener. While seed germination remains unreliable, and division impractical, tissue culture holds great promise for large-scale production. The rewards of successfully cultivating this beautiful and resilient shrub, however, surpass the effort invested. The satisfaction of nurturing a tiny cutting into a thriving, flower-laden Acacia denticulosa is a testament to perseverance and horticultural skill. For aspiring propagators, patience, meticulous attention to detail, and a willingness to learn from both successes and failures are key to unlocking the secrets of successfully increasing your Prickly Moses population.
