Propagating the Blackwood Acacia: A Gardener’s Guide to Acacia melanoxylon
Introduction:
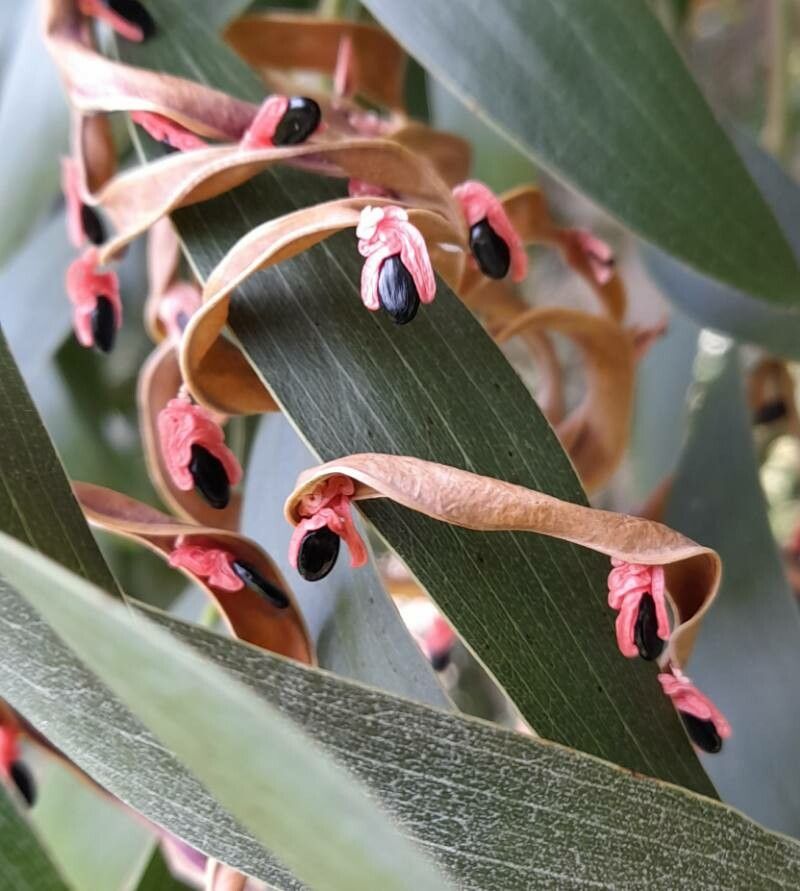
Acacia melanoxylon, commonly known as Blackwood Acacia, is a striking Australian native tree prized for its dark, richly colored wood and attractive foliage. Its fast growth rate and adaptability make it a popular choice among gardeners, although its potential for invasiveness in some regions needs careful consideration. Successfully propagating Blackwood Acacia can be challenging, but the rewards of cultivating this beautiful tree are well worth the effort. This article explores various propagation methods, weighing up the challenges and successes of each.
Seed Germination:
Seed germination is a viable method for propagating Acacia melanoxylon, but it presents several challenges. The hard seed coat inhibits water uptake, requiring pretreatment to enhance germination rates.
Challenges: Hard seed coat, inconsistent germination rates.
Tips: Scarification is crucial. Methods include nicking the seed coat with a file or sandpaper, or soaking seeds in boiling water for a short period (around 1 minute) followed by a 24-hour soak in warm water. Sowing should be in a well-draining seed-starting mix, kept moist but not waterlogged. Stratification (cold moist storage) isn’t typically required, though some sources suggest a short period can be beneficial. Direct sowing outdoors is possible in suitable climates, but starting seeds indoors offers greater control.
Rewards: High genetic diversity, potential for large-scale propagation, relatively inexpensive compared to other methods.
Cuttings:
Cuttings are another viable method, although success rates can be variable.
Challenges: Relatively low success rate compared to seed germination, requires specialized equipment and techniques.
Tips: Semi-hardwood cuttings taken in late spring or early summer offer the best chance of success. Cuttings should be around 10-15cm long, taken from actively growing shoots. Dip the cut ends in rooting hormone before planting in a well-draining mix, like a peat and perlite mix. High humidity and bottom heat are beneficial to promote rooting. Misting regularly is crucial to prevent desiccation.
Rewards: Produces plants genetically identical to the parent plant, potentially faster establishment than seedlings.
Division:
Division is generally not a practical method for propagating Acacia melanoxylon. This method is typically suited for plants with readily separable rhizomes or root systems, which is not characteristic of Acacia melanoxylon.
Tissue Culture:
Tissue culture is a viable method, though it requires specialized equipment, aseptic techniques, and expertise.
Challenges: Requires specialized knowledge, equipment, and lab facilities, high cost.
Tips: This method involves growing plants from small sections of tissue, usually from the stem or leaf. Appropriate media and growth regulators are crucial for successful propagation. Sterile conditions are essential to prevent contamination.
Rewards: Large-scale propagation of disease-free clones, rapid multiplication of superior genotypes.
Conclusion:
Propagating Acacia melanoxylon presents a range of challenges depending on the chosen method. While seed germination offers the most accessible pathway to large-scale propagation, overcoming the dormancy of the seeds requires effort. Cuttings provide a way to clone desirable traits, but success depends on careful technique. Tissue culture, though technologically advanced and costly, represents the most efficient method for large-scale propagation and superior genotype multiplication. Despite these hurdles, the unique rewards of successfully cultivating this magnificent tree—from the satisfaction of nurturing a seedling to the pleasure of admiring a fully grown specimen—make the challenges worthwhile for dedicated gardeners. Beginners might find seed germination the most approachable starting point, while those with more horticultural expertise could explore cuttings or, for a larger-scale venture, invest in tissue culture. The journey, though potentially challenging, promises unparalleled satisfaction.