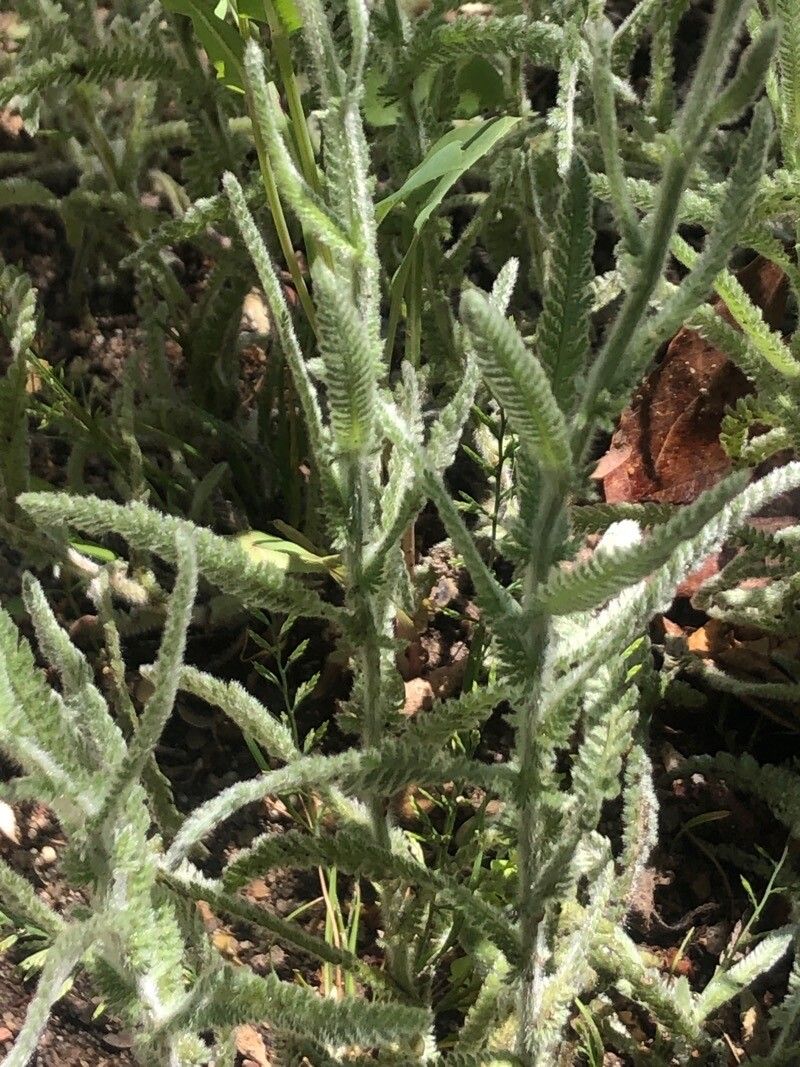
Propagating Achillea coarctata: A Gardener’s Guide to the Coastal Yarrow
Achillea coarctata, commonly known as coastal yarrow or clustered yarrow, is a charming perennial native to the coastal regions of California. Its delicate, fern-like foliage and clusters of small, button-like flowers, ranging from white to pale yellow, make it a highly desirable addition to any garden. Its drought tolerance and adaptability to various soil types add to its popularity amongst gardeners, while its ability to attract beneficial pollinators further enhances its horticultural significance. However, propagating Achillea coarctata presents unique challenges, making success all the more rewarding.
Seed Germination:
Currently, there are no known reliable methods for seed germination propagation of Achillea coarctata. While the plant does produce seeds, germination rates are notoriously low and inconsistent under standard techniques. Further research into specific germination requirements, such as precise temperature and light conditions, might reveal viable methods in the future, but currently, this method is not recommended for practical propagation.
Cuttings:
Propagating Achillea coarctata via cuttings is a more reliable method than seed germination.
Challenges: Rooting success can be moderate. The cuttings are prone to fungal diseases if not kept in a sterile and airy environment.
Practical Tips: Take semi-hardwood cuttings in late summer or early fall. Use a rooting hormone to increase success rates. Plant cuttings in a well-draining mix, maintaining consistently moist (but not soggy) conditions. A humid environment, such as a propagator or covered tray, improves rooting.
Rewards: Cuttings provide a relatively quick method of producing genetically identical plants to the parent, preserving desirable traits. It’s a suitable method for moderate-scale propagation.
Division:
Division is arguably the most successful and easiest propagation method for Achillea coarctata.
Challenges: Division is best done in spring or fall, requiring the careful handling of the root system to avoid damage. Overly frequent division can weaken the parent plant.
Practical Tips: Dig up the established clump and carefully separate it into smaller sections, ensuring each division has healthy roots and shoots. Replant the divisions immediately, providing adequate space for growth.
Rewards: Division offers a high success rate and is relatively straightforward, making it ideal for home gardeners wishing to increase their stock of this beautiful plant.
Tissue Culture:
Tissue culture propagation of Achillea coarctata is possible but requires specialized equipment, sterile techniques, and a significant amount of expertise.
Challenges: This method requires a controlled laboratory setting, specialized media, and aseptic techniques to prevent contamination. It’s also typically more expensive and time-consuming than other methods.
Practical Tips: This method is best left to commercial nurseries or research institutions possessing the necessary resources.
Rewards: Tissue culture offers the potential for large-scale propagation and the elimination of diseases present in the parent plant.
Conclusion:
Propagating Achillea coarctata presents both challenges and rewards. While seed germination proves unreliable, cuttings and division offer viable alternatives for gardeners of all skill levels. Division, in particular, stands out due to its ease and high success rate. Tissue culture, while providing benefits for large-scale propagation, requires significant expertise and investment. The unique satisfaction of successfully cultivating this charming plant through any of these methods underscores the dedication and patience required. The sense of accomplishment experienced in nurturing a small cutting into a flourishing plant, or carefully dividing a clump to create offspring, far surpasses the effort invested. So, pick your method, and embrace the rewarding journey of propagating Achillea coarctata.