Propagating Achillea tomentosa: Woolly Yarrow’s Journey from Seed to Success
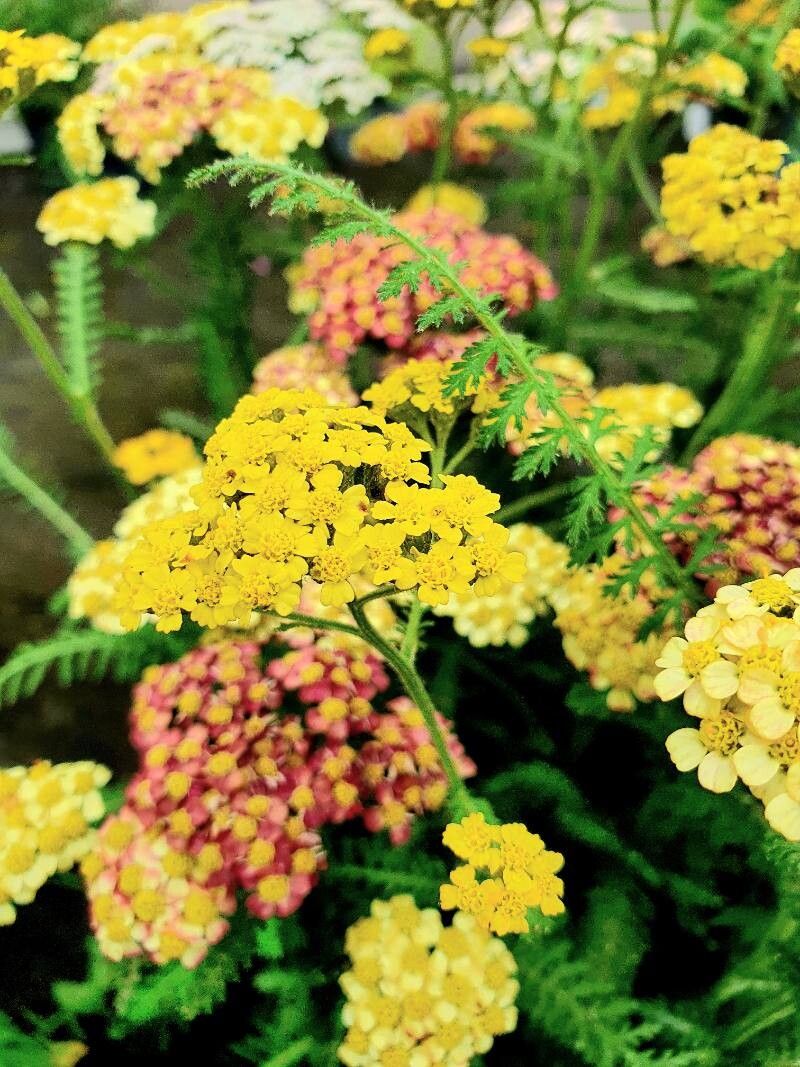
Achillea tomentosa, commonly known as woolly yarrow, is a charming addition to any garden. Its silvery-gray, finely textured foliage creates a delightful textural contrast, while its cheerful, button-like yellow flowers add a splash of sunny brilliance. This low-growing, drought-tolerant perennial is prized for its ease of care and its ability to thrive in various conditions, making it a popular choice among gardeners. However, propagating woolly yarrow can present some unique challenges, depending on the method chosen.
Seed Germination:
Currently, there are no known reliable methods for seed germination propagation of Achillea tomentosa. While seeds may be produced, their germination rate is notoriously low, and seedlings often exhibit poor vigor. This makes seed propagation an impractical method for most gardeners aiming to increase their stock of this plant.
Cuttings:
Cuttings offer a much more reliable method for propagating Achillea tomentosa.
- Challenges: While relatively straightforward, success hinges on selecting healthy, actively growing stems and providing optimal rooting conditions. Woolly yarrow cuttings can be prone to rotting if kept too wet.
- Practical Tips: Take semi-hardwood cuttings in late spring or early summer. Use a sharp, clean knife or shears to take 4-6 inch cuttings, removing the lower leaves. Dip the cut ends in rooting hormone before planting them in a well-draining potting mix, such as a peat and perlite blend. Maintain consistent moisture, but avoid overwatering. High humidity, provided by a humidity dome or plastic bag, significantly improves rooting success.
- Rewards: Cuttings provide a quick and efficient method to produce genetically identical plants, preserving desirable traits. The success rate is considerably higher compared to seed propagation.
Division:
Division is arguably the easiest and most successful method for propagating Achillea tomentosa.
- Challenges: Dividing established plants requires some care to avoid damaging the root system. The best time to divide is in early spring or fall.
- Practical Tips: Carefully dig up the mature plant, gently separating the root ball into several smaller sections, each with its own healthy roots and shoots. Replant the divisions immediately, ensuring adequate spacing. Water thoroughly after planting.
- Rewards: This method is simple, quick, and highly reliable. It allows for rapid increase of existing stock, and avoids the extended waiting period associated with cuttings.
Tissue Culture:
Tissue culture propagation is a sophisticated technique not typically employed for home propagation of Achillea tomentosa.
- Challenges: This method requires specialized equipment, sterile conditions, and a significant level of horticultural expertise. It is more costly and complex than other methods.
- Practical Tips: This method is best left to commercial nurseries or research facilities with the necessary infrastructure and know-how.
- Rewards: Tissue culture enables mass production of plants with consistent genetic characteristics, and it is effective in disease elimination.
Conclusion:
Propagating Achillea tomentosa presents a variety of options, each with its own set of challenges and rewards. While seed germination is unreliable, cuttings and, especially, division provide accessible and successful avenues for home gardeners. Though tissue culture offers advantages for large-scale production, its complexity restricts its use primarily to commercial nurseries. The satisfaction gained from successfully propagating this beautiful plant, particularly through the more challenging methods, is immense. The act of nurturing a cutting from a small stem to a thriving plant, or of carefully dividing a mature clump, fosters a deep connection with the natural world. For aspiring propagators, I encourage patience, persistence, and a willingness to learn from both successes and setbacks. The rewards of cultivating your own woolly yarrow, a testament to your dedication, are well worth the effort.