Unlock the Secrets of Propagation: Growing More ‘Snowflake Vine’ from Home
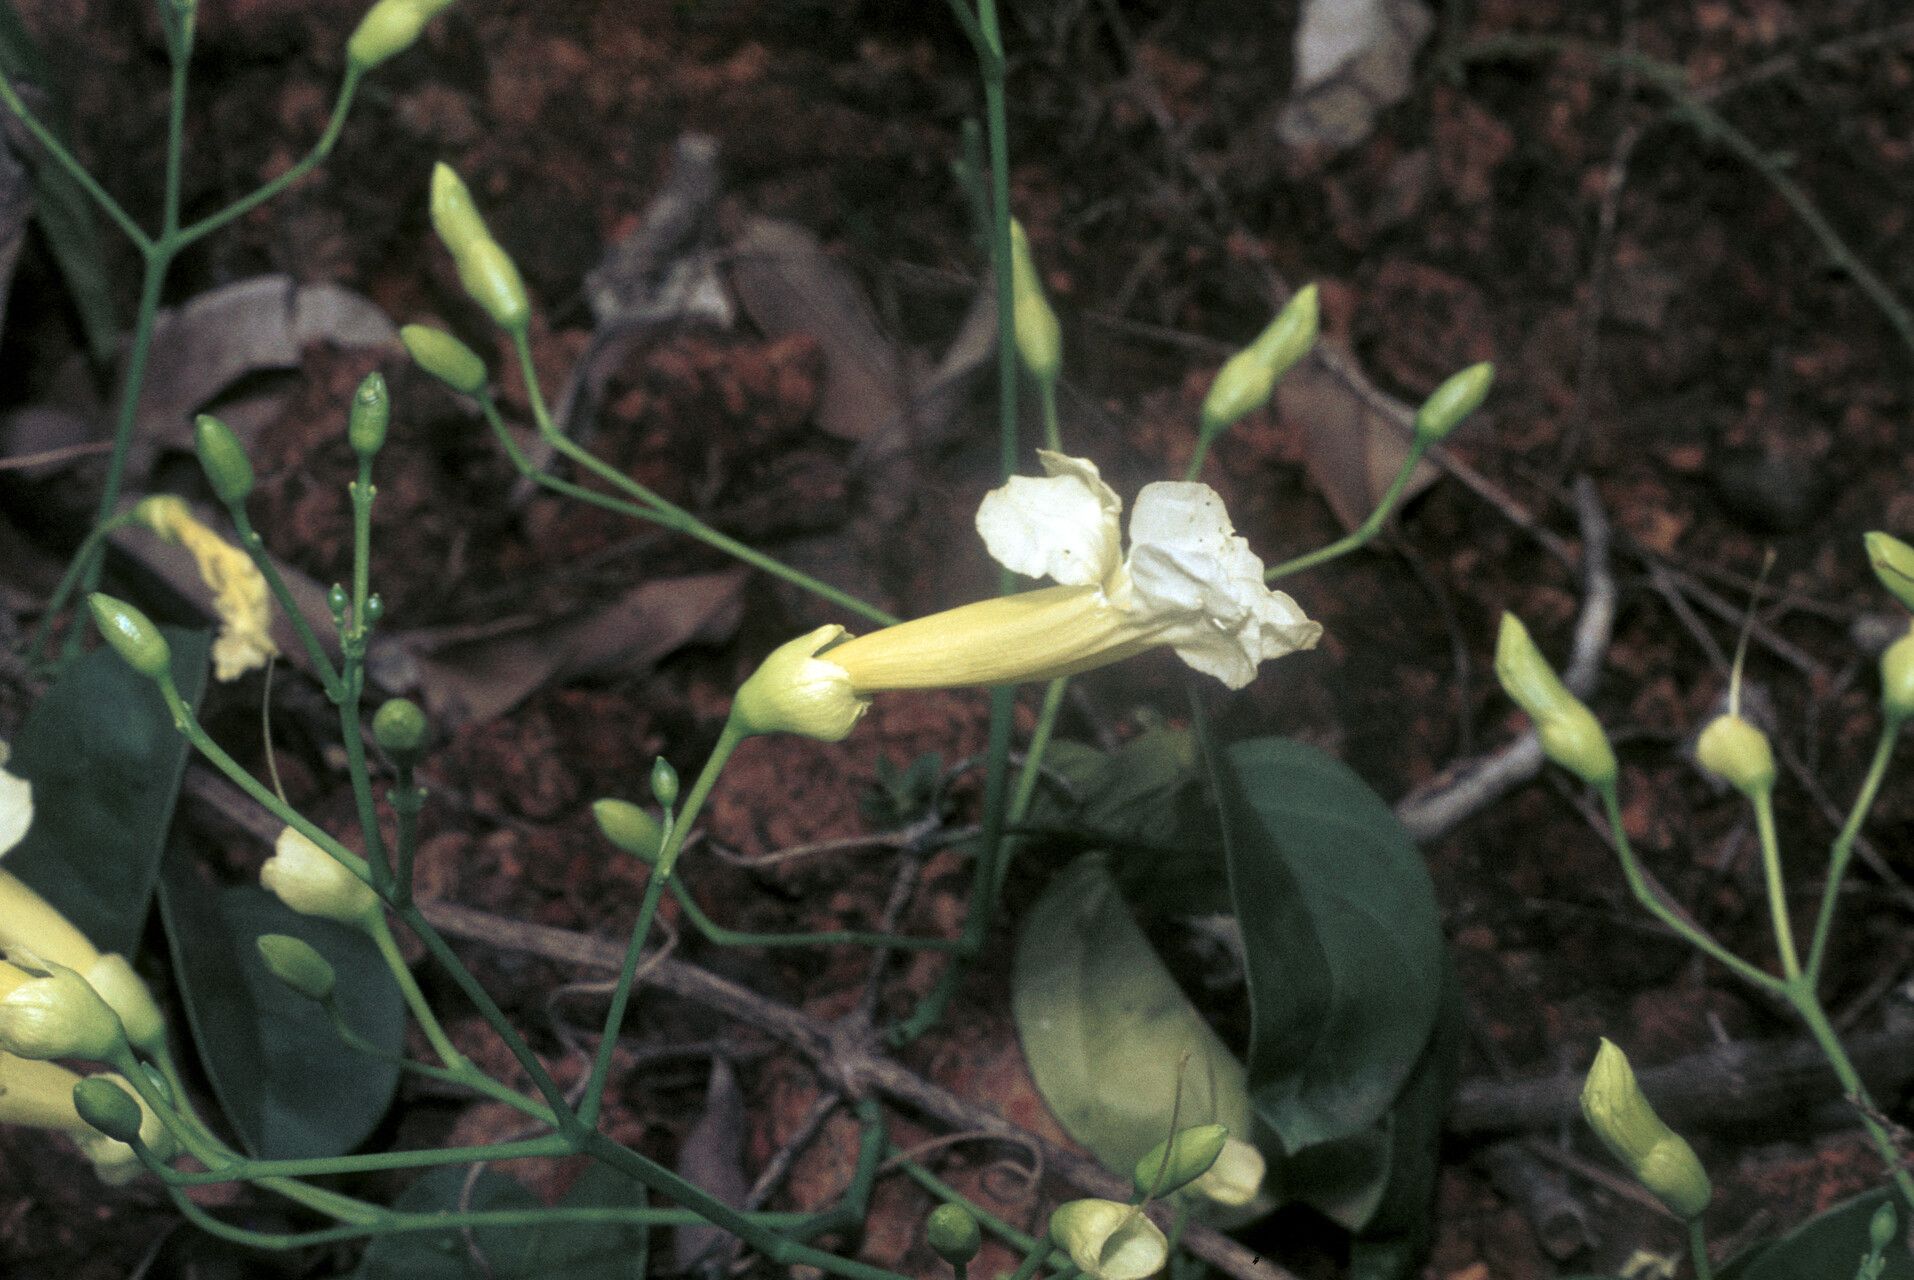
Have you fallen in love with the delicate beauty of the ‘Snowflake Vine’ (Adenocalymma albiflorum)? This stunning flowering vine, known for its cascading clusters of white, trumpet-shaped blossoms, is a true showstopper in any garden. But what if you could share that beauty with others? Fortunately, propagating Adenocalymma albiflorum is surprisingly easy!
This blog post will guide you through the fascinating world of plant propagation, focusing specifically on the ‘Snowflake Vine’. We’ll cover everything from the benefits of propagating to step-by-step instructions for achieving successful results.
Why Propagate?
Propagation isn’t just for plant enthusiasts! It offers several advantages, making it a rewarding and practical practice:
- Cost-effective: Instead of purchasing new plants, you can create your own for a fraction of the price.
- Sharing the beauty: Gift your friends and family their own piece of this floral paradise.
- Preservation: Propagate rare or treasured varieties to ensure their continued existence.
- Experimentation: Try different propagation methods and techniques to discover what works best for you.
Unlocking the Secrets of Propagation: Methods for Adenocalymma albiflorum
The ‘Snowflake Vine’ can be easily propagated through both cuttings and air layering. Let’s delve into each method:
1. Taking Cuttings:
- Timing is Key: The best time to take cuttings is during the spring or early summer when the plant is actively growing.
- Selection is Important: Choose healthy, non-flowering stems with new growth. Cut a 4-6 inch section, ensuring there are at least 3-4 nodes (where leaves grow).
- Prepare Your Cuttings: Use a sharp knife or pruning shears to make a clean angled cut just below a node. Remove any leaves below the soil line to prevent rotting.
- Promote Rooting: Dip the cut end of the stem into a rooting hormone powder or gel.
- Planting and Care: Pot the cuttings in a moist, well-draining potting mix. Maintain a humid environment by covering the pot with a plastic bag or dome. Place in a bright, indirect light location.
- Patience is Required: Roots typically develop within a few weeks, but it can take up to 2 months. Monitor soil moisture and allow it to dry slightly between waterings.
2. Air Layering:
- The Technique: Air layering is a unique method that encourages root development directly on the stem while it’s still attached to the parent plant.
- Prepare the Branch: Select a healthy, non-flowering branch. Make a shallow cut, about 1 inch long, on the underside of the branch.
- Encourage Roots: Surround the cut with a rooting hormone powder and cover it with moist sphagnum moss. Wrap the moss with plastic wrap, securing both ends with string or twist ties.
- Patience and Monitoring: Keep the moss moist and monitor for root development, which can take several weeks.
- Detach and Pot: Once roots have formed, you can carefully cut the branch below the air layer and pot the new plant.
Essential Tips for Success:
- Sterilize Tools: Always sterilize your knives or shears between each cut to prevent the spread of diseases.
- Choose Your Medium: Use a well-draining potting mix specifically for starting seeds and cuttings that is moisture-retentive but airy.
- Provide Adequate Light: Place your propagated plants in bright, indirect light to ensure they receive enough energy for healthy growth.
- Maintain Humidity: High humidity is crucial for root formation, especially for cuttings. Regularly mist the surrounding air or create a humid environment with a clear plastic dome.
- Monitor and Adjust: Pay close attention to your plants’ needs, adapting your watering and light levels as needed.
With a little patience and dedication, you can easily propagate stunning ‘Snowflake Vines’ and enjoy their beauty for years to come. So, get your hands dirty and start growing your own little piece of floral paradise!