Grow Your Own Bromeliad Paradise: A Guide to Propagating Aechmea Aquilega
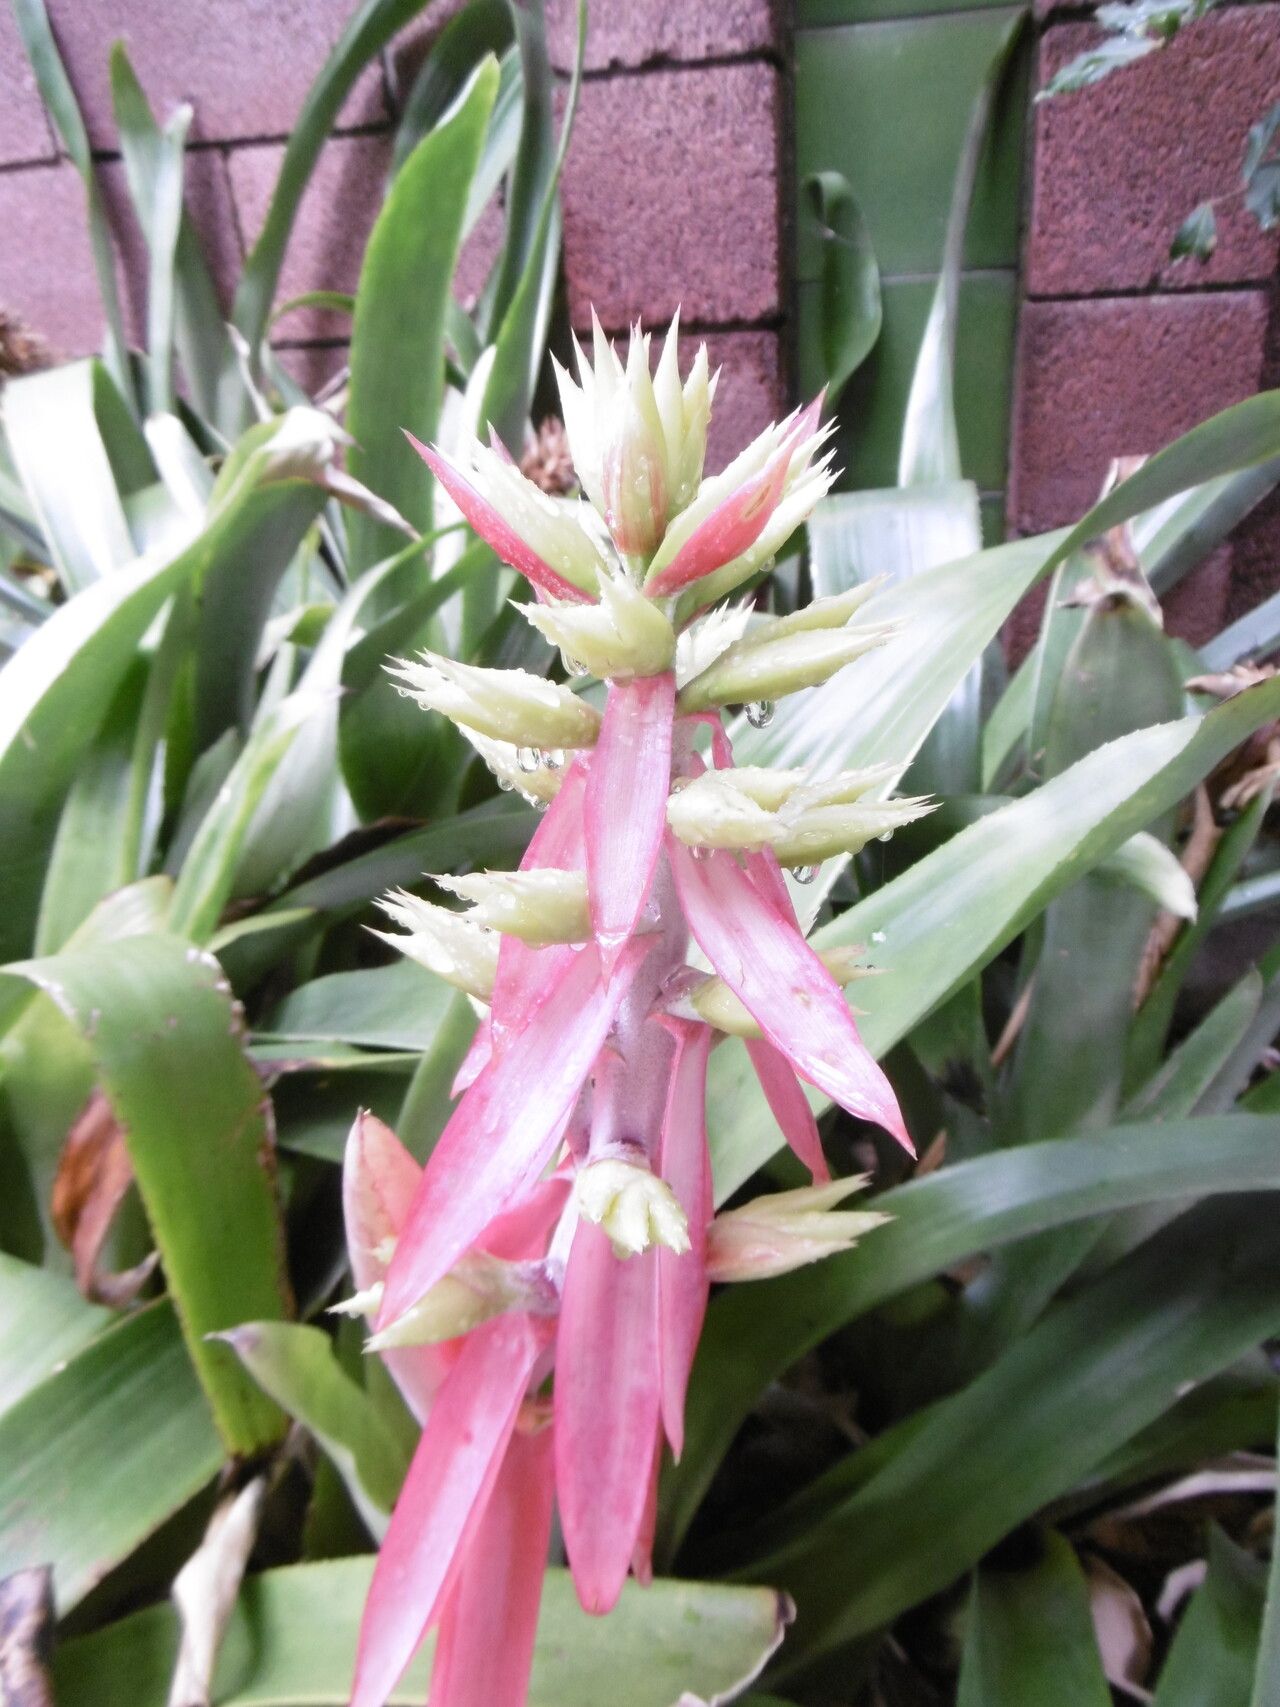
The Aechmea aquilega, with its striking rosette of silvery-green leaves and vibrant pink blooms, is a captivating addition to any indoor plant collection. But did you know that you can also easily multiply your Aechmea aquilega collection by propagating new plants from offsets? Known as “pups,” these miniature versions of the parent plant sprout from the base, offering a rewarding way to expand your plant family.
Understanding Aechmea Aquilega Propagation
Aechmea aquilega, like other bromeliads, primarily propagates through offsetting. This means that new plants develop from small, independent shoots (pups) that grow from the base of the mother plant. These pups are genetically identical to the parent plant, ensuring you’ll have a flourishing collection of the same beautiful Aechmea aquilega.
Timing is Key: When to Propagate
While you can propagate Aechmea aquilega throughout the year, the ideal time is during the spring and summer when the plant is actively growing. This ensures the new plants have optimal conditions to develop strong roots and thrive. It’s also essential to choose pups that are at least a third the size of the parent plant to ensure they have enough energy to grow independently.
The Propagation Process: A Step-by-Step Guide
Prepare Your Pup: Carefully detach the pup from the mother plant using a sharp, sterilized knife or shears. Ensure you cut cleanly below the base of the pup, taking care not to damage the parent plant.
Allow to Dry and Callous: Before planting, allow the pup to dry for a few days in a well-ventilated spot to allow the cut end to form a callous. This helps prevent rot when you introduce the pup to the potting mix.
Choose Your Potting Mix: Select a well-draining potting mix specifically designed for bromeliads. These mixes typically contain bark, coconut coir, and perlite to ensure excellent aeration and drainage.
Potting the Pup: Gently plant the pup in a pot slightly larger than its root ball. You can use a well-draining potting mix or a mix of perlite and sphagnum moss for optimal drainage.
Location, Location, Location: Place the newly potted pup in a bright, indirect location. Aechmea aquilega prefers humidity, making a bathroom or a sunny windowsill an ideal location. Regular misting is beneficial, particularly in dry environments.
- Patience is a Virtue: Be patient! It may take a few weeks for the pup to establish itself and start producing new roots. Continue watering regularly and ensure the potting mix remains slightly moist.
Additional Tips for Successful Propagation
- Sterilize your tools: Before cutting the pups, sterilize your knife or shears with alcohol to minimize the risk of infection.
- Protect your parent plant: When removing the pup, handling the mother plant with care is essential to avoid damaging its roots.
- Avoid overwatering: Overwatering is a common pitfall for new bromeliad pups. Ensure you only water the pup when the top layer of the potting mix dries out.
- Patience pays off: Be patient and consistent with your care. Over time, your Aechmea aquilega pup will develop into a beautiful, mature plant.
Sharing the Joy: Give a Pup a New Home
Now that you’ve successfully propagated your Aechmea aquilega, you can share the joy by gifting a pup to a friend or family member. This is a great way to introduce someone to the world of bromeliads and foster a love for these fascinating plants.
By understanding the basic principles of propagation and following these steps, you can easily multiply your Aechmea aquilega collection and revel in the beauty of these stunning bromeliads for years to come. So, give it a try and watch your plant family grow!