From Snipping to Thriving: How to Propagate Your Very Own Aegiphila odontophylla
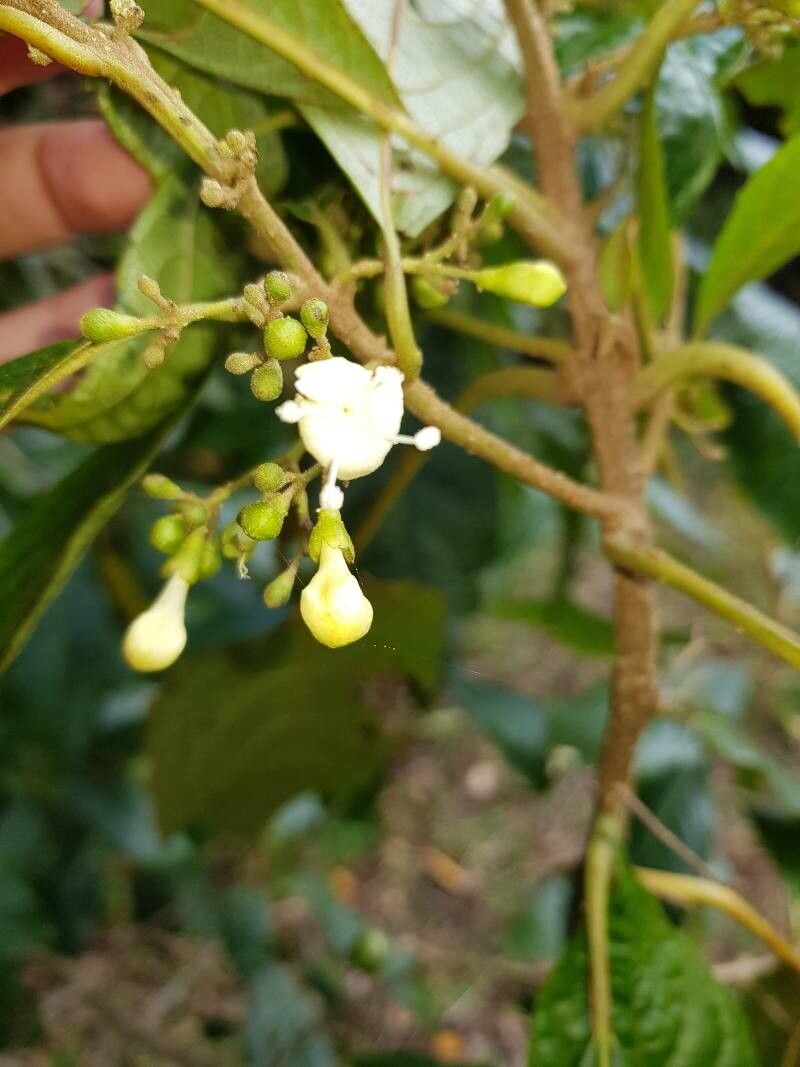
The Aegiphila odontophylla, with its striking foliage and captivating pink flowers, is a captivating plant that adds a touch of tropical elegance to any home. But did you know that you can easily bring this beauty into your own garden with a little bit of know-how?
This blog post will delve into the world of Aegiphila odontophylla propagation, offering a detailed guide on how to create new plants from cuttings. Whether you’re a seasoned green thumb or a curious beginner, we’re here to help you unlock the secrets of successfully propagating this stunning plant.
Understanding Stem Cuttings: The Foundation of Propagation
Stem cuttings, the focus of this guide, are a widely practiced and effective method for multiplying Aegiphila odontophylla. The process involves carefully snipping a section of healthy stem and providing it with the right conditions to develop roots.
Step-by-Step Guide to Propagating Aegiphila odontophylla
Choose the Perfect Cuttings: Select healthy, non-flowering stems from your Aegiphila odontophylla, ideally around 4-6 inches long. Look for stems that are firm and have at least two sets of leaves.
Prepare the Cuttings: Use a sharp, clean knife or pruning shears to make a sharp cut just below a node, which is the point where leaves grow. The cut should be at a 45-degree angle to enhance root development.
Stripping the Cuttings: Remove the lower leaves from the cutting, ensuring at least two sets of leaves remain at the top. This reduces energy expenditure and encourages root formation.
Hormonal Boost (Optional): Dip the cut end of the stem in a rooting hormone powder for an extra boost. This helps stimulate root growth, especially for challenging varieties.
The Power of Water: Fill a clear glass or jar with water, making sure the water level is below the node. You may use a rooting solution for faster results.
Place in a Bright, Indirect Location: Position the cutting in a bright, indirect location. Avoid direct sunlight as it could stress the cuttings.
Patience Pays Off: Be patient! It can take 2 to 4 weeks for roots to appear. Change the water every few days to prevent bacteria growth.
Transfer to Soil: Once roots are about an inch long, gently transfer the cutting into a pot filled with well-draining potting mix.
- Nurture Your New Plant: Keep the soil evenly moist and provide your new Aegiphila odontophylla with bright, indirect light. Within a few weeks, you’ll witness new growth and the start of a thriving plant.
Bonus Tips for Success
- Timing is key: Cuttings taken in spring and summer often root more easily due to the plant’s active growth cycle.
- Misting: Regularly mist the cuttings to ensure optimal humidity, especially in dry environments.
- Moisture Control: Pay close attention to the soil moisture level, avoiding overwatering and allowing the soil to dry slightly between watering.
Conclusion
Propagating Aegiphila odontophylla is a rewarding experience that will not only expand your plant collection but also deepen your connection with this fascinating species. By following this step-by-step guide, you can witness the remarkable journey of your cuttings from snippings to thriving new plants, bringing the beauty of the Aegiphila odontophylla into your own world, one leaf at a time. So, grab your shears, and let the propagation adventure begin!