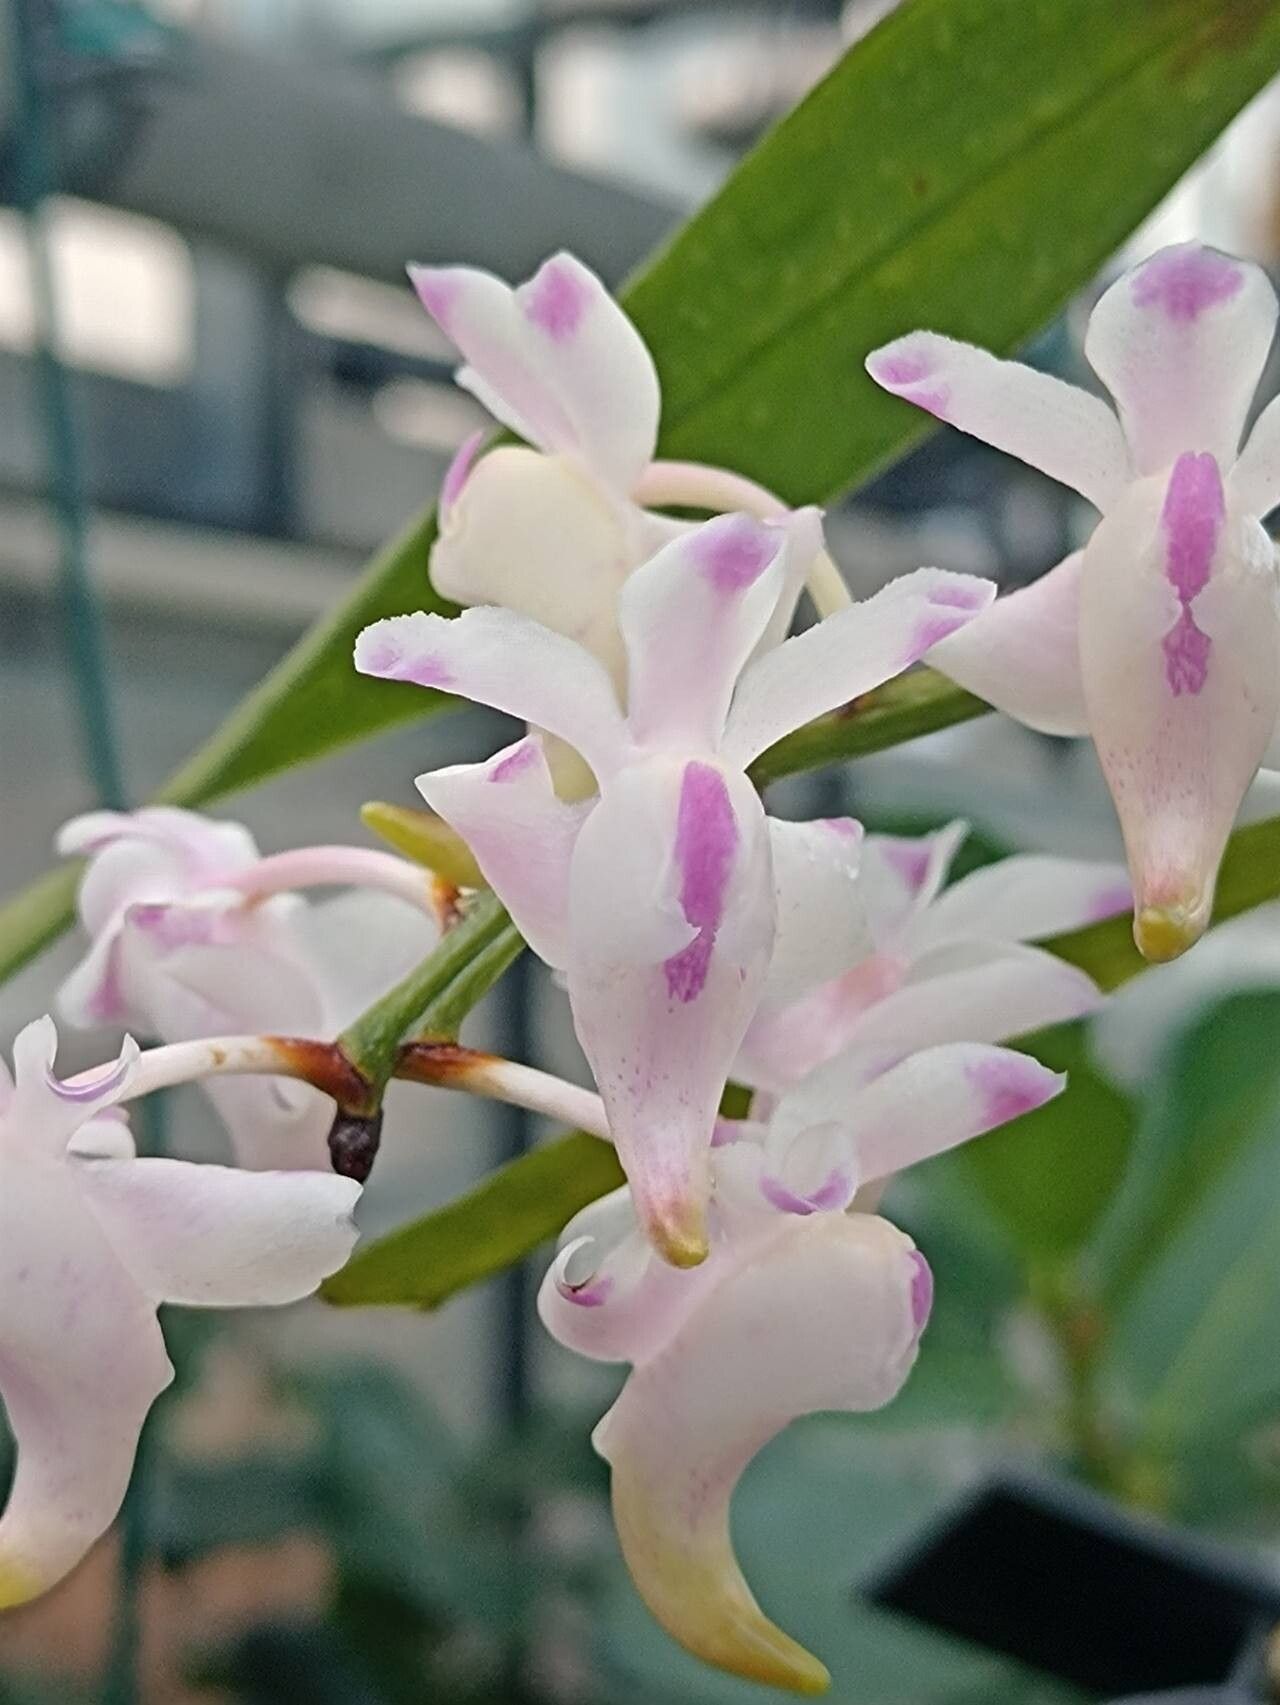
Unlocking the Secrets of Aerides odorata Propagation: From Seed to Bloom
Aerides odorata, the fragrant beauty with captivating orchid blooms, has long captivated plant enthusiasts. But for many, the thought of propagating this species can seem daunting. Fear not! This guide delves into the fascinating world of Aerides odorata propagation, breaking down the process and illuminating the steps for success.
Understanding the Options
Aerides odorata, like many orchids, offers several routes to propagation:
- Seed Propagation: This method involves sowing seeds from a mature plant onto an appropriate growth medium. While this method allows for the creation of numerous plants, it’s quite challenging due to the need for sterile conditions and the lengthy germination period.
- Keiki Propagation: Keikis are small, plantlets that form on the mother plant’s stem or flower stalk. These can be carefully separated and potted to develop into independent plants.
- Division: Mature Aerides odorata plants can be divided into multiple sections, each containing roots and a growth point. This is a more efficient and less demanding method, but it requires care to ensure each section is healthy and viable.
Bringing Seeds to Life:
- Sterile Environment: The success of seed propagation hinges on a sterile environment. Prepare a sterile growth medium, such as a mixture of sphagnum moss and charcoal, and sterilize all tools and containers used.
- Seed Collection and Sowing: Harvest seeds from mature seed pods, taking care not to contaminate them. Sprinkle the seeds on the surface of the sterile medium and cover the container lightly.
- Humidity and Light: Maintain consistent high humidity and provide indirect sunlight for germination. This stage can take several months, requiring patience and diligence.
Keiki Care and Separation:
- Identifying Keikis: Keep a close eye on your Aerides odorata. Keikis often emerge from the base of the plant or along the flower stalk. Look for tiny new growth with leaves and roots.
- Separation Timing: Once the keikis have developed a sufficient root system, they’re ready for separation. Wait until the roots are at least 2 inches long.
- Gently Separate: Use a sharp, sterilized knife to carefully cut the keiki from the mother plant, ensuring it has healthy roots attached.
- Potting Up: Pot your new keiki in a well-draining orchid mix. Remember to place it in a bright, indirect location.
Division for Multiplied Beauty:
- Timing and Preparation: Choose a healthy, mature Aerides odorata plant for division. The best time is usually after the blooming period. Prepare a sterile cutting tool and the appropriate potting mix.
- Careful Division: Gently divide the plant into sections, ensuring each division has numerous roots and a healthy growth point. Avoid damaging the roots during the process.
- Repotting: Pot the divided sections in individual pots, ensuring each one has adequate drainage.
Nurturing Your New Plants:
Regardless of the method chosen, providing the right environment is key.
- Light: Aerides odorata thrives in bright, indirect light. Avoid placing it in direct sunlight, as this can scorch the leaves.
- Watering: Water thoroughly when the potting mix dries out. Allow excess water to drain away.
- Humidity: Maintain high humidity by misting the plant regularly or employing a humidifier.
- Temperature: Aerides odorata prefers warm temperatures, around 70-80°F during the day and 60-70°F at night.
The Rewards of Patience:
Propagating Aerides odorata requires patience and the right conditions. By following these guidelines and observing your plants carefully, you can unlock the secrets of successful propagation and enjoy the beauty and fragrance of these delicate orchid blooms. Remember, every step taken is a journey toward nurturing new life and sharing the enchanting world of orchids with others.