From Seed to Success: Propagating Your Own Afrocarpus Gracilior
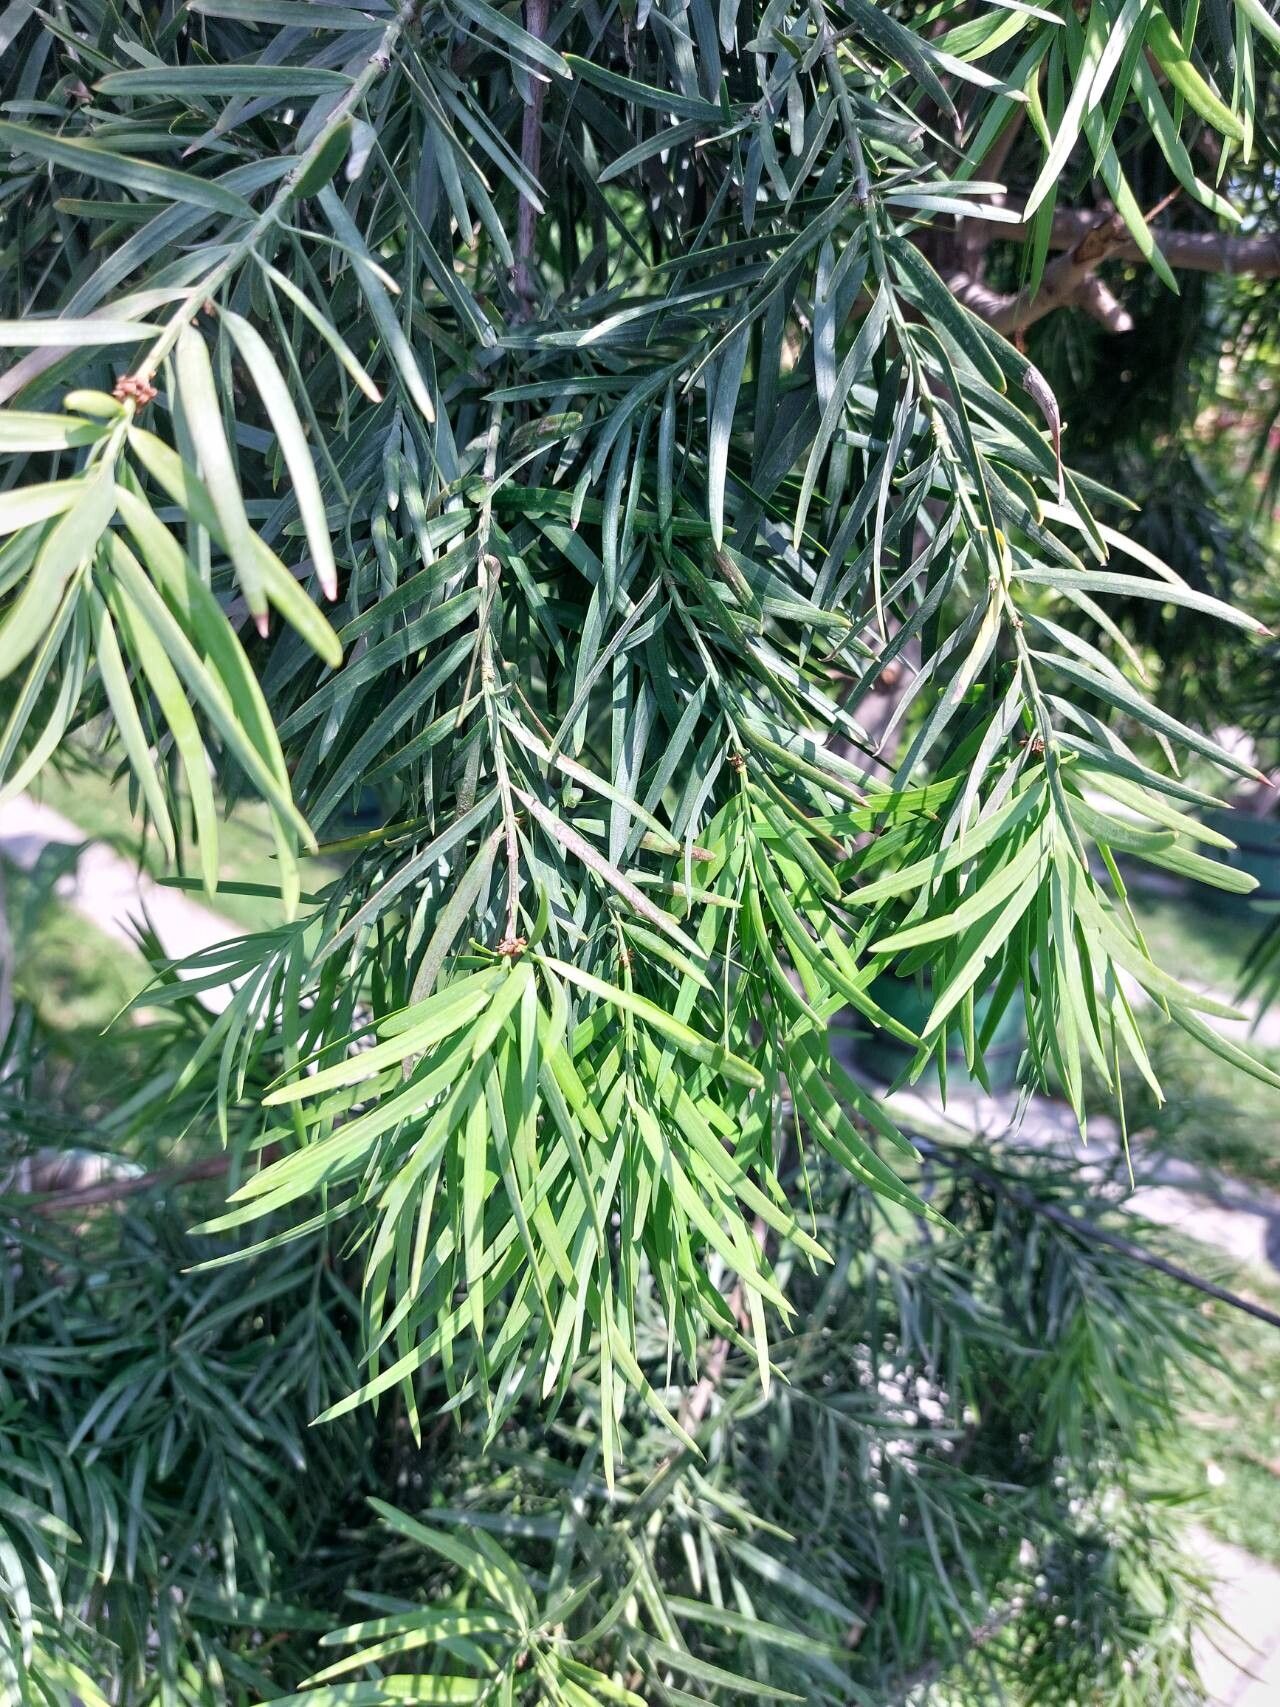
The Afrocarpus gracilior, also known as the Outeniqua Yellowwood, is a stunning evergreen conifer that can bring a touch of elegance and serenity to any garden. If you’re captivated by its graceful, feathery foliage and unique, yellow-green bark, you might be wondering how to grow your own from scratch. The good news is, propagating this beautiful tree is achievable, even for novice gardeners!
Going From Seed
The most common way to propagate Afrocarpus gracilior is from seed.
- Gathering the Seeds: The first step is to acquire fresh seeds from mature cones. Be patient, as cones can take up to a year to mature and release their seeds.
- Pre-Treatment: Once you’ve got your seeds, it’s essential to give them a cold stratification treatment. This mimics the natural conditions seeds face in their native environment and helps break dormancy. Simply store the seeds in a moist environment, like a sealed plastic bag with damp vermiculite, at temperatures between 32-40°F (0-4°C) for 6-8 weeks.
- Sowing the Seeds: After the cold stratification period, you can sow your seeds in a seed tray filled with a well-draining, slightly acidic potting mix. Place the seeds on the surface and lightly cover them with the potting mix. Maintain a consistently moist but not soggy environment and provide adequate light but avoid direct sunlight.
- Germination: With proper conditions, germination can take anywhere from a few weeks to several months. Be patient, and don’t give up!
The Art of Cuttings
While starting from seed is the most common method, propagation from cuttings is also possible.
- Choosing the Right Cutting: Select a semi-hardwood cutting, about 4-6 inches long from the tip of a healthy branch.
- Preparation: Make a clean cut at a 45-degree angle below a node (where leaves emerge). Remove the lower leaves and apply rooting hormone to the cut end.
- Propagation: Insert the prepared cutting into sterile rooting mix in a pot or tray. Maintain high humidity by covering the cuttings with a plastic dome or bag.
- Rooted and Ready: Cuttings can take several weeks to form roots. Be patient and ensure the rooting mix stays consistently moist. Once rooted, you can gradually acclimate the new plant to its permanent pot or planting site.
A Few Tips for Success
No matter your chosen propagation method, here are some essential tips to help you on your journey to growing your own Afrocarpus gracilior:
- Use well-draining potting mix: This conifer prefers a soil that allows for good drainage, preventing root rot.
- Embrace patience: Germination and rooting can take time, and it’s important to be patient and persistent.
- Provide shade: While young plants appreciate a consistent supply of bright, indirect light, they should be kept out of direct sunlight, especially during the hottest months.
- Water consistently: Maintain consistent moisture but avoid overwatering. Check the soil moisture with your finger before watering.
- Beware of pests: Keep a vigilant eye out for pests, and treat any infestations promptly.
The Rewards of Home Propagation
Propagating your own Afrocarpus gracilior is not only a rewarding experience, but it also allows you to have a meaningful connection with this stunning conifer. Growing it from scratch brings pride and satisfaction, knowing you played an active role in its journey from seed to a mature, beautiful tree.
Whether you choose seeds or cuttings, with a little patience and the right care, you can cultivate a beautiful and resilient Afrocarpus gracilior that will grace your garden for many years to come. Happy propagating!