Unlocking the Secrets of Alpine Lady’s Mantle Propagation: Grow Your Own Mountain Magic
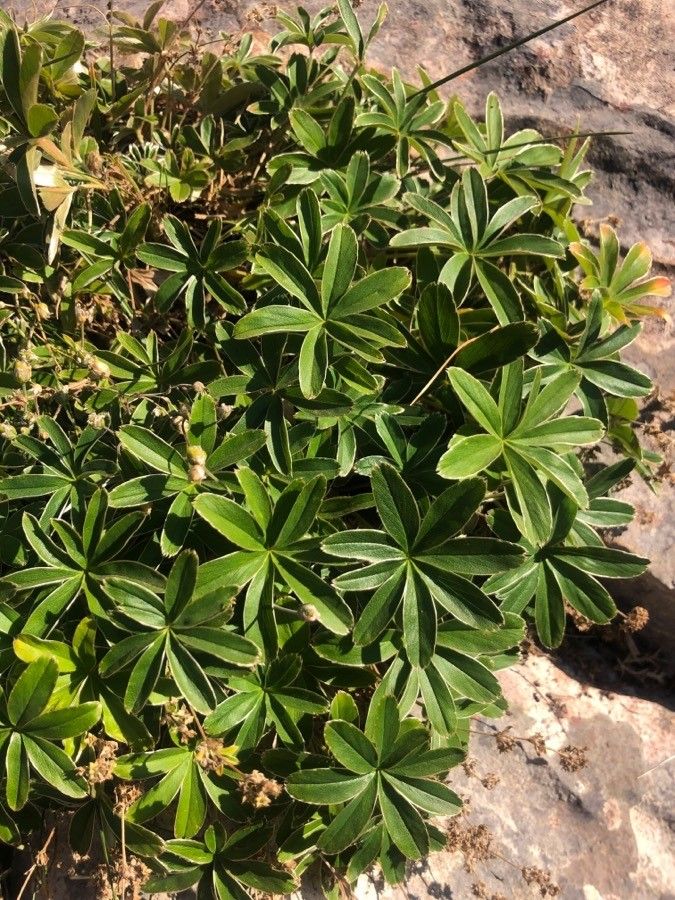
The Alpine Lady’s Mantle (Alchemilla alpina), with its delicate silver-edged leaves and chartreuse blooms, carries an air of mountaintop mystique. Though seemingly fragile, this charming perennial is surprisingly tough and adaptable, thriving in rock gardens, along pathways, and even peeking out from between paving stones.
If you’ve been captivated by its enchanting beauty, you’ll be pleased to know that propagating Alpine Lady’s Mantle is an achievable feat for gardeners of all levels. Let’s delve into the secrets of multiplying your very own mountain magic:
1. Seed Starting: Embracing the Element of Surprise
While slightly less predictable than other methods, starting Alpine Lady’s Mantle from seed offers a rewarding journey for the patient gardener.
- Timing is Key: Sow seeds in late winter or early spring (February – March) in seed trays filled with a well-draining seed compost.
- Embrace the Chill: These seeds benefit from a period of cold stratification. Place the trays outdoors in a sheltered location or in your refrigerator for 4-6 weeks.
- Let There Be Light: After stratification, bring the trays indoors to a bright location, but out of direct sunlight. Keep the soil consistently moist.
- Transplanting Triumph: Once the seedlings develop a few sets of true leaves, they can be carefully transplanted into individual pots or directly into the garden after the last frost.
2. Division: Sharing the Bounty of Established Clumps
For quicker results and a guaranteed replica of your beloved plant, division is the way to go. This method involves splitting established clumps to create new plants.
- Prime Time for Division: Early spring or fall, when the plant is dormant, offers the ideal conditions for division.
- Divide and Conquer: Carefully lift the entire clump from the ground using a garden fork. Gently tease apart the roots, ensuring each division has a good amount of healthy roots and shoots.
- New Beginnings: Replant the divisions at the same depth they were originally growing, water thoroughly, and watch them flourish.
3. Taking Cuttings: Cloning Your Favorite Features
Basal cuttings, taken from the base of the plant, allow you to replicate specific characteristics you adore.
- Ready, Set, Snip!: In spring, use a clean, sharp knife or pair of scissors to take cuttings about 3-4 inches long from the base of the plant.
- Hormone Boost (Optional): Dipping the cut end in rooting hormone can encourage faster root development, although it’s not strictly necessary.
- Creating a Cozy Nursery: Plant the cuttings in a pot filled with a well-draining seed starting mix or a 50/50 blend of peat moss and perlite.
- Humidity is Key: Cover the pot with a plastic bag or place it in a propagator to create a humid environment. Keep the soil consistently moist.
- New Roots on the Horizon: In a few weeks, you should start to see new growth, indicating successful rooting. Once the cuttings are well-established, they can be transplanted as described above.
Propagating your own Alpine Lady’s Mantle is a gratifying endeavor that rewards you with an abundance of these captivating plants. Whether you choose the journey of seed starting, the reliability of division, or the precision of cuttings, you’ll soon have a flourishing display of these mountain treasures to adorn your garden.